A loose shower screen is dangerous because movement can stress glass, create pinch points, and let water escape, increasing slip risk. Make it safe first by supporting the panel and keeping the area dry. Inspect hinges, brackets, wall channels, and anchors for corrosion, elongated holes, or cracked gaskets, then tighten fasteners evenly without over-torquing. Replace worn seals and reseal joints with neutral-cure sanitary silicone after removing old sealant. Continue on to see inspection steps and repair options.
Key Takeaways
- Check for wobble, gaps, misaligned seals, and new leaks; these indicate loose hinges, brackets, channels, or failing silicone.
- Inspect hinges, screws, and wall anchors for corrosion, stripped holes, or cracked tiles; confirm fixings bite into solid substrate.
- Support the glass and tighten fasteners gradually in a cross pattern, avoiding over-tightening that can crush gaskets or stress glass.
- Repair stripped fixings with suitable stainless screws, anchors, or thread inserts, then realign the door so it swings freely without binding.
- Replace worn seals and reseal joints with neutral-cure sanitary silicone, fully removing old sealant and allowing complete cure before use.
Is a Loose Shower Screen Dangerous?
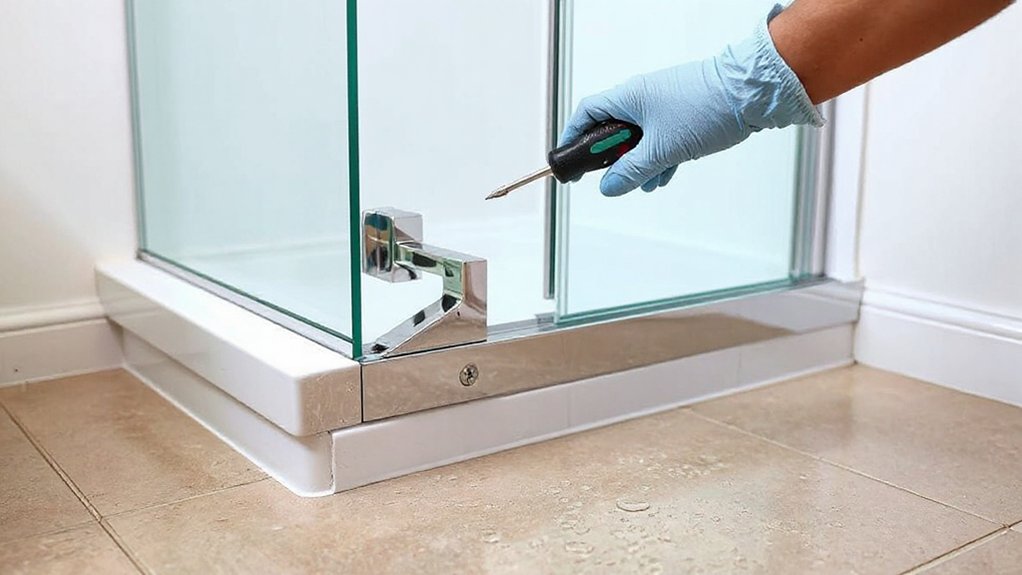
A loose shower screen isn’t just an annoyance—it’s a safety and compliance risk because the panel can shift unexpectedly under normal use. You increase the likelihood of impact injuries, glass breakage, and pinch points at hinges or channels. If the screen no longer maintains stable alignment, you can’t reliably control water containment, which raises slip hazards on adjacent flooring. You also compromise hardware load ratings: fasteners can pull from tile or substrate, and silicone joints can fail under cyclic movement. During Shower cleaning, you may apply lateral force that worsens looseness, causing sudden movement and laceration risk. A visibly unstable screen also affects Bathroom aesthetics, but the primary issue is duty-of-care: you must keep fixtures stable, secure, and fit for intended use.
Make a Loose Shower Screen Safe First
Before you attempt any adjustment or re-fixing, make the loose shower screen safe by removing load, limiting movement, and controlling the area as if glass failure could occur. Stop using the shower, keep children and pets out, and post a temporary warning. Wear cut-resistant gloves and enclosed footwear, and use eye protection. If the panel can swing, restrain it with painter’s tape in an “X” pattern and add a soft wedge or towel at the base to prevent racking. Clear the floor, then lay a non-slip mat to reduce slip risk from water.
Isolate drains and remove toiletries so nothing strikes the glass. Pause Cleaning routines and any Aesthetic upgrades until the panel is stabilised and verified secure.
Common Causes of a Loose Shower Screen
If your shower screen feels loose, you’re typically dealing with worn hinges and brackets or wall anchors that have backed out of the substrate. You need to treat both as safety and compliance risks because looseness can compromise glass support and safe door operation. Next, you’ll identify hinge/bracket wear points and verify wall anchor integrity before you select a repair method.
Worn Hinges And Brackets
When hinges and brackets wear out, they can’t maintain the clamping force and alignment a shower screen needs to stay stable. You’ll notice door sag, uneven gaps, metal-on-glass contact, or the panel drifting out of square. This wear is accelerated when the shower screen design loads hardware beyond its rating or when glass thickness doesn’t match the hinge specification, reducing effective grip.
For safety and compliance, you should inspect for play at pivot points, elongated holes, cracked nylon bushes, corrosion, and flattened gaskets. Check that set screws bite correctly and that hinge leaves sit flush without distortion. If tolerances exceed manufacturer limits, replace the hinge or bracket with certified, like-for-like components and re-torque to spec to prevent glass stress and sudden failure.
Loose Wall Anchors
Although the glass and hardware may look intact, loose wall anchors let the entire shower screen shift under normal door loads, quickly turning minor movement into a compliance and safety risk. You’ll typically see fasteners backing out, elongated holes, or cracked tiles around the fixing points. Poor Wall anchor installation is the usual culprit: anchors set in soft plaster, wet substrate, or oversized holes won’t achieve required pull-out resistance. Anchor material selection also matters; nylon plugs can creep, corrode-prone metals can lose section, and mixed metals can accelerate galvanic failure in damp zones. You should isolate the fixing, verify the substrate, and replace anchors to suit masonry, studs, or waterproofed systems. Retorque to spec, recheck alignment, and confirm the screen can’t rack or bind under load.
Signs Your Shower Screen Is Coming Loose
You should treat early movement in a shower screen as a safety and compliance issue, especially when you notice visible gaps, panel shifts, or misaligned seals. If the frame or glass wobbles under light pressure, the fixings may be loosening and the risk of impact failure increases. You’ll also see leaks and may hear unusual creaks or clicks during operation, which indicates the screen isn’t remaining securely seated.
Visible Gaps And Shifts
How can a shower screen that looks “fine” still fail compliance and safety checks? You’ll often see it in visible gaps and subtle shifts at the wall channel, bottom seal, or corner joints. If the silicone line breaks, pulls away, or shows daylight, water can escape and wet slip-prone areas, breaching safe-use expectations. Check for uneven seal contact along the tray: a consistent compression line matters for containment and hygiene. Watch whether the glass edge creeps off its set reference marks or no longer aligns with adjacent tiles; that indicates fastener relaxation or adhesive failure. Don’t let decorative accents hide misalignment, and don’t let cleaning routines mask it with temporary resealing. Record changes, then schedule corrective work promptly.
Wobbling Frame Or Glass
When the frame or glass starts to wobble under light hand pressure, the shower screen has already lost the rigid support required for safe use and compliance. You’re seeing fastener relaxation, bracket slip, or silicone bond failure that can shift load paths and reduce impact resistance. Confirm movement at the wall channel, hinge points, and top stabiliser bar, and check that fixings still bite into solid substrate rather than soft tile or degraded plugs. If you’ve got a Decorative frame, don’t assume the trim is structural; it can mask distortion and hide backing-out screws. With glass tinting, verify the panel remains correctly seated on setting blocks, because mis-seating concentrates stress at corners. Don’t keep operating the door; isolate it and schedule rectification to restore rigidity.
Leaks And Unusual Noises
Even if the frame still looks square, fresh leaks at the wall channel or door sweep and sharp clicks, creaks, or grinding during operation often signal fastener loosening, bracket slip, or seal compression loss. Don’t ignore drips that worsen with water pressure changes; they can indicate gaps opening as screws back out or silicone bonds fail. Unusual noises during sliding or pivoting often mean misalignment and metal-on-metal contact, increasing glass edge stress. For compliance and safety, stop using the screen if you hear cracking or feel binding, then inspect brackets, hinge pins, and anchors for movement. Verify seals aren’t flattened by harsh cleaning routines or solvent exposure. Dry the area, mark leak points, and re-test under normal spray to confirm the fault.
Inspect Hinges, Brackets, and Frame Screws
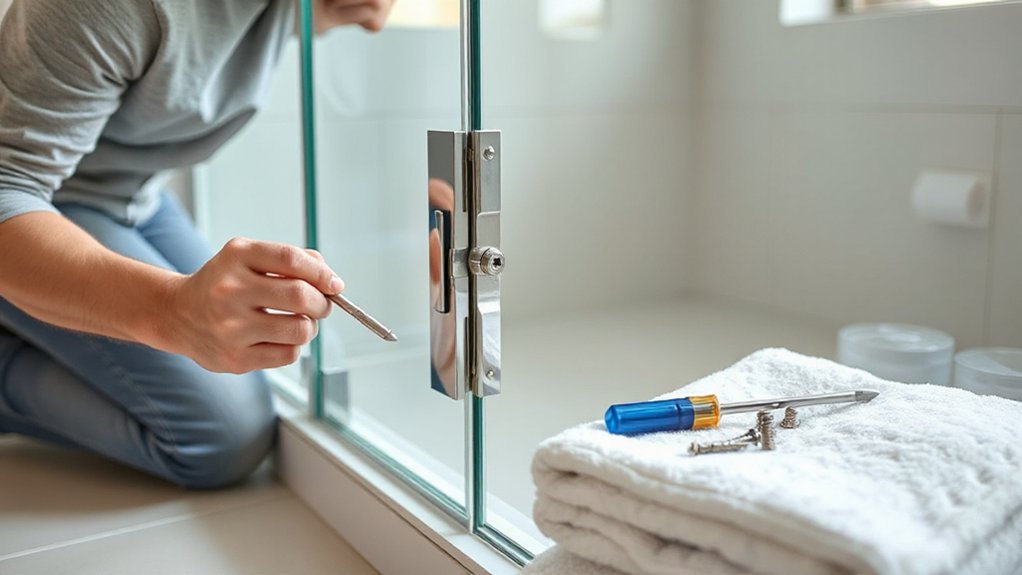
Before you attempt any adjustment, inspect the shower screen’s hinges, brackets, and frame screws for movement, corrosion, and misalignment that could compromise stability and safety. Ascertain the glass sits square in the frame and that hinge leaves align without twist. Check for rust staining, pitting, or white oxidation on fasteners and brackets, as these can indicate loss of load capacity. Verify wall anchors aren’t fretting or pulling, and ensure screw heads aren’t rounded or sitting proud. Look for hairline cracks in plastic gaskets and any separation at bracket interfaces. If you note binding, record it before hinge lubrication, since friction can mask misalignment. If a bracket shows deformation, cracking, or stripped threads, plan compliant bracket replacement using compatible, corrosion-rated hardware and manufacturer specifications.
Tighten Loose Shower Screen Hinges and Fix Stripped Holes
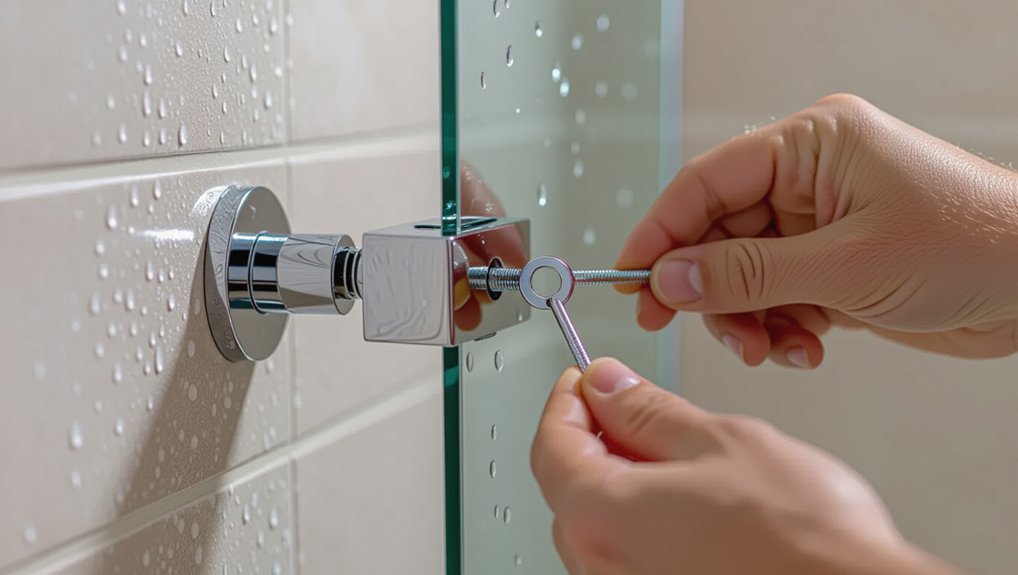
You’ll confirm hinge looseness by checking for door sag, lateral play, or fastener movement while the screen is supported to prevent glass stress. You’ll then tighten hinge fasteners to the manufacturer’s torque specification, using the correct driver and replacing any corroded or mismatched screws to maintain compliance. If a screw hole is stripped, you’ll restore holding strength with the approved insert, anchor, or hole-repair method for the substrate and resecure the hinge without over-tightening.
Identify Hinge Looseness
Although a shower screen may look secure at a glance, hinge looseness often shows up as door sag, uneven gaps, or movement at the hinge when you apply light hand pressure. You should verify with the door supported to prevent glass shock loading and to meet basic workplace safety expectations. Check for metal-on-glass contact, shifted hinge plates, or distorted gaskets, and confirm the door still closes without binding. Inspect screw heads and hinge barrels for corrosion, cracking, or elongation around fixing points, since these indicate loss of clamping force or stripped substrate. Don’t mask faults with Hinge lubrication; use it only to confirm whether noise comes from friction or looseness. If the hinge body is cracked, seized, or misaligned beyond adjustment, plan hinge replacement to restore compliance and stability.
Tighten Hinge Fasteners
Once you’ve confirmed hinge looseness and ruled out binding or cracked hardware, tighten the hinge fasteners to restore clamping force and prevent glass movement under load. Support the door to eliminate torsion, then use the correct driver to avoid cam-out. Tighten incrementally in a cross pattern so the hinge plates seat evenly against the glass and wall bracket. Don’t exceed the manufacturer’s torque guidance; over-tightening can crush gaskets, stress tempered glass, and breach installation requirements. Verify the hinge remains square and the door swings without racking. Apply minimal Hinge lubrication only to pivot points, keeping oil off clamp surfaces to maintain friction. If fasteners won’t hold tension or hardware shows distortion, schedule hinge replacement to comply with safety expectations. Recheck after use.
Repair Stripped Screw Holes
When hinge screws spin without biting, the wall bracket or channel can’t maintain clamp pressure, and the screen may shift under normal opening loads. You must de-energize nearby circuits if drilling near wiring, then support the glass to prevent edge impact. Remove the screw and assess substrate: for timber, install a larger gauge stainless screw; for masonry, replace the plug with a new nylon anchor. For hollow walls, fit a rated toggle or chemical anchor per manufacturer instructions. If holes are ovalled in an aluminium channel, drill to the next size and install a rivnut or thread insert. Re-torque to spec and confirm hinge alignment. Add Maintenance tips: inspect quarterly. Use cleaning techniques that avoid bleach on fasteners.
Replace Worn Shower Screen Seals and Gaskets
If your shower screen feels loose or leaks at the edges, inspect the seals and gaskets first, because worn rubber or vinyl strips can’t maintain clamping force or a watertight barrier. Cut power to nearby outlets, wear gloves, and support the panel to prevent sudden slip or glass stress. Remove the old sweep, bulb seal, or frame gasket, then verify the profile and thickness match the manufacturer’s spec and any local glazing requirements. Clean the channels with compliant Cleaning techniques (non-abrasive, pH-neutral) to ensure full seating and to reduce mould. Press-fit the new seal evenly, check corners for gaps, and confirm the door clears without binding. Choose UV-stable materials and, if desired, colour-matched decorative options that don’t compromise fit. Recheck for movement.
Reseal a Loose Shower Screen With Silicone
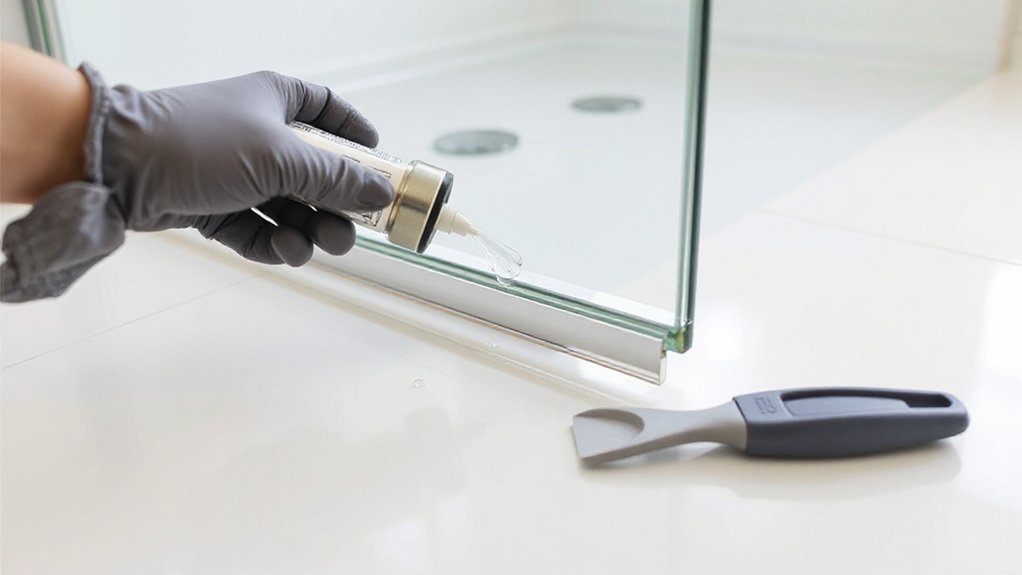
Although new seals often solve edge leaks, you should reseal a loose shower screen with sanitary, neutral‑cure silicone where the frame or channel meets the tile or tray to restore a compliant watertight barrier and limit panel movement. Cut out all failing sealant with a plastic scraper, then vacuum debris. For best adhesion and mold control, follow Cleaning tips: degrease with isopropyl alcohol, rinse, and let surfaces dry fully. Mask both sides of the joint to control bead width and maintain slip‑resistance by preventing squeeze‑out onto the floor. Gun a continuous bead, tool it once for full contact, and remove tape immediately. Don’t use acetic‑cure products near metal. Allow full cure before showering; clean lines deliver aesthetic upgrades.
Fix a Loose Shower Screen Track or Channel
A clean silicone reseal stops leaks, but it won’t stabilise a shower screen that’s shifting because the track or channel has come loose from the tile or tray. Isolate the area, wear cut-resistant gloves and eye protection, and support the glass so it can’t rack or topple. Remove end caps, loosen fixings, and lift the track enough to scrape out old silicone and debris; don’t use acids. Check the substrate for cracks or drummy tiles and rectify before refixing. Re-anchor with stainless screws into appropriate plugs, or use an AS/NZS-rated structural neutral-cure silicone where drilling’s prohibited. Maintain required falls and weep paths. Tool a continuous bead, then cure fully before use. Finish with Glass polishing and Frame painting only after seals cure.
Realign a Loose Shower Screen Door (Pivot or Sliding)
When a pivot or sliding shower door drops out of square, it can bind, chip glass at the jamb, or defeat the magnetic seal and leak onto the bathroom floor. Isolate the area, wear cut-resistant gloves, and support the panel so it can’t tip.
For pivot doors, loosen the top and bottom pivot brackets, then shim at the jamb until the reveal is even and the door swings freely without contacting tiles. Retighten to manufacturer torque and confirm gaskets seat uniformly. For sliding doors, adjust the roller height screws to level the door, then align the guide block so the bottom edge can’t derail. Check plumb with a level, verify smooth travel, and re-test the seal. Don’t force alignment across Decorative glass patterns; pressure points increase break risk. These Shower curtain alternatives demand precise hardware alignment.
When to Call a Shower Screen Professional
If the screen still binds, leaks, or shows visible glass or hardware damage after basic adjustment, stop and call a shower screen professional. You’re dealing with tempered glass, tight tolerances, and load-bearing hinges that must meet manufacturer specs and local safety glazing requirements. Don’t drill, cut, or force panels; you can trigger shattering or compromise edge protection.
Call a pro if fixings pull from tile, silicone lines have failed, or the curb and wall junction show dampness. They’ll verify plumb, re-anchor into suitable substrates, and apply compliant waterproofing techniques to restore seals without trapping moisture. You should also engage help when persistent condensation suggests poor bathroom ventilation, because trapped humidity accelerates corrosion, mould, and seal degradation. A documented repair supports warranty and insurance compliance.
Frequently Asked Questions
How Much Does It Cost to Repair a Loose Shower Screen?
You’ll typically pay $120–$350 to repair a loose shower screen, depending on hardware, labor, and sealing techniques. If compliance or safety demands Shower screen replacement, expect $450–$1,200, including fittings and waterproofing checks.
Can I Claim Shower Screen Repairs on Home Insurance?
You can claim shower screen repairs on home insurance if the damage results from a covered event, not wear-and-tear—quick relief versus denied costs. Check Insurance claims rules, review Coverage options, document hazards, and notify your insurer promptly.
How Long Does Silicone Take to Fully Cure Before Using the Shower?
You should wait 24 hours before using the shower; some products require 48 hours for full Shower sealant curing. Check the label for Silicone drying time, confirm ventilation, and avoid water exposure to prevent bond failure.
What Tools Do I Need to Fix a Loose Shower Screen?
You’ll need a screwdriver/hex key, drill with bits, level, tape measure, silicone gun, scraper, alcohol wipes, and replacement wall plugs. If “tighten-only” works, you’ve tested the theory. Prioritize Tool safety; follow DIY repair tips.
Do Frameless Shower Screens Require Different Maintenance Than Framed Ones?
Yes, you’ll follow different routines: Frameless maintenance means you’ll inspect hinges, clamps, and seals, torque to manufacturer specs, and check glass edges. Framed cleaning targets tracks, weep holes, and corrosion, reducing slip and failure risks.
Conclusion
You’ve probably heard the theory that a slightly loose shower screen is “normal settlement.” Test it: if hinges, brackets, or track screws move under hand pressure, it’s a compliance and safety fault, not harmless wear. Make it safe first—support the panel, isolate the area, and stop using the door if it binds. Then re-tighten fixings, realign, and reseal with sanitary silicone. If glass shifts, call a licensed shower screen pro.
About the Author