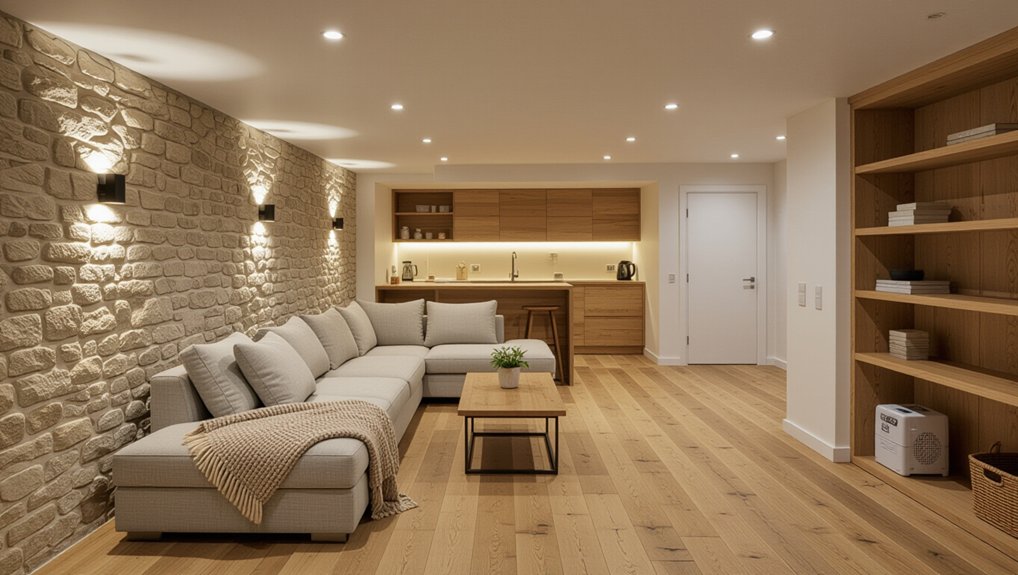
You’ll get a warm, usable cellar by stopping water first: correct grading and downspouts, seal cracks, add a sealed sump with backup, and keep humidity near 50%. Next, define the room’s purpose so you can plan egress, ceiling height, HVAC, and electrical to code. Air-seal rim joists and penetrations, then insulate with rigid or closed-cell foam to avoid trapped moisture. Finish with efficient heat, layered IP-rated lighting, and waterproof flooring—keep going to see how each step fits together.
Key Takeaways
- Identify and fix moisture sources by improving grading, extending downspouts, sealing cracks, and adding exterior waterproofing or a sump system.
- Build reliable drainage with a sealed sump pit, pump, discharge line, and backup power, and keep components accessible for maintenance.
- Plan the layout around the room’s purpose, ensuring code needs like egress, ceiling height, HVAC routes, and electrical capacity are met.
- Air-seal and insulate with moisture-resistant materials like rigid foam or closed-cell spray foam, especially at rim joists, slab edges, and penetrations.
- Choose efficient heating and lighting suited to basements, and install waterproof, durable flooring only after confirming the slab is dry and flat.
Fix Cellar Dampness and Improve Drainage
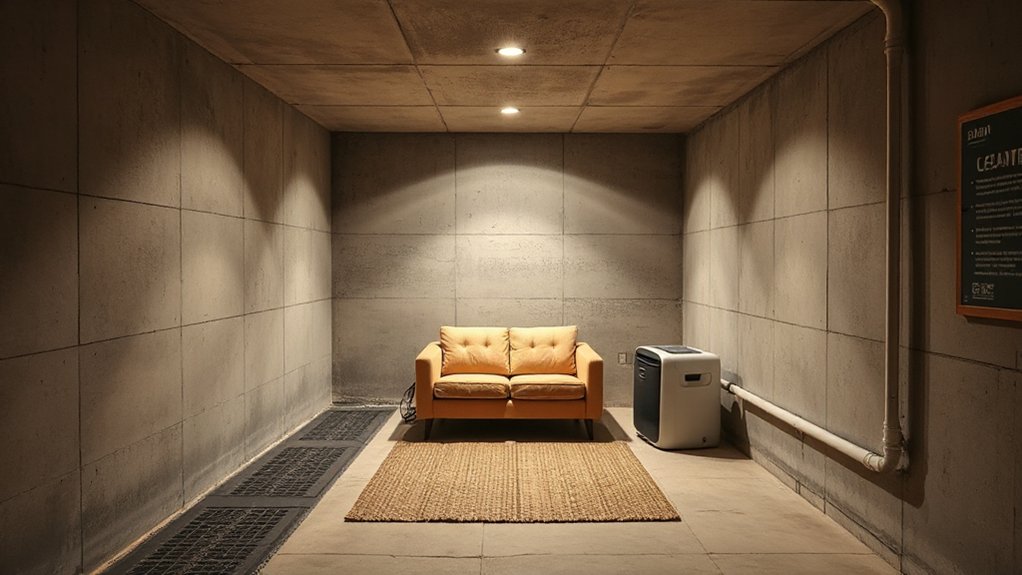
If you don’t solve dampness first, every insulation, stud wall, and finish you add will trap moisture and fail early. Start by confirming the source: bulk water, capillary wicking, or condensation. Check grading, downspouts, and footing drains; route roof water at least 6 feet away. Patch cracks with compatible hydraulic cement or epoxy injection, then address hydrostatic pressure with exterior waterproofing when feasible. Inside, install code-appropriate moisture barriers only where they won’t trap water behind the wall; favor capillary breaks at slabs and walls. Add a sealed sump with a check valve and battery backup if required. Improve basement ventilation and dehumidification to keep RH near 50%. Verify with a moisture meter before closing assemblies.
Plan Your Cellar Layout and Room Purpose Early
Before you frame a wall, you’ll define the cellar’s primary use—office, guest room, gym, or storage—because that choice drives ceiling-height requirements, egress needs, and HVAC and electrical loads. Next, you’ll map the layout with clear circulation paths, door swings, and furniture zones so the space reads clean and stays compliant. You’ll also plan where stairs, mechanicals, and plumbing runs sit now, so you don’t waste square footage or trigger costly rework later.
Define Intended Room Function
Where do you want the cellar to land on your daily-use map—guest suite, office, gym, media room, laundry, or storage? Decide first, because function drives every compliant upgrade. If it’s habitable, you’ll likely need proper ceiling height, egress, heating, and smoke/CO alarms tied to the home’s system. If it’s laundry or storage, you can prioritize moisture control, durable finishes, and access to shutoffs without overspending on comfort specs.
List your must-haves: room furniture, built-ins, equipment clearances, and acoustic needs. Align aesthetic considerations with performance—warm lighting, low-VOC paints, and floor assemblies rated for damp locations. Confirm electrical load, dedicated circuits, and receptacle placement for your actual use, not guesses. Define success metrics before you draw anything.
Map Layout And Circulation
Once you’ve locked in the room’s purpose, map the layout and circulation so people can move through the cellar safely, comfortably, and in a way that satisfies code. Sketch scaled walls, stairs, columns, mechanicals, and egress points first, then draw circulation pathways that keep clear widths consistent and avoid dead ends. Place doors so they don’t conflict with furniture, and reserve landing space at stair bottoms. Use spatial zoning to separate noisy or wet functions (laundry, utility, bar) from quiet uses (office, guest, media). Align lighting, outlets, and HVAC supply/return locations to each zone so you won’t reroute later. Confirm code-required headroom, stair geometry, and egress travel paths before framing, and document your plan for permitting and contractor bids.
Insulate Cellar Walls, Floor, and Ceiling Properly
You’ll get a warmer, code-compliant cellar by specifying moisture-resistant insulation on the walls, floor, and ceiling—think rigid foam or closed-cell spray foam where concrete and humidity are constant. You’ll also need to seal every assembly first (rim joists, slab edges, penetrations, and seams) so air leaks don’t bypass the R-value and create condensation. Once you’ve air-sealed, you can insulate continuously and protect the work with the required vapor control and ignition/thermal barriers for a durable finish.
Choose Moisture-Resistant Insulation
Although insulation seems like a simple “add-and-cover” step, a cellar demands moisture-resistant materials and clean detailing so you don’t trap damp air against cold masonry. Choose closed-cell spray foam or rigid foam boards rated for below-grade use; they tolerate incidental dampness and keep R-values stable. Avoid fiberglass batts directly on foundation walls, where they can wick water and support mold. Confirm your assembly aligns with local code for flame spread and thermal barriers, especially where foam requires ignition protection. Use moisture barriers and vapor retarders only where your climate and wall type call for them; the wrong perm rating can increase condensation risk. For floors, specify high-compressive-strength foam under sleepers or slabs. At the ceiling, use mineral wool for sound and fire resistance.
Seal And Insulate Assemblies
Before you hang drywall or set sleepers, seal the cellar’s insulation assemblies as a continuous air, vapor, and thermal strategy across the walls, floor, and ceiling. Start by cleaning masonry, patching cracks, and sealing rim joists with foam and taped rigid board. On walls, run closed-cell spray foam or rigid foam with taped seams and compatible moisture barriers, then frame inside without compressing R-values. At the slab, place a capillary break, rigid foam, and a sealed poly or smart membrane where code allows, then add sleepers or a floating subfloor. At the ceiling, air-seal penetrations, insulate joist bays, and maintain required fire protection. Tape progression, seal around pipes, and verify assemblies meet local R-value and vapor-control requirements.
Choose Cellar Heating: UFH, Radiators, or Heat Pump
Once you’ve locked in your insulation levels and moisture strategy, choose a heating system that matches the cellar’s ceiling height, floor build-up limits, and how you’ll actually use the room day to day. If you can spare height, Underfloor heating options deliver even warmth and keep walls free, but you’ll need compliant insulation below and careful controls to prevent overheating in well-sealed spaces. If height is tight, radiators reduce floor build-up; weigh radiator placement considerations against furniture layouts, escape routes, and cold external walls. For best efficiency, a heat pump pairs well with low-temperature emitters and steady run times, but confirm noise, condensate drainage, and service access. Whatever you pick, size it from heat-loss calculations and meet local electrical and plumbing codes.
Brighten Your Cellar With Layered Lighting
Because cellar rooms start with limited daylight and more shadow lines, you’ll get the best result by designing layered lighting—ambient for general illumination, task lighting where you work or read, and accent lighting to lift corners and add depth. Start with dimmable LED downlights or a low-profile track to deliver an even ambient glow without glare. Add task fixtures at desks, bars, or utility zones, and aim for 300–500 lux at the work surface. Use wall washers, step lights, or LED strips in coves to soften shifts and prevent “black-hole” corners. Specify IP-rated fittings where moisture risk exists, and put circuits on separate switches so you can tune scenes. Keep drivers accessible, follow safe-zone wiring rules, and document loads for inspection and future upgrades.
Pick Warm, Waterproof Cellar Flooring That Lasts
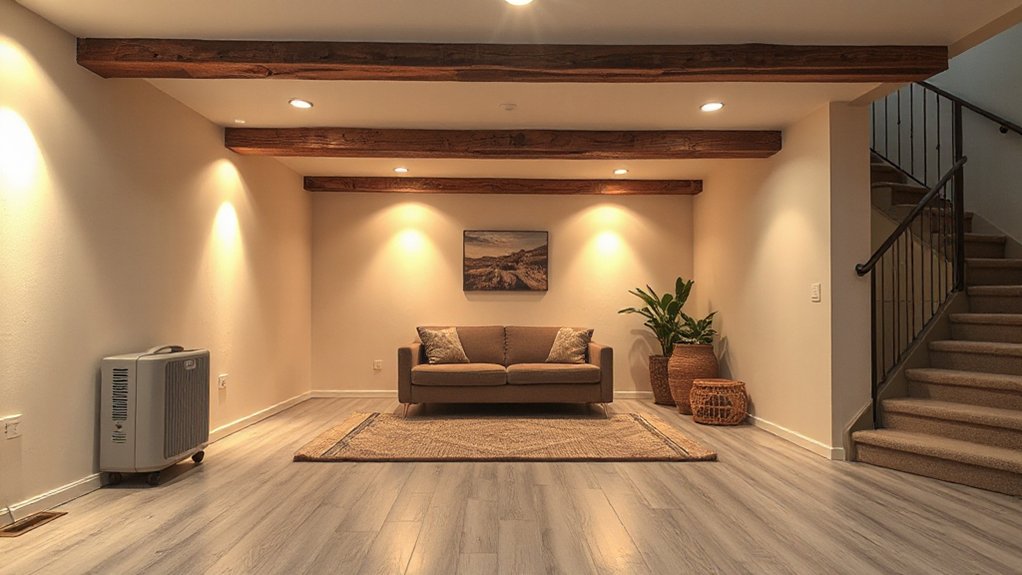
Although a cellar conversion can look finished fast, your flooring choice decides whether it stays warm underfoot and stable through seasonal humidity. Start by confirming the slab is dry and flat; use a moisture test, then install a code-appropriate vapor barrier and insulated underlayment where required. Skip hardwood and standard laminate, since they’ll cup or swell. Choose Decorative vinyl with welded seams or click-lock rated for below-grade installs, and run it up to a perimeter expansion gap you can conceal with trim. For workshop or gym zones, Rubber tiles add warmth, grip, and easy replacement if a leak occurs. Keep progressions flush for accessibility, seal penetrations, and maintain a clear drainage path to your sump or floor drain.
Frequently Asked Questions
Do I Need Planning Permission or Building Regulations Approval for a Cellar Conversion?
You’ll usually need building regulations approval; planning permission depends on structural changes, external alterations, or Historical preservation constraints. You must meet Ventilation requirements, damp-proofing, escape routes, and electrics. Check your council early to avoid delays.
How Much Does a Full Cellar Conversion Typically Cost per Square Metre?
You’ll typically pay £1,500–£3,500 per m²—enough to make your wallet gasp. Costs jump with Basement insulation, Moisture control, structural works, and fit-out. You’ll meet Building Regs: waterproofing, ventilation, electrics, fire escape.
How Long Will the Cellar Conversion Take From Start to Finish?
You’ll usually finish a cellar conversion in 6–12 weeks. You’ll add time for Basement insulation detailing, inspections, and resolving Waterproofing issues. You’ll keep schedules tight by locking designs, permits, and contractor access.
Can I Legally Add a Bedroom in a Cellar, Including Egress Requirements?
Yes, you can, if local codes allow it and you install compliant egress: a full-size window or door well, clear height, and smoke/CO alarms. You’ll also need Basement insulation and Moisture proofing.
Will Converting the Cellar Increase My Home’s Value and Affect Insurance?
Yes, you’ll often raise value if the work’s permitted and finished to code; insurers may adjust premiums. Add Basement insulation and Ventilation systems, document egress and safety, and notify your carrier before listing.
Conclusion
Seal damp and sort drainage first, so your cellar doesn’t behave like a leaky ship’s hold. Lock in the plan—room use, routes, sockets—then insulate walls, floor, and ceiling to spec. Choose heating like you’d choose a system architecture: UFH for comfort, rads for simplicity, or a heat pump for efficiency. Layer lighting to banish shadows, and finish with warm, waterproof flooring that performs long-term.
About the Author