You’ll get a more refined look by first diagnosing what’s dating the room: paint-choked profiles, inconsistent reveals, bulky skirtings, and out-of-square corners. Check substrate health (rot, delamination, insect channels) and replace runs if over 20% is compromised or geometry drifts more than 3 mm over 2 m. Reset one datum for skirting and architraves, hold a consistent 2–4 mm reveal, refine profiles, and dry-fit, scribe, prime, glue, pin, fill, and sand for crisp joints. Next comes built-ins and progressions.
Key Takeaways
- Audit existing skirtings and architraves for rot, delamination, fastener failure, and profile loss; replace if over 20% of a run is compromised.
- Check geometry—reveals, plumb, and corner squareness; deviations over 3 mm across 2 m usually need rework for crisp alignment.
- Simplify profiles by reducing fussy beads and steps, keeping a dominant curve or chamfer with a flat face for cleaner painted finishes.
- Set consistent datums and reveals (about 2–4 mm) across rooms, and plan transitions at openings to maintain balanced sightlines.
- Measure and dry-fit before fixing; scribe uneven floors, prime cut ends, and use tight mitres with glue and pins to eliminate micro-gaps.
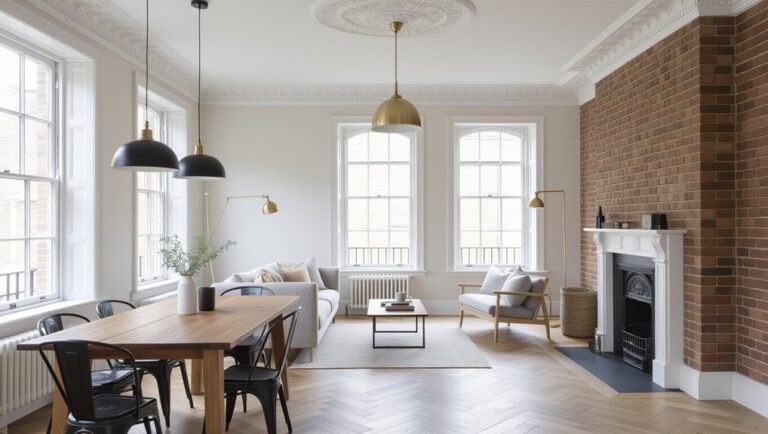
How to Tell if Joinery Dates Your Room
Although your furniture and paint can read current, the internal joinery often gives the room’s age away first. You can date a space by profiling and proportion: deep ogee skirtings, tall architraves, or square “70s” pencil-round casings signal specific Historical influences. Check door linings and reveals; shallow, inconsistent margins and off-square mitres indicate earlier site work, while crisp 45s and uniform quirk lines suggest later machining. Inspect fixings: slotted screws, visible nail heads, and face-pin patterns often predate concealed brads and adhesive bonding. Read surface build-up; multiple paint layers soften arrises and bury beads. Finally, assess Material durability by tapping for hollow sections, probing end grain, and noting cupping, joint creep, or resin repairs that mark long service.
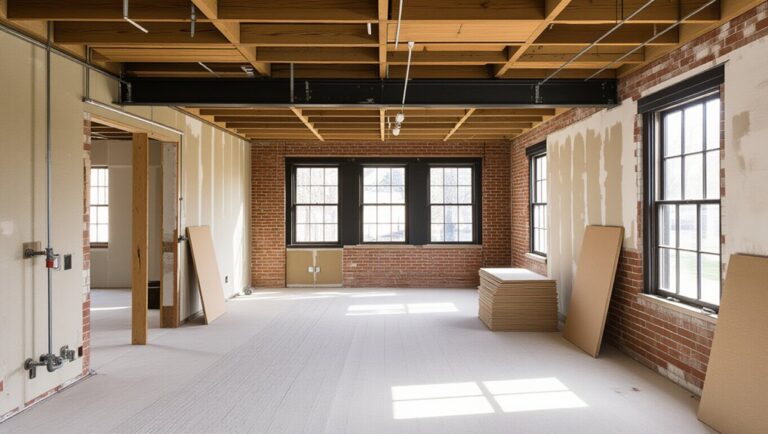
Keep or Replace Joinery: A Quick Checklist
Where should you draw the line between restoring existing trim and ripping it out? Start with substrate integrity: probe for rot, delamination, insect channels, and failed fasteners. If more than 20% of a run is compromised, replacement usually costs less than piecemeal stabilization. Check geometry next: measure reveal consistency, corner squareness, and door casing plumb; if deviations exceed 3 mm over 2 m, you’ll fight gaps after repainting. Audit paint history: heavy lead encapsulation, alligatoring, or obscured profiles favors new millwork. Confirm service conflicts: HVAC grilles, added wiring, or blocked access panels argue for rework. Finally, assess alignment with Furniture integration and Wall decoration: trim that interrupts built-ins or sightlines merits removal.
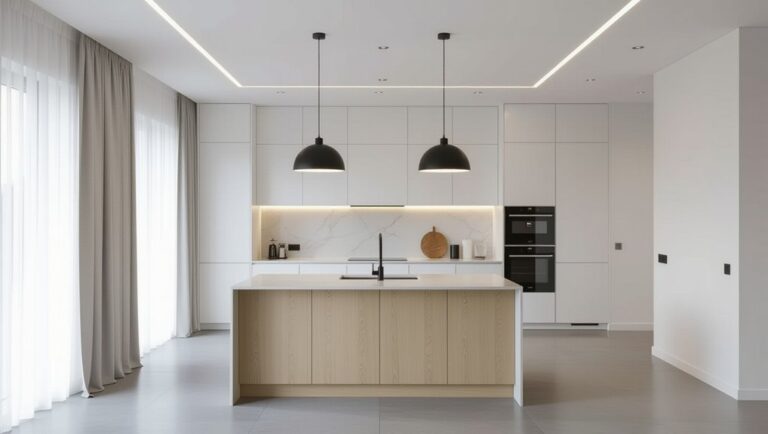
Pick a Joinery Style: Minimal to Classic
Start by matching your joinery style to the build’s geometry, load path, and finish tolerance. You can keep it minimalist with butt-joint details, reinforce them with mechanical fasteners or concealed splines, or sharpen the look with clean, modern mitered corners that control reveal lines. For long-term strength and a classic profile, you’ll spec mortise-and-tenon joinery, sizing the tenon and shoulder for racking resistance and repeatable fit.
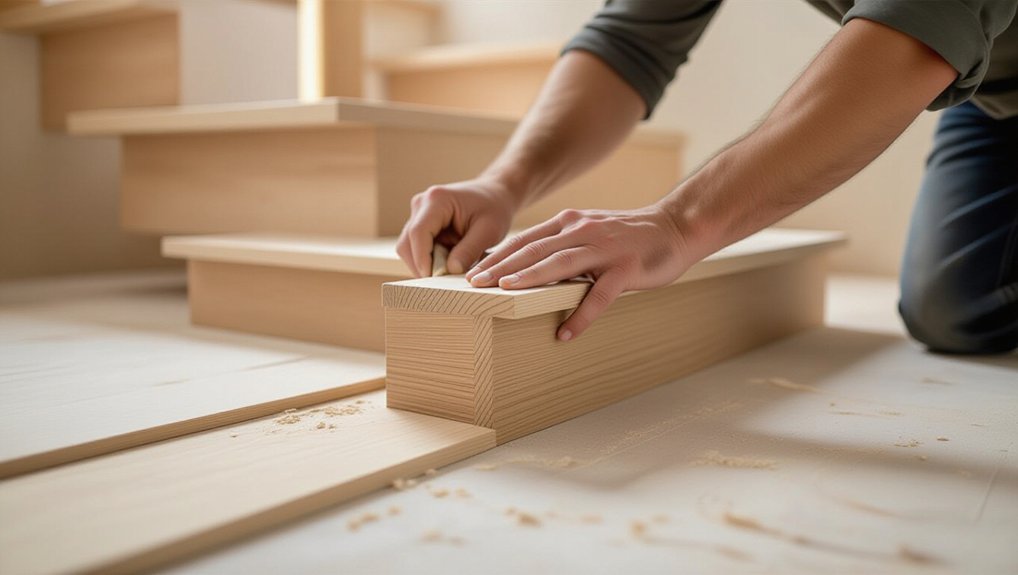
Minimalist Butt Joint Details
If you want internal joinery that reads clean and modern, you can’t treat a butt joint as an afterthought—you have to design it. Start with joint stability: maximize long-grain glue area where possible, and back up end-grain bonds with mechanical reinforcement. Use aligned dowels, loose tenons, or concealed screws to control shear and racking without visual clutter. Your material selection matters: stable plywood or MDF cores resist seasonal movement, while solid wood requires allowance for cross-grain expansion. Mill faces dead square, then reference from a single datum so shoulders close without forcing. Keep glue spread uniform, clamp straight to prevent skating, and confirm flushness with a hard caul. Finally, break edges subtly so seams read intentional, not ragged.
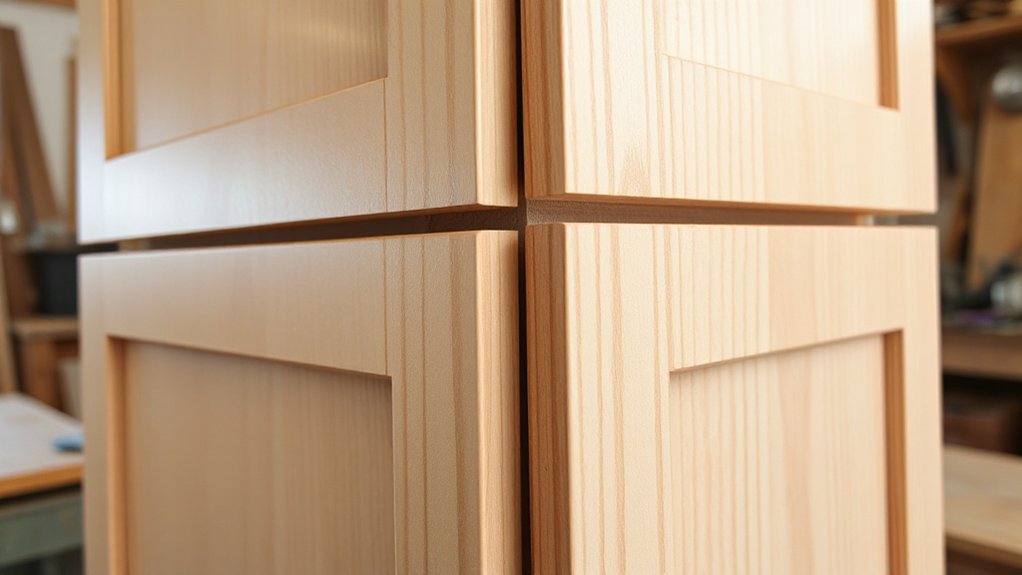
Clean Modern Mitered Corners
Because a miter hides end grain and visually erases the corner, it demands tighter control than a square joint. You’ll tune your saw to a true 45°, verify with a reference square, then shoot the faces so both legs close under light clamp pressure. You’ll mill stock to equal thickness and keep miters oriented to the same reference face to prevent cumulative error. Use a spline, loose key, or domino to resist racking while preserving a clean exterior; clamp with a band and hard cauls to prevent creep. For Decorative corner accents, you can expose a contrasting spline or metal inlay while keeping the edge sharp. When fit is risky, unconventional miter techniques like a locking miter bit or mitered half-lap add glue area discreetly.
Timeless Mortise-And-Tenon Craftsmanship
Although mortise-and-tenon joinery reads “traditional,” you can tune its look anywhere from minimal to classic by controlling shoulder lines, reveal depth, and the tenon’s visibility. Keep shoulders knife-crisp and flush to the show face for a quiet, modern read, or step the shoulder back 0.5–1.0 mm to cast a deliberate shadow line. If you want Vintage charm, expose a wedged through-tenon; taper the mortise slightly and split the wedge kerf to prevent blowout. Material selection drives reliability: match species hardness to your chisel geometry, and orient tenon grain long-to-long for strength. Aim for a piston fit: you should seat the joint with hand pressure, not mallet force, so glue film stays continuous. Pare end walls square to avoid twist.`
Set Consistent Skirting and Architrave Heights
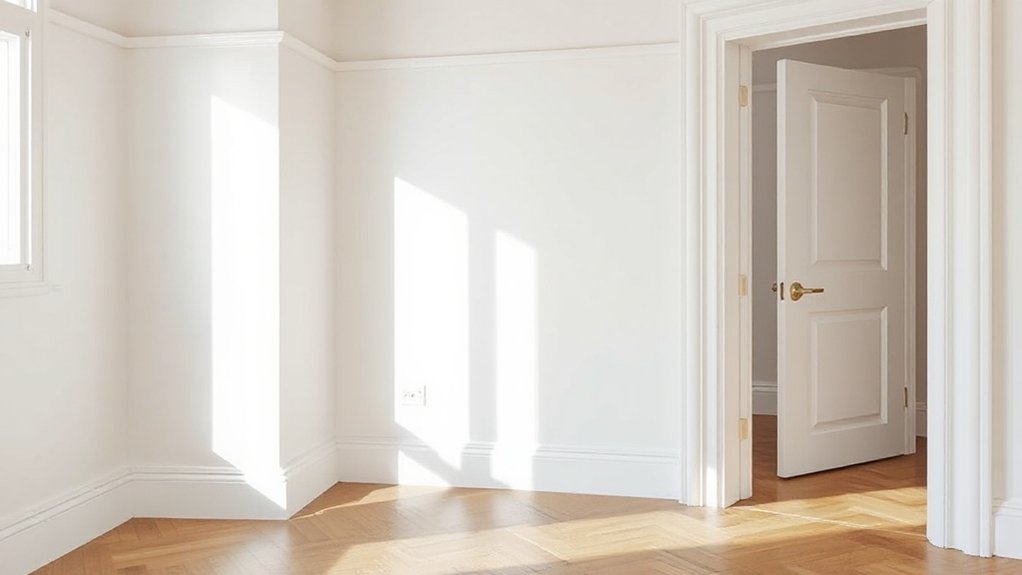
You’ll set a single skirting height and a single architrave head height, then hold those datums consistently across rooms so sightlines stay level. You’ll size profiles to suit ceiling height and wall length, keeping thickness and projection in proportion so the joinery reads intentional rather than bulky or mean. You’ll also plan how those datums shift at openings—especially where floor levels, door heights, or casing types change—so returns and junctions resolve cleanly.
Align Heights Across Rooms
Even if each room looks finished on its own, mismatched skirting and architrave heights telegraph uneven workmanship the moment sightlines connect. You should standardise a datum: pick a finished floor level, then set skirting top and architrave head heights from that reference, not from rough slabs or inconsistent underlay.
Measure existing runs with a laser, record deviations, and decide whether you’ll pack, trim, or replace to hit one dimension through doorways and hall axes. Keep mitres and returns consistent, and align joints to avoid step changes at thresholds. Verify that switches, outlets, and radiators clear the new lines. With consistent heights, furniture placement reads intentional and color coordination becomes simpler, because shadow lines and paint breaks repeat predictably. Confirm after flooring installation to prevent rework later.
Balance Proportions And Scale
Once you’ve fixed a common datum, you need to size skirting and architrave so their proportions suit the room volumes and opening heights, not just what stock profiles happen to be available. Measure ceiling height, door leaf height, and reveal depth, then select a skirting height that reads as a base, not a band; in taller rooms, increase height and projection together to keep the shadow line stable. Match architrave width to casing depth and wall thickness, and keep a consistent ratio between architrave width and skirting height across the floor. Check Furniture placement: verify skirting doesn’t clash with sofa backs or cabinetry toe-kicks. For lighting integration, confirm grazing light won’t exaggerate profile irregularities; specify crisp mitres and straight runs.
Plan Transitions At Openings
Although individual rooms may justify different profiles, shifts at openings need a single set of control dimensions so the joinery reads continuous rather than patched. You’ll get that by fixing a datum: set one skirting height, one architrave head height, and one reveal set-out across the floor. At each doorway, align architrave legs to the skirting top line, then resolve any profile change within the thickness of the architrave, not mid-wall. Keep doorway symmetry by matching leg widths, margins, and mitre returns both sides, even where one room gets a heavier profile. If ceiling heights vary, hold the head height and adjust top margins, not the skirting. Document transition detailing on elevations so the carpenter can’t improvise.
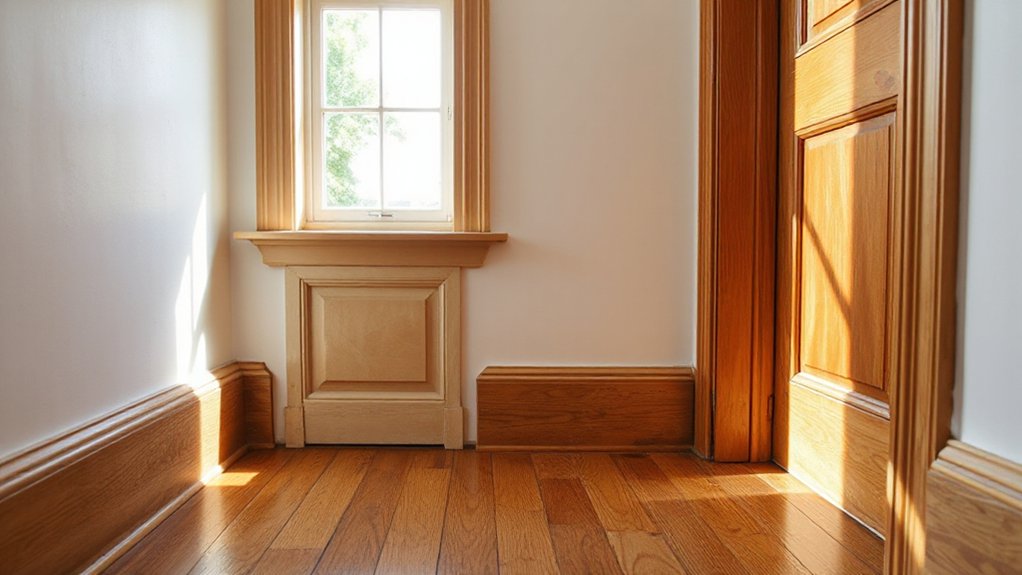
Update Skirting Profiles for Better Proportions
If your skirting looks heavy, fussy, or under-scaled against the wall height and door casings, update the profile before you touch anything else. Start by measuring wall height and selecting a skirting height that reads intentional: typically 120–180 mm in standard rooms, higher where ceilings rise. Choose skirting material that machines cleanly and stays stable—MDF for crisp runs, hardwood where impact resistance matters.
Then refine the silhouette. Strip back excessive steps and beads, and specify one dominant curve or chamfer with a flat face wide enough to paint without shadow chatter. Use profile customization to match existing offsets, but tighten radii, reduce tiny quirks, and keep the top edge consistent. Dry-fit corners, scribe to uneven floors, and pre-prime all cuts before fixing.
Sharpen Doors and Windows With New Architraves
You’ll sharpen door and window openings by selecting an architrave profile that matches the skirting’s scale, setback, and detailing. You then mark consistent reveals, cut accurate 45° mitres on a stable saw setup, and dry-fit to confirm tight arrises and square returns. You’ll fix and pin the runs to hold alignment, then fill and sand the mitres so the joints read crisp under paint or stain.
Choosing Architrave Profiles
Where do you start when architraves need to sharpen a door or window opening? First, measure the reveal and wall build-up so you specify a width that fully covers the gap without looking oversized. Select architrave material to suit stability and finish: hardwood for crisp arrises and stain, MDF for uniform paint, softwood for cost but expect more movement. Then choose profile options that match the room’s joinery language. A square edge reads contemporary but demands tight lines; a small pencil round softens paint build; ovolo and torus add shadow and suit traditional skirtings. Keep projection modest to clear hinges and window hardware. Align profile depth with skirting thickness so junctions read intentional, not stacked. Specify a consistent face margin for all openings.
Installing Crisp Mitre Joints
Once you’ve fixed the profile and width, crisp mitres come down to accurate marking, controlled cutting, and a glue line that closes under light clamp pressure. You’ll start by checking each jamb for plumb and reveal consistency, then strike knife lines from a story stick rather than trusting tape flex. For Material selection, use straight, acclimated stock; reject twist, spring, and brittle finger-joints at corners. Cut mitres on a tuned saw with a zero-clearance fence, then shoot end grain on a sharp plane until the arris meets your knife line. Dry-fit, confirm the outside corner is tight, then glue sparingly and pin near the inside edge to avoid opening the mitre. Finish with Custom finishing: fill micro-gaps, sand lightly, and seal end grain.
Tighten Reveals and Add Cleaner Shadow Gaps
To make internal joinery read sharper and more intentional, tighten your reveals and control the shadow gaps they form. Set a consistent reveal dimension (typically 2–4 mm) and hold it with story sticks, spacer blocks, and calibrated fences so every door, panel, and infill aligns.
Design the shadow gap as deliberate Decorative detailing, not a tolerance accident. Specify gap depth with a backing rebate or set-back cleat so the line stays dark and even under raking light. Control Material selection: stable substrates (MR MDF, ply, engineered timber) move less and keep reveals true, while solid timber needs allowance for seasonal movement. Seal edges, prime cut faces, and use matte finishes to reduce highlight chatter. Keep hardware adjustable so you can re-trim reveals after settling.
Clean Up Corners, Joins, and Transitions
Although tight reveals do most of the visual work, corners, joins, and shifts will still look sloppy if you don’t control how parts terminate and change plane. Start with corner detailing: decide whether you’re reading a crisp arris, a small chamfer, or a consistent 1–2 mm radius, then carry that choice through every exposed edge. Break sharp corners before finish to prevent burn-through and splintering. At internal corners, knife-cut scribe lines, pare to them, and square the last fibers with a chisel to avoid bruised end grain. For joins, flush-plane proud edges, then block-sand across the seam with a hard backer so you don’t dish. Use gradual smoothing at stepped planes by feathering with a card scraper, not soft sanding pads.
Refresh Built-In Joinery With New Fronts and Panels
If the carcass is sound but the face reads dated, you can refresh the entire built-in by re-skinning it with new fronts and infill panels while keeping the original joinery intact. Start by verifying reveals and squareness, then scribe new panels to walls for tight margins. Replace doors and drawer fronts with matched thickness, and re-bore hinges to the existing cup pattern or plug and re-drill for consistent offsets. Use concealed fasteners or dominoes so seams stay flat under raking light. For furniture integration, align stile widths with adjacent casework and continue grain direction across runs. Address lighting considerations by sizing rail profiles to avoid shadow lines at LED washes, and by leaving service access for drivers and wiring. Finish with edge banding and uniform sheen.
Plan Internal Joinery Work (Without Scope Creep)
Before you cut a single tenon or open a wall, lock down the internal joinery scope by mapping every joint you’ll touch—rails, dividers, web frames, face-frame intersections—and defining what stays, what gets modified, and what gets replaced. Capture this in a marked-up elevation and a cut list keyed to joint type, stock thickness, and reference faces. Then set tolerances: reveal targets, flushness limits, and allowable out-of-square correction so joinery aesthetics stay consistent across bays. Tie each change to a purpose—strength, clearance, alignment—so “nice-to-have” edits don’t creep in midstream. Confirm material selection early: species, ply core, moisture content, and grain direction for replacement members, plus compatible adhesives and fasteners. Finally, sequence tasks and freeze dimensions before ordering stock.
On-Site Joinery Mistakes to Catch Early
Once you’ve frozen the joinery scope, the fastest way to protect it on-site is to catch execution errors while they’re still reversible. Start by checking substrate flatness and moisture; cupped panels and wet studs telegraph through tight joints. Verify reference lines before you cut: a 2 mm drift compounds into misaligned reveals. Dry-fit every carcass, then confirm squareness by diagonals, not eyeballing. Watch fastener placement—nails in tenon zones split stock and ruin edge profiles. Control adhesive squeeze-out; it contaminates pores and later causes blotching during furniture finishing. Inspect hinge and slide mortises for depth consistency so doors don’t bind. Finally, review shadow gaps around decorative accents; inconsistent spacers read as poor craft. Re-check after acclimation.
Frequently Asked Questions
How Much Does Internal Joinery Rework Typically Cost per Room?
You’ll typically pay $1,500–$8,000 per room, depending on joinery materials and design options. Minor trim updates run lower; custom cabinetry and re-lining run higher. You’ll also cover site measure, fabrication, installation.
Do I Need Council Approval or Permits to Change Internal Joinery?
You usually don’t need council approval for internal joinery changes, but you may need permits if you alter structure, fire-rated elements, or services. Confirm with local codes; document custom carpentry specs and joinery materials.
How Long Will Joinery Replacement Disrupt Living in the House?
You’ll face disruption for 2–10 days per room: demolition 1–2 days, install 1–3, finishing/curing 2–5. You’ll manage dust/noise, limited access, and staging. Furniture design, historical accuracy extend scheduling.
What Paint Finishes Best Hide Imperfections on Older Timber Joinery?
Choose matte or low-sheen (eggshell) acrylic enamel; they diffuse light and mask dents best. You’ll balance Paint durability with a lightly stippled finish texture. Avoid high-gloss; it telegraphs every ripple.
Can New Joinery Improve Acoustic Privacy Between Rooms?
Yes, you can improve acoustic privacy with new joinery by reducing air gaps and increasing mass. Evaluate soundproofing options like perimeter seals, drop thresholds, and dense cores, guided by joinery material choices and installation tolerances.
Conclusion
When you rework internal joinery, you’re not just swapping trims—you’re resetting the room’s visual datum. Audit what dates the space, then standardise skirting and architrave heights, refine profiles, and tighten every corner, scribe, and connection. Update built-ins with new fronts where carcasses are sound, and lock your scope before site starts. Measure twice, cut once: that simple rule drives clean lines, consistent reveals, and a quietly refined finish.