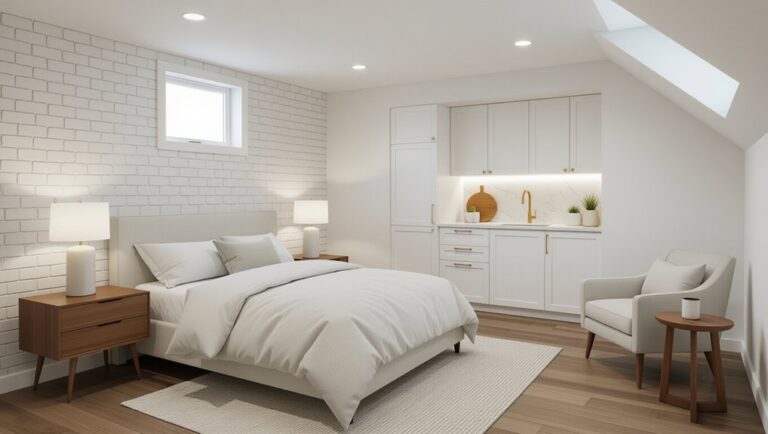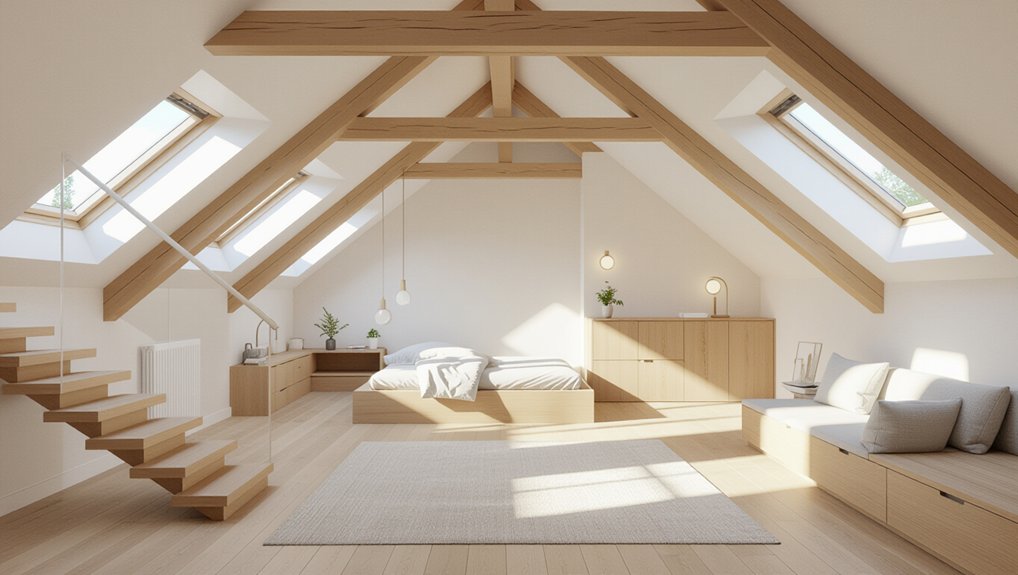
You’ll get extra living space from your loft only if you confirm structure and legality first—head height, roof pitch, joists, load paths, moisture, and permit limits. Map the 2.0 m headroom line to place circulation and key functions where you can actually stand, then fit a code-compliant stair with consistent rise/run and clear headroom. Add roof windows between rafters for usable daylight, and insulate with continuous ventilation from eaves to ridge. Next, refine layout, storage, and finishes.
Key Takeaways
- Confirm loft conversion suitability by checking head height, roof structure, joist strength, moisture issues, and local planning or party-wall requirements.
- Plan the layout around the 2.0 m headroom line, placing circulation and key functions where standing height is comfortable.
- Design a code-compliant staircase with correct rise, run, width, landings, guards, and continuous head clearance to the new floor.
- Improve daylight with well-positioned roof windows sized for task zones, set between rafters where possible to reduce structural changes.
- Ensure comfort and durability using continuous insulation, vapor control, eaves-to-ridge ventilation, and integrated under-eaves storage without blocking airflow.
Check If Your Loft Is Suitable to Convert
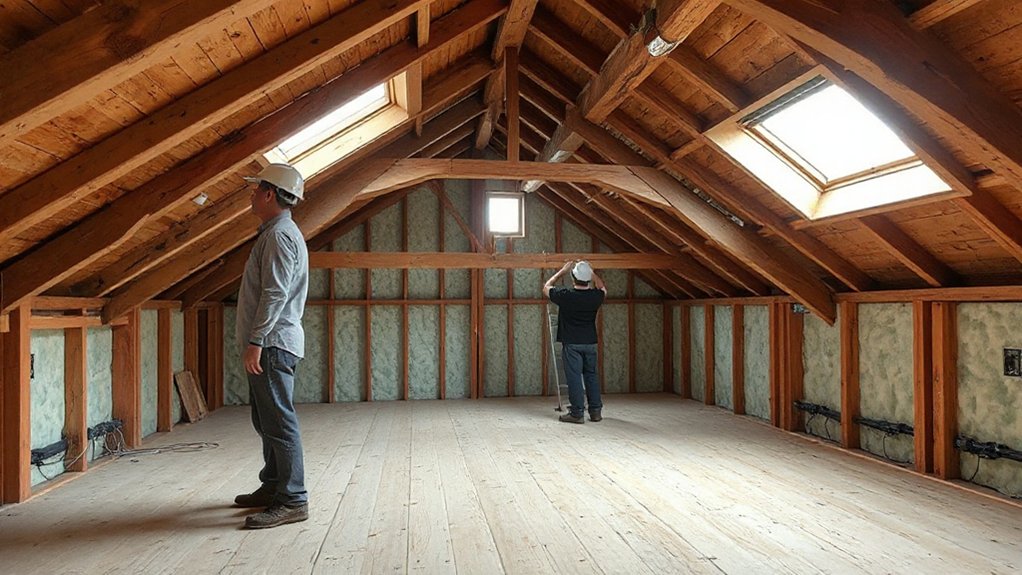
Before you draw up plans, you’ll need to confirm your loft can physically and legally support a conversion: check the available head height at the ridge (and across the usable floor area), measure the roof pitch and span, and identify the framing type (traditional rafters vs. prefabricated trusses) to understand what can be altered without major structural intervention. Next, verify Structural stability: inspect joist depth and spacing, look for sagging, split members, or undersized timbers, and trace load paths to bearing walls. Confirm you’ve got space for compliant access and protected escape routes without altering primary structure. Check for water ingress, insulation voids, and ventilation continuity at eaves and ridge. Finally, review local constraints, party-wall obligations, and whether Building permits or engineer sign-off are required for beams, dormers, or steelwork.
Plan Your Loft Interior Layout for Headroom
Start by measuring ceiling heights along the ridge and down each roof slope, then map the 2.0 m headroom line on your floor plan so you can zone full-height circulation and low-height storage. You’ll position key uses—bed, desk, shower—only where clear standing height meets code and your own comfort thresholds. Then optimize staircase placement to land in the highest volume, align with joist direction for cleaner structural openings, and keep the run from stealing headroom from the main usable bay.
Measure Ceiling Heights
How much usable volume does your loft really give you once structure and services eat into the height? Start by mapping ceiling height at a tight grid: every 600–900 mm along the ridge and down each slope, plus at dormer cheeks and around beams. Use reliable measurement tools—laser distance meter for speed, tape for verification, and a 1.2 m spirit level to confirm datum. Reference all readings to finished floor level, not joists, and note insulation build-up, plaster thickness, and any duct or pipe drops.
Plot the numbers onto a section sketch to reveal headroom bands: full-height zone, crouch zone, and no-use zone. You’ll place circulation, seating, and storage accordingly. Recheck after floor buildup is fixed.
Optimize Staircase Placement
Because the stair dictates where people can stand upright as they arrive, place it so the landing breaks into your full-height band rather than dumping you into a crouch zone. Align the run parallel to the roof ridge or highest joist line, and shift the opening toward the tall side so the headroom envelope expands over the treads. Keep the stair centerline clear of purlins, ducts, and collar ties to avoid forced jogs that steal height. Size the cutout to maintain code-required head clearance from nosing to soffit, then tune riser count to land on the loft’s circulation axis. Choose staircase materials that minimize thickness at stringers and finish build-up. Specify railing designs with slim profiles so they don’t pinch the entry path.
Choose Loft Conversion Stairs That Meet Code
While you’re planning a loft conversion, treat the stair as a code-driven circulation element, not a leftover gap-filler: its run, rise, width, and headroom lock in the opening size, landing positions, and guard/handrail layout. Verify maximum riser height and minimum tread depth, then model the pitch line to confirm continuous head clearance from the first tread to the upper landing. Keep the clear width consistent between walls and handrails, and provide required landings where doors swing or the flight turns. Detail guards at open sides with compliant baluster spacing, and set handrails at the mandated height with returns. Choose staircase materials that achieve required slip resistance and fire performance. Document these choices against local safety regulations before framing starts.
Add Daylight to Loft Interiors With Roof Windows
Once you’ve fixed the stair opening and ridge-to-eaves geometry, size roof windows to deliver usable daylight where you actually stand and work, not just a bright patch on the floor. Set head height so you can see sky from seated and standing positions, then align the sill to avoid blocking views with knee walls or furniture. In your roof design, place units between rafters where possible to limit structural alteration, and center them over task zones like desks, dressing runs, or landing areas. Use taller, narrower glazing on steep pitches for deeper light throw; use wider units on low pitches to widen spread. Pair opposing roof windows to balance Natural light and reduce hard contrast across sloped ceilings.
Insulate and Ventilate Loft Interiors Properly
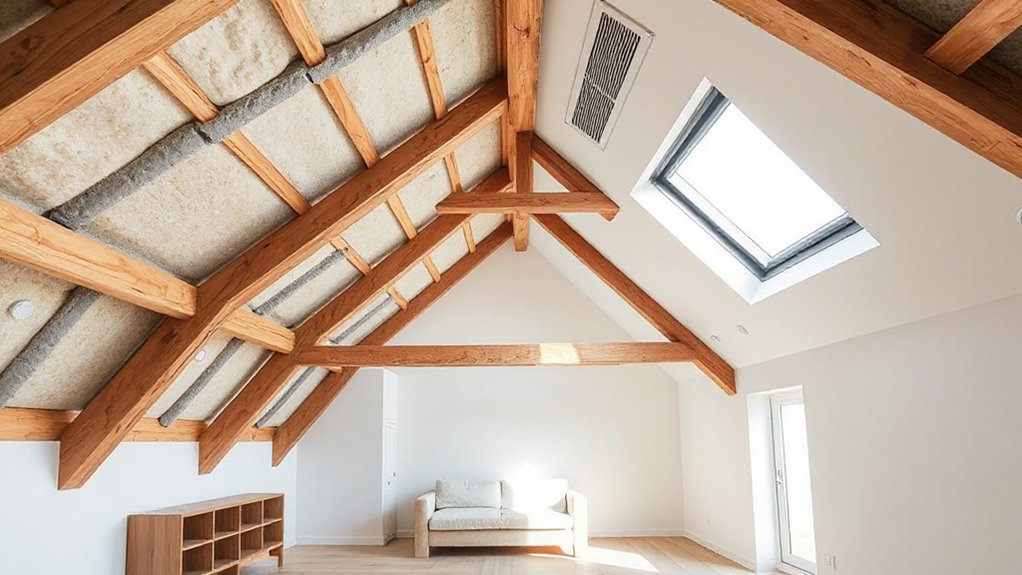
Even if you’ve tuned the roof windows for daylight, you still need a continuous insulation layer and a controlled ventilation path to keep the loft comfortable and the roof build-up dry. Run thermal insulation tight to rafters, then add a service cavity so wiring doesn’t puncture your air barrier. Tape all board joints, seal at ridge, gable, and wall plates, and maintain a consistent thickness through sloped ceilings and knee-wall returns to prevent cold bridges. Use vapour control on the warm side and check dew-point risk where the pitch meets dormer cheeks. For airflow, keep a clear eaves-to-ridge channel, install baffles at the soffit, and specify ventilation systems sized for the new room volume, exhausting moisture away from the roof zone.
Build Storage Into Awkward Loft Interior Eaves
You can reclaim the dead space under your loft’s sloped eaves by fitting custom cabinets that follow the roof pitch and land cleanly on the knee-wall line. You’ll maximize usable volume when you run low-profile sliding drawers on full-extension rails, sized to clear rafters, wiring runs, and insulation thickness. You should set access points at the floor line or behind short doors so storage stays reachable without compromising headroom or ventilation paths.
Custom Eaves Storage Cabinets
Where do you put practical storage when the roof pitch drops to knee height and the eaves turn into dead space? You convert that wedge into eaves storage with custom cabinets sized to the rafters’ geometry. Start by mapping the usable envelope: measure from finished floor to rafter line at 300 mm increments, then set a cabinet plinth that stays level across the slope. Build a shallow carcass that stops short of insulation and maintains ventilation gaps at the cold roof. Use moisture-resistant MDF or birch ply, edge-band all cut faces, and anchor to floor joists and gable studs, not just plasterboard. Specify hinged, low-profile doors with soft-close stays, and align reveals to dormer trims so the run reads intentional. Add cable chases for outlets.
Sliding Drawers Under Eaves
How do you reclaim the low, tapering zone under the rafters without committing to deep, fixed cabinets? You install sliding drawers that run parallel to the kneewall, turning dead floor area into accessible eaves storage. Set a level plinth on joists, then add full-extension, side-mount runners sized for the drawer load and depth. Keep drawer heights low to match the pitch; you’ll gain capacity through length, not stack. Use scribed fronts or a shallow face frame to follow irregular plaster lines and stop light leaks. Ventilate the void with discrete slots so insulation stays dry. Add soft-close hardware to prevent racking, and include finger pulls so you don’t need swing clearance. Label compartments for seasonal rotation too.
Match Loft Interior Finishes to the Rest of the House
Although a loft can read as its own volume, the finishes need to track the house’s baseline material palette so the shift at the stair opening, guard lines, and ceiling plane doesn’t feel abrupt. You’ll get continuity by matching floor species, sheen, and plank direction to adjacent rooms, then carrying baseboard profiles and door casings through the new threshold. Align paint values and wall texture so raking light across the sloped ceiling doesn’t expose patchwork. If you introduce Decorative finishes, confine them to a single datum—like the guard wall or knee-wall built-ins—so they read intentional. Coordinate lighting schemes with the floor below: keep color temperature consistent, repeat fixture families, and layer task, ambient, and accent light to stabilize perceived ceiling height.
Frequently Asked Questions
How Long Does a Typical Loft Conversion Take From Start to Finish?
You’ll typically finish a loft conversion in 6–10 weeks, depending on structural complexity. You’ll sequence framing, insulation techniques, and Interior lighting rough-ins early, then close walls, fit stairs, and complete finishes and inspections.
What Is the Average Cost Range for Reforming a Loft Into Living Space?
You’ll typically pay $25,000–$70,000; like opening a hidden attic vault, costs hinge on headroom, structural steel, Interior lighting runs, and Insulation materials upgrades. Add stairs, plumbing, and permits to shift totals.
Do I Need Planning Permission or Only Building Regulations Approval?
You usually don’t need planning permission if you stay within permitted development; you will need building regulations approval. Secure Building permits, schedule Structural assessments, and verify dormer volume, ridge height, setbacks, and overlooking constraints.
How Disruptive Will the Loft Conversion Be to Daily Life Downstairs?
It’ll be moderately disruptive: expect Noise disruption from floor strengthening, steel beams, and stair opening, plus Dust and debris migration. You’ll keep downstairs usable by sealing stairwell, using extractors, scheduling noisy cuts daytime.
Will Converting the Loft Increase My Home’s Resale Value?
Yes, it’ll skyrocket resale value if you execute it right—buyers will chase that extra volume. You add compliant loft insulation, balanced interior lighting, and clear headroom zones, making the upper envelope feel like a true room.
Conclusion
Now you’re ready to reform your loft interior into real living space. You’ve checked structure and load paths, mapped a layout around headroom lines, and specified code-compliant stairs with safe pitch and clear width. You’ve pulled daylight through roof windows, then sealed the envelope with continuous insulation and controlled ventilation. You’ve captured eave dead zones with built-ins and aligned trims, flooring, and paint with the house. Why leave cubic metres unused?
About the Author