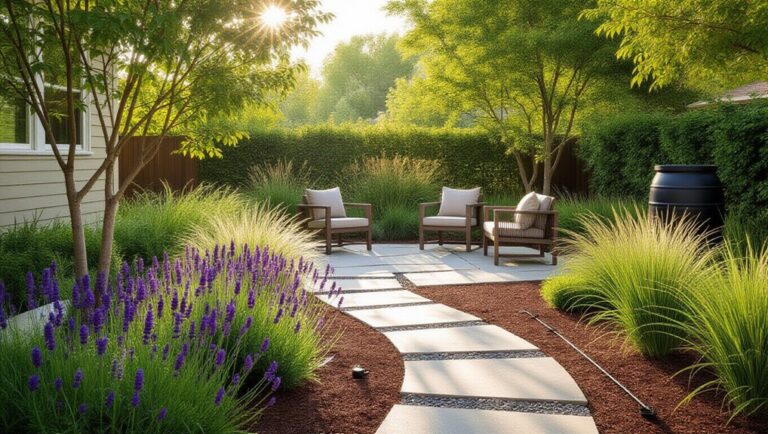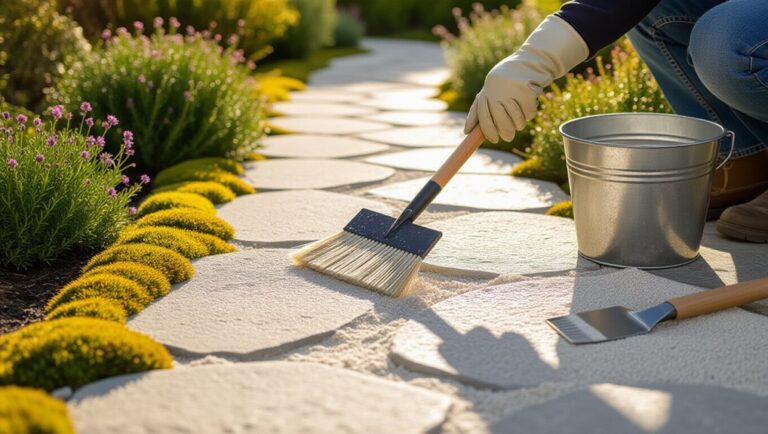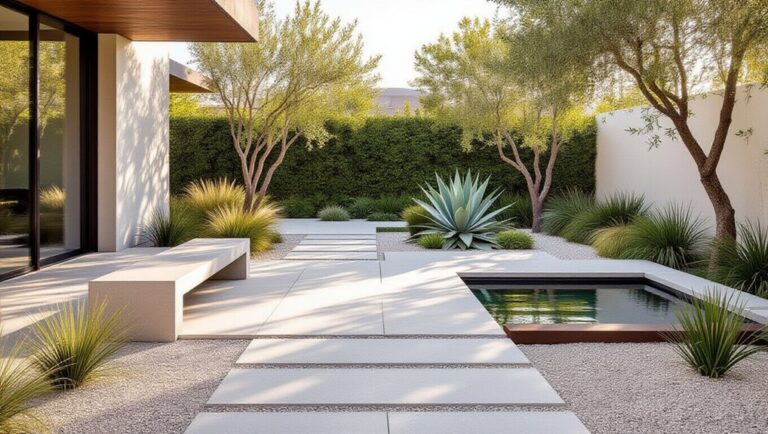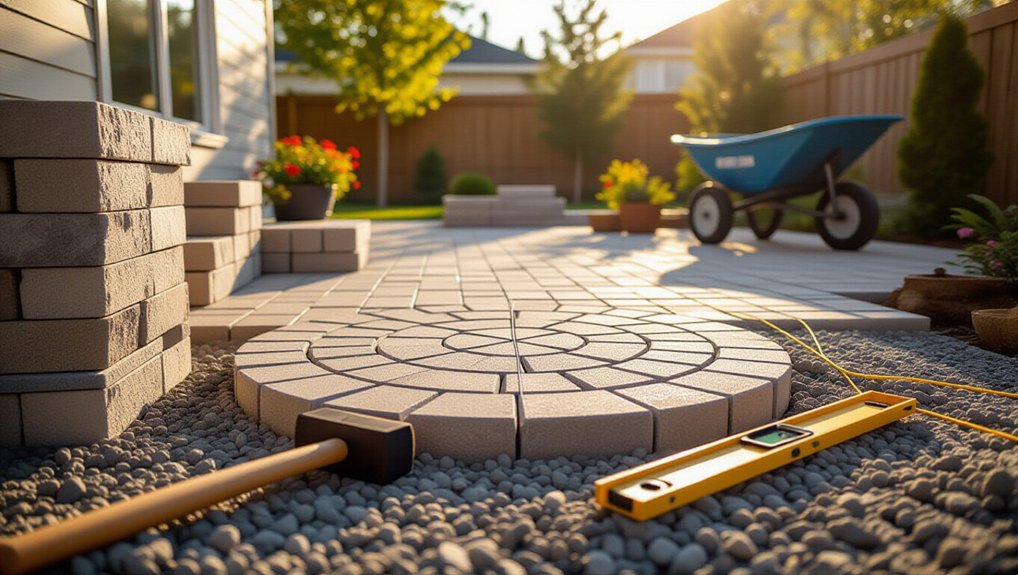
Start by choosing a functional focal point—fire pit pad, entry landing, or terrace—then stake it out and set final height with a 1–2% slope away from structures. Calculate pavers plus 8–10% waste, and order base and bedding sand with compaction allowance. Excavate to full depth, compact base in lifts, and screed 1 inch of bedding sand. Lay pavers true to string lines, install rigid edging, sweep joint sand, and compact with a pad—next you’ll see how to fine-tune cuts and joints.
Key Takeaways
- Choose a focal feature and paver style that matches yard use, existing hardscape, and expected loads.
- Stake the layout, confirm clearances and sightlines, and set a 1–2% slope away from structures for drainage.
- Calculate pavers, base, and sand with 8–10% waste, then gather essential tools, edging, and safety gear.
- Excavate to proper depth, build and compact the base in lifts, and screed a smooth 1-inch bedding sand layer.
- Lay pavers to the chosen pattern, install rigid edging, fill joints with sand, compact in passes, and reset any rocking units.
Choose the Best Paver Focal Point for Your Yard
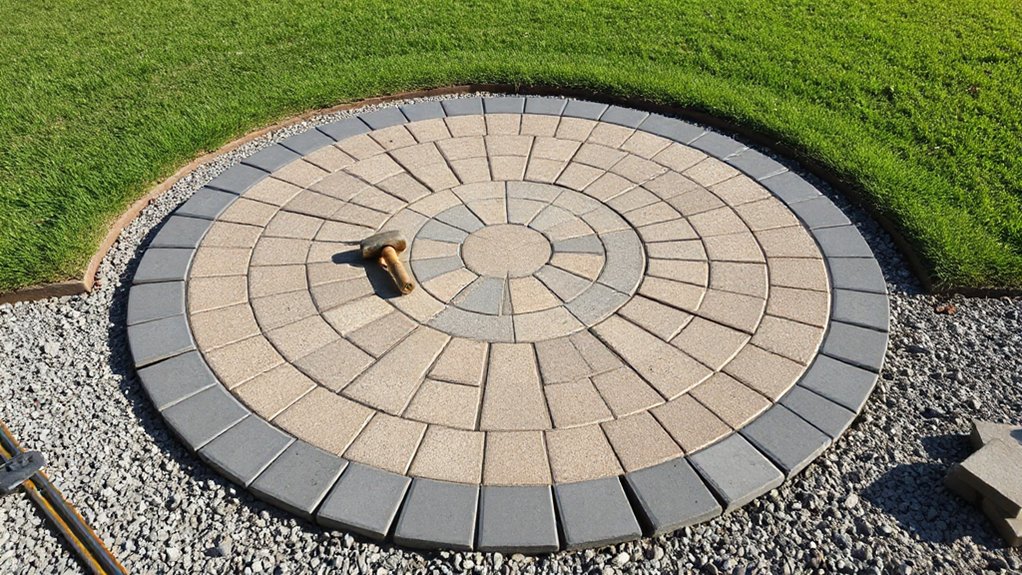
If you start by reading your site’s conditions, you’ll pick a paver focal point that looks intentional and performs well. Match the feature to how you use the yard: a fire pit pad for gathering, a small terrace for seating, or a landing that frames an entry view. Choose paver thickness and compressive strength for expected loads, and select a surface texture that balances slip resistance with cleanability. Keep color and finish consistent with existing hardscape so the focal point reads as a deliberate node, not a patch. Plan for Paver maintenance by selecting jointing and sealant options you can renew. Support garden integration by coordinating edging heights and plant palettes to soften lines.
Plan Location, Drainage, and Dimensions on Site
Stake out the focal point’s footprint on site, then confirm sightlines from primary viewing areas and clearances from structures, roots, and utilities. Check existing grade with a 4–6 ft level or laser, and verify runoff won’t pond against the pavers or flow toward the house. Adjust placement and dimensions as needed to maintain a consistent slope (about 1–2% away from buildings) and tie cleanly into adjacent surfaces.
Choose Optimal Placement
Before you move a single paver, walk the site and lock in the focal point’s exact footprint by checking sightlines from key viewing angles, verifying clearances to doors, steps, utilities, and tree roots, and confirming that surface water will drain away from structures. Set stakes at corners and run mason’s line to visualize edges, then test the layout with a hose or marking paint. Keep the feature centered on the primary approach path, but offset enough to preserve circulation and mower access. Measure diagonals to square the footprint, and confirm dimensions against your paver module to minimize cuts. Note sun and shade patterns so your Landscaping ideas align with planting zones and future Garden maintenance tasks, including edging, sweeping, and joint sand top-ups.
Check Slope And Drainage
Where will water go once the pavers are locked in? You’ve got to map drainage before you excavate. Set a consistent pitch—aim for 1/8–1/4 inch per foot—directed away from your house, footings, and low spots. Use a string line and line level, then verify with a straightedge and tape across the entire footprint, not just the edges. Watch existing swales, downspout outlets, and compacted paths that can redirect Water runoff. If flow crosses the paver field, plan a channel drain or a slight crown to split flow. Protect Soil stability by keeping the base above saturated zones and by avoiding cuts that undercut adjacent roots or retaining edges. Confirm after rain, then mark grades.
Pick Paver Style, Color, and a Focal Pattern
Although your focal point can use almost any paver, you’ll get the cleanest result by matching style, color, and pattern to your site’s scale, light conditions, and surrounding materials. Choose a paver thickness and edge profile that suits the traffic you expect; crisp chamfers read sharper in small courtyards, while tumbled edges soften large, rustic spaces. For color coordination, sample units on site at morning and late-day sun, and compare them to siding, stone, and planting mulch so undertones don’t clash. Favor mid-tone blends where stains and efflorescence won’t dominate, reducing future paver maintenance. Then select a focal pattern that directs views: a circular kit inside a running bond, a herringbone “panel” framed by soldier course, or a contrasting inlay aligned to the main approach line.
Gather Tools and Calculate Paver/Base Quantities
With your paver style, color, and focal pattern set, lock in the install plan by staging the right tools and running accurate material takeoffs for pavers, base, and bedding. Bring a tape, stringline, stakes, square, level, marking paint, broom, rubber mallet, hand tamper, screed rails, shovel, rake, wheelbarrow, utility knife, and PPE.
Measure the footprint, subtract cutouts, then add 8–10% waste (15% for complex inlays). Convert area to paver count using manufacturer coverage. For base, compute volume: area × planned base thickness; add 10% for compaction and grade corrections. For bedding sand, use area × 1 in. and add 5%. Note Maintenance tips and seasonal adjustments: allow extra edge material where freeze-thaw or heavy runoff may shift joints.
Build a Compacted Base and Set Your Levels
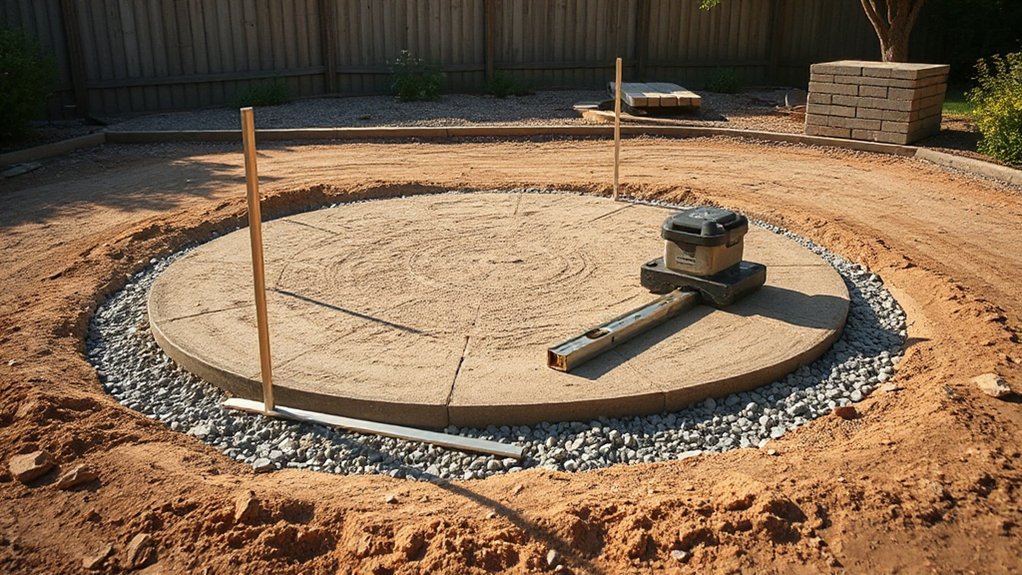
Start by excavating to the required depth for your pavers, bedding sand, and compacted base, and cut in a consistent slope away from structures for drainage. Install base material in thin lifts and compact each layer to refusal, checking grade as you go so you don’t build low spots into the pad. Then set tight level lines and use a screed rail system to strike your sand bed to final elevation, keeping it smooth and undisturbed before you lay pavers.
Excavation Depth And Slope
Once you’ve locked in the paver layout, you need to excavate to a depth that fits the full base stack-up and bakes in proper drainage. Mark finished grade with stakes and string lines, then measure down to subgrade, accounting for paver thickness plus all underlying layers you’ll add later. Keep the excavation bottom uniform so your elevations don’t drift across the field.
Cut your slope into the subgrade now: aim for about 1/8–1/4 inch per foot away from structures and toward an approved discharge point. Verify grade with a level on a straightedge and recheck after rain or traffic. Watch soil stability at edges; don’t undercut. If soils are loose, widen the cut and plan erosion control at changes and outlets.
Base Material And Compaction
Your excavation sets the geometry; the base build locks it in and carries loads without letting the pavers settle or pump water. Start with Soil preparation: proof-roll the subgrade, cut out soft pockets, and replace them with compactable fill. If the native soil is clayey or wet, add separation geotextile so fines won’t migrate into the base. Use well-graded crushed aggregate (e.g., 3/4″ minus) for Material durability and interlock. Place it in 2–3″ lifts, misting lightly if dusty, then compact each lift with a plate compactor until it stops rutting and your footprints don’t print. Set levels by checking elevations frequently with a straightedge and level, keeping consistent fall and uniform thickness across the footprint.
Screed Sand Level Lines
After the base passes compaction checks and holds grade, set screed rails (1″ EMT, conduit, or straight 1x) on the compacted aggregate and lock their heights to your finished level lines so the bedding layer stays uniform. Pull tight stringlines or use a rotary laser to verify slope (typically 1/8″ per foot) away from structures and toward drainage. Shovel concrete sand between rails, then drag a straightedge to strike it off in one continuous pass. Don’t walk on the screeded bed; work from outside the pad and reset rails as you advance. Spot-check thickness with a ruler—keep bedding at 1″ max to limit settlement and simplify paver maintenance. Adjust grades near planting edges to support clean garden integration and edging restraint.
Lay Pavers Flat and Keep the Pattern True
Although the base may look level, you’ll only keep a crisp pattern if you set each paver perfectly flat and verify alignment as you go. Start from a fixed reference line and place pavers without sliding them, so you don’t disturb the screeded sand. Seat each unit with light hand pressure, then check for rocking; if it teeters, lift it straight up, shave or add a dusting of sand, and reset. Keep joints consistent by using spacers or your string line as a visual gauge. Every few rows, measure diagonals and sight along courses to catch drift early. Note low spots and high spots now; they’ll complicate Paver maintenance and Seasonal adjustments later.
Edge, Sand, Compact, and Finish the Paver Focal Point
Once the field pattern stays true, lock it in with rigid edging, then sweep joint sand and compact in controlled passes so the whole focal point behaves like a single surface. Stake edge restraints tight to the soldier course and keep them flush with the paver faces for clean edge finishing. Backfill outside the edging with base gravel so it can’t flex under foot traffic or freeze-thaw. For sand leveling, use dry polymeric or concrete sand depending on drainage and shade; sweep diagonally until joints are full to the chamfer, not bridged. Run a plate compactor with a urethane pad, starting at the perimeter and working inward; make two to three passes. Refill joints, mist per product, and final-compact lightly. Check for rocking and reset any high units.
Frequently Asked Questions
Do I Need a Permit or HOA Approval for a Paver Focal Point?
You’ll likely need HOA approval and sometimes a permit, depending on setback, drainage, and impervious-area rules. Check bylaws and your city’s site plan. Document paver patterns, material options, edge restraints, base depth.
How Do I Prevent Ants or Weeds From Returning Between Pavers?
Stop stubborn sprouts and sneaky swarms by compacting polymeric sand into joints, then mist-curing it. For Ant prevention, add borate bait at edges. For Weed control, install geotextile, maintain tight joints, and re-sand annually.
What’s the Best Way to Remove Stains Like Oil, Rust, or Mulch Dye?
Use targeted stain removal techniques: blot oil, apply degreaser, scrub, rinse; treat rust with oxalic-acid cleaner, neutralize, rinse; lift mulch dye using oxygen bleach. Test cleaning solutions on a hidden paver, then pressure-rinse.
How Soon Can I Place Heavy Furniture or a Fire Pit on New Pavers?
You can place heavy furniture after 24–48 hours; wait 7 days for a fire pit, because pavers love “surprise” point loads. Finish paver sealing after drying, and guarantee joint stabilization has cured per product label.
How Do I Winterize Pavers and Avoid Damage From De-Icing Salts?
Winterize by cleaning, improving drainage, and applying Paver sealing before freeze-thaw. You’ll boost Salt resistance and limit scaling. Use calcium magnesium acetate or sand, not rock salt. Remove snow promptly and avoid metal shovels.
Conclusion
You’ve mapped drainage, set dimensions, and locked grades with a compacted base that won’t shift. With your pavers aligned and the focal pattern staying true, you’ve controlled joints, edge restraint, and final compaction for a stable surface. Sweep polymeric sand into dry joints, compact again, then mist per label so it binds cleanly. Recheck slopes and shift after curing. Now step back—doesn’t that crisp, level centerpiece make the whole yard feel engineered, intentional, and complete?
About the Author