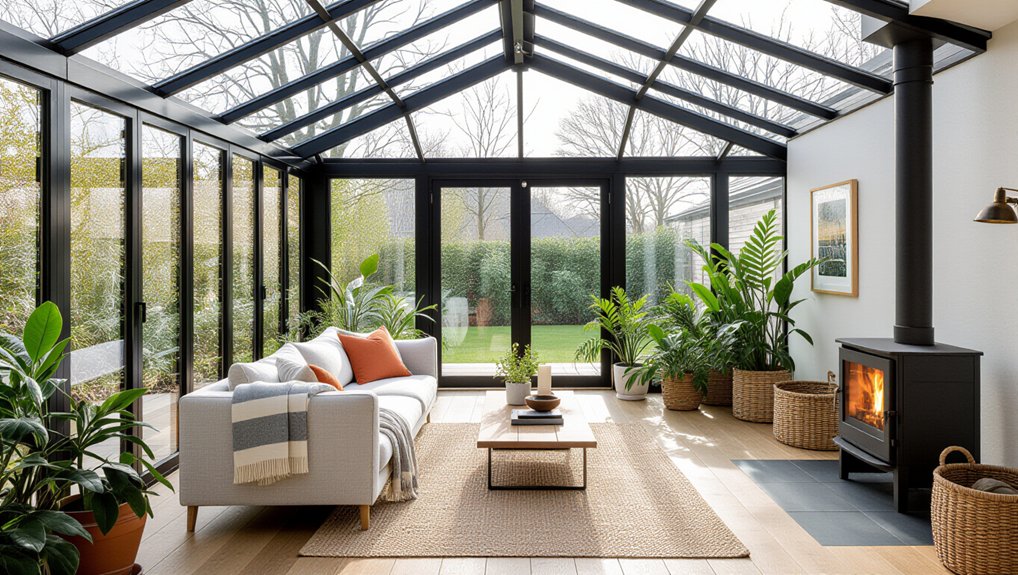
You can make your conservatory a year‑round room by upgrading it like a full thermal envelope. Start by auditing U‑values, drafts (ACH50), and solar gain with thermography and logging. Add a continuously insulated, thermally broken roof, then fit low‑E double/triple glazing with warm‑edge spacers and compatible frames. Insulate the floor perimeter and seal all junctions with taped air/VCL layers. Control RH (40–60%) with timed, humidity‑sensing ventilation and add external shading to prevent overheating. Keep going to see the exact details that matter.
Key Takeaways
- Audit heat loss, drafts, and solar gain using U-value mapping, thermography, and blower-door testing to target the biggest upgrades.
- Improve roof performance with insulated panels or high-spec glazing, ensuring continuous insulation, airtight taped joints, and correct vapour control.
- Upgrade glazing to low-E double/triple units with warm-edge spacers, and avoid thermal bridges with compatible frames and sealed junctions.
- Insulate the floor and perimeter, add airtight membranes, and seal penetrations to stop cold bridging and reduce condensation risk.
- Manage moisture and overheating with humidity-controlled ventilation, safe night venting, and effective external shading like awnings or outdoor blinds.
Audit Heat Loss, Drafts, and Solar Gain
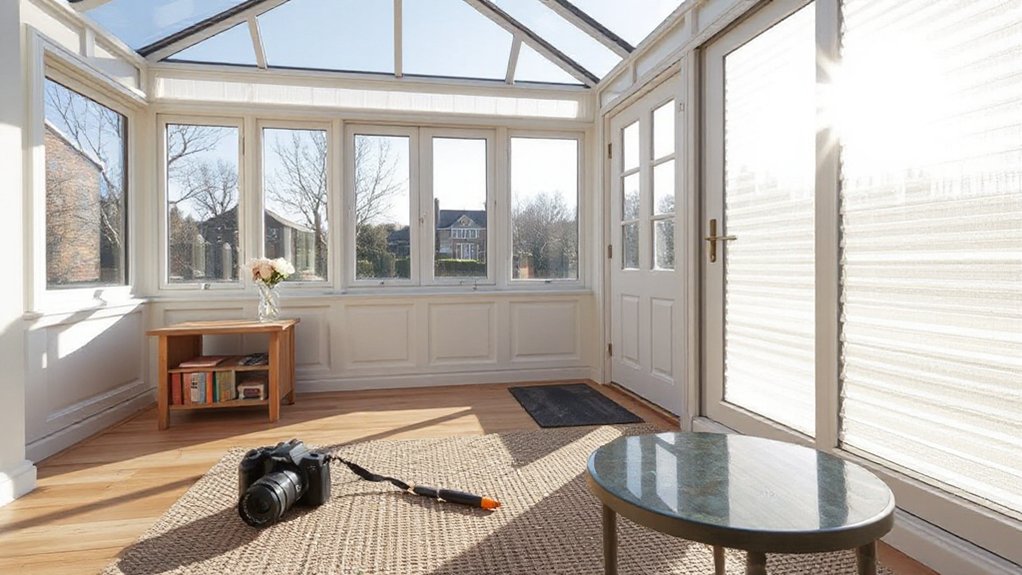
Before you specify insulation or new glazing, you’ll need to quantify how the conservatory actually performs by auditing heat loss paths, air leakage, and solar gain. Start with a fabric survey: map U‑values for walls, floor perimeter, frames, and existing glazing, then log internal/external temperatures to calculate steady‑state losses. Use a smoke pencil and anemometer at sills, eaves, door thresholds, and service penetrations to locate drafts; confirm with a blower‑door test to an appropriate standard and record ACH50. Run thermography during a ≥10°C delta‑T to identify thermal bridges and missing seals. Measure solar gain by orientation, shading, and glass g‑value; correlate with overheating hours against a comfort target. Document findings to justify energy efficiency upgrades and thermal comfort controls.
Upgrade the Conservatory Roof for Insulation
To make your conservatory perform year-round, you’ll upgrade the roof assembly to hit code-required U-values and control condensation at the glazing-to-frame interfaces. You can specify high-performance roof materials—multiwall polycarbonate, insulated glass units, or insulated roof panels with a continuous thermal break—paired with a compliant air/vapor control layer and taped joints. For professional retrofit options, you’ll assess rafter capacity and fastening schedules, then install an insulated overlay or replacement roof system with flashed junctions to maintain airtightness, drainage, and manufacturer warranty requirements.
High-Performance Roof Materials
Although your conservatory’s glazing drives the daylight, the roof dictates whether the space meets year‑round thermal performance, so upgrading to high‑performance roof materials should prioritize a continuous insulation layer, robust air‑sealing, and verified moisture control. Choose insulated roof panels or a warm-roof assembly that meets local U‑value/R‑value targets and limits thermal bridging at rafters with rigid foam or insulated splines. Specify a solar reflective exterior membrane or coated metal to cut summer gains while maintaining fire and wind ratings. Use taped, code-listed air barriers at joints, skylight curbs, and wall junctions or connections, and add a smart vapor retarder where climate requires it to prevent condensation. Confirm sheathing fasteners, span ratings, and structural reinforcement for added dead load and snow load.
Professional Roof Retrofit Options
How do you insulate a conservatory roof without compromising structure, drainage, or code compliance? You’ll start with an engineer’s load check, then select a retrofit system rated for wind uplift and thermal performance. A common option is an insulated warm-roof overlay: rigid PIR boards over existing rafters, taped foil seams, a continuous vapour control layer, and new roof covering with maintained falls to gutters. If you need daylight, you can specify insulated panels with integrated rooflights and thermal breaks. For heritage or planning constraints, internal quilt systems with sealed VCLs can work, but you must protect against interstitial condensation. You can also plan solar panel integration using certified mounting rails and fire-rated cable routes, while keeping aesthetic roof designs consistent.
Upgrade Conservatory Glazing to Retain Heat
To retain heat in your conservatory, you’ll upgrade the existing units to double or triple glazing with an argon-filled cavity and warm-edge spacers to improve U-values. You’ll specify low‑E glass with the correct solar factor for your orientation so you reduce radiative losses while maintaining compliant daylight and safety glazing where required. You’ll also replace perimeter gaskets, set the frames plumb, and seal all junctions with approved air- and weather-tight systems to control infiltration and condensation.
Double Or Triple Glazing
When your conservatory loses heat fastest through its glazed envelope, upgrading to double or triple glazing delivers the biggest measurable improvement in thermal performance. Specify insulated glass units with warm-edge spacers and gas-filled cavities, and verify the declared U-value meets your local energy code targets for heated spaces. If you’re integrating the conservatory into the main dwelling, check compliance for Part L (UK) or equivalent, including area-weighted performance.
Match the new units to compatible window frames so you don’t create thermal bridges or overload sashes; confirm sightlines, drainage paths, and structural rebates suit the thicker IGU. Choose safety glazing where required (doors, low-level panes) to meet impact standards. Guarantee the installer follows manufacturer tolerances, packs and shims correctly, and provides documented commissioning and warranty. Avoid mismatched glass coatings across elevations.
Low‑E Glass And Seals
Double or triple glazing improves U-values, but low‑E coatings and properly specified seals determine whether that performance holds in real winter conditions. Specify Low e coatings on the correct cavity-facing surface (typically surface #3 on IGUs) so you cut radiant heat loss without increasing condensation risk. Choose sealed units with warm-edge spacers and argon fill, and confirm they’re factory-certified to EN 1279 for gas retention and moisture resistance.
Don’t let frames undermine the glass: require continuous perimeter gaskets, compatible silicone/EPDM sealants, and drained/vented rebates per the system manufacturer. You’ll also need airtight installation—taped junctions to the wall air barrier and correctly shimmed units—so you prevent wind-wash and meet Part L airtightness intent. Finally, check pressure-equalisation to avoid seal pump-out.
Seal Air Leaks and Insulate the Conservatory Floor
Where does most of the unwanted heat loss and draftiness in a conservatory start—at the floor line and the base connections that rarely get sealed correctly. You’ll Seal leaks by removing skirting, cleaning substrates, then applying a continuous air barrier: backer rod plus low‑expansion foam at gaps, and elastomeric sealant at frame-to-slab joints. Don’t block weep paths; maintain drainage and thermal breaks.
Next, you’ll insulate floor to current energy targets. If you can lift finishes, install rigid PIR or XPS over a DPM/VCL, tape seams, then add a structural overlay before flooring. For suspended floors, friction-fit mineral wool between joists, staple an airtight membrane below, and seal penetrations. Verify U‑values and fire stopping at service routes.
Cut Summer Overheating With Blinds and Shade
After you’ve stopped draughts and upgraded the floor insulation, summer solar gain becomes the next limiting factor for comfort in a conservatory. You’ll cut peak temperatures fastest by intercepting radiation at the glazing. Specify outdoor blinds or awnings with side guides; they stop heat before it enters and can achieve meaningful solar reduction without altering the roof structure. Ascertain fixings suit the frame material and meet wind-load requirements; follow manufacturer test data and local planning limits. Add Interior shading as a second line: reflective roller blinds, pleated cellular blinds, or low‑e curtains rated for conservatory use. Fit close to the glass and seal light gaps to reduce re‑radiation. Choose moisture-stable fabrics and fire-performance classifications appropriate to adjacent habitable rooms.
Ventilate Your Conservatory Without Chilling It
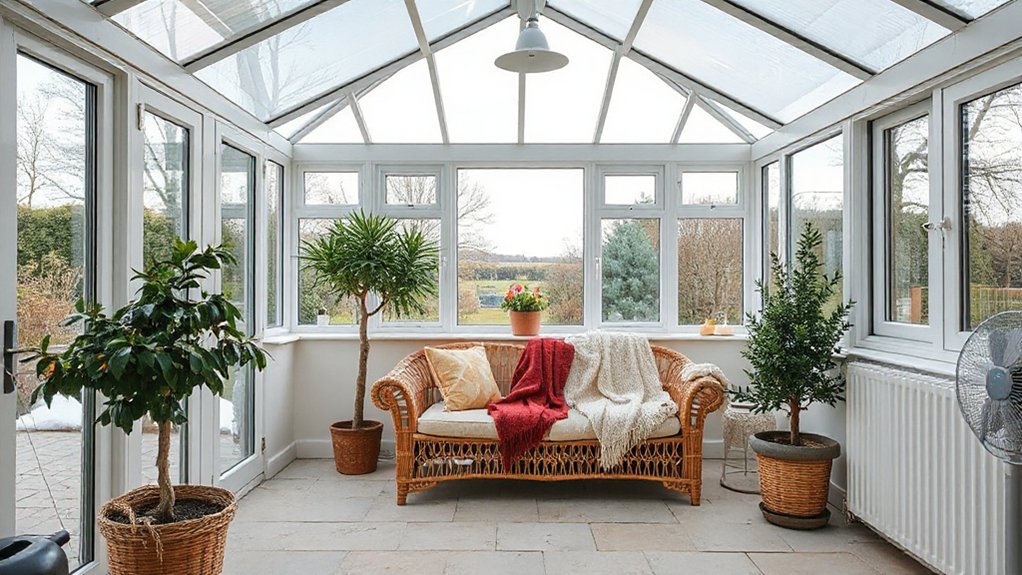
Because the warmest air pools at the roofline, you’ll ventilate most effectively by exhausting high-level heat while controlling low-level inlets to prevent cold drafts across the occupied zone. Use roof vents or high clerestory openers first, then crack trickle vents at head height to balance pressure. For Natural ventilation, set openings for cross-flow but keep inlet area smaller than exhaust to reduce air speed at seating level. Fit restrictors and secure night-vent positions to meet safety guidance, and guarantee escape routes aren’t compromised by openers. Add a humidity-sensing extract fan on a timer for humidity control during cooking, drying, or high occupancy. Seal gaps at sills and use draught-proofed vents so you’re moving air through planned pathways only.
Prevent Condensation and Damp All Year
Although you can’t stop moisture entering a conservatory, you can prevent condensation and damp by controlling dew point at the coldest surfaces—typically glazing edges, frames, and eaves junctions—through a balanced mix of ventilation, continuous insulation, and reliable vapour control. Keep internal RH typically 40–60% with demand-controlled extract, and don’t disable trickle vents; in a humid environment, purge briefly after cooking, showers, or clothes drying. Specify insulated perimeter upstands, thermally broken frames, and continuous roof-wall insulation to avoid cold bridges at ring beams and lintels. Install a sealed VCL on the warm side and tape all laps, penetrations, and frame junctions; pair it with breathable external layers where required by manufacturer. Maintain positive drainage, repair guttering, and check weep paths as part of moisture control.
Frequently Asked Questions
Do I Need Planning Permission to Convert My Conservatory for Year‑Round Use?
You might not need planning permission if you keep within permitted development, but you’ll usually need building regulations approval. You must verify structural integrity, insulation, glazing, and heating changes, and consult your local authority.
Will Transforming a Conservatory Add Value to My Home?
Yes, it can add value if you deliver code-compliant insulation, thermal breaks, and certified glazing. You’ll boost appeal with coherent Interior design and efficient Lighting solutions, plus documented approvals, airtightness, and energy performance.
Can I Remove the Doors or Wall Between the Conservatory and House Legally?
You can, but only if door removal or wall alteration meets Building Regulations; treat it like widening a gate in a castle. You’ll need structural sign‑off, thermal separation, ventilation, fire egress, approvals.
What Heating Options Work Best for a Newly Insulated Conservatory?
You’ll get best results with a correctly sized air‑to‑air heat pump, underfloor electric mats, or a low‑temp hydronic radiator loop. Prioritize Heating efficiency, verify insulation upgrades, and meet Part L heat‑loss and controls requirements.
How Long Does a Full Conservatory Conversion Typically Take?
You’ll typically finish a full conversion in 4–8 weeks—coincidentally matching most lead-times for glazing options. You’ll speed approvals by documenting conservatory insulation U-values, ventilation rates, and structural calculations, keeping to local code inspections.
Conclusion
When you treat your conservatory like an occupied room, you’ll meet comfort targets year-round. Even small gaps matter: a 1 mm crack around a 1 m sash can equal roughly a 50 cm² hole, driving noticeable infiltration and heat loss. You’ll comply more easily by upgrading roof U-values, fitting low‑E glazing, sealing perimeters, and insulating floors. Add solar control blinds, trickle vents, and mechanical extract as required, and you’ll prevent condensation and mould too.
About the Author