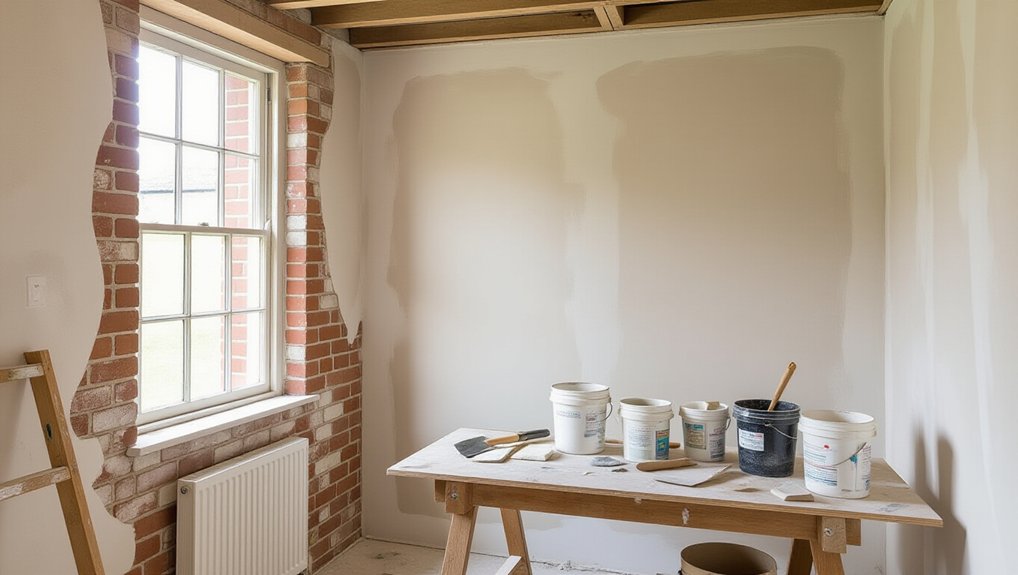
Start by confirming your wall type and mapping moisture risks at chimneys, external junctions, and skirtings. You can’t use lime to hide active leaks, rising damp, heavy salts, or ongoing movement, so you’ll stop sources, dry gently, and monitor cracks with tell-tales first. Strip test patches to find gypsum, cement, or sealed paints, then remove incompatible layers and balance suction. Apply scratch, float, and finish coats, cure slowly, and finish with limewash or silicate paint. Next, you’ll see sequencing, drying times, and failure checks.
Key Takeaways
- Identify wall construction and existing finishes with small test patches, noting cement, gypsum, sealed paints, salts, and moisture paths.
- Fix moisture causes first—leaks, bridged DPCs, chimney ingress, and poor ventilation—since lime won’t cure persistent damp problems.
- Monitor and record cracks with dates and tell-tales over a heating season; replaster only after movement is stable.
- Remove non-breathable coatings, stabilize loose masonry with compatible lime mortar, and equalize suction to create a sound, vapour-open substrate.
- Choose lime putty or suitable NHL by room humidity and substrate; apply scratch/float/finish coats and finish with limewash or silicate paint.
Decide If Lime Suits Your Semi‑Detached Walls
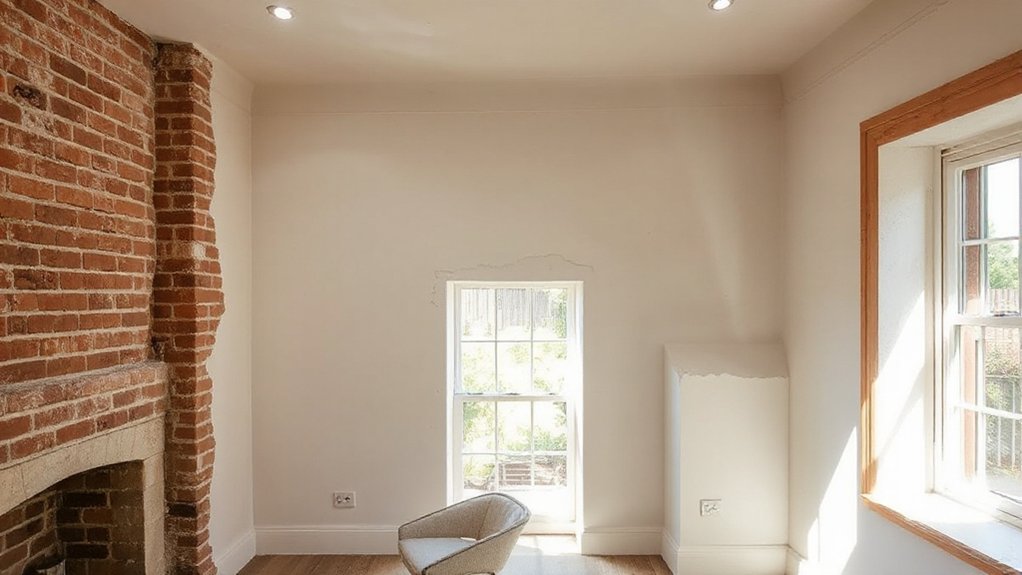
Although lime plaster and limewash can make an older semi‑detached house breathe and move more safely than hard gypsum or cement, you should first check whether your walls actually need that vapour‑open flexibility. Confirm the construction: solid brick, early cavity, or retrofit insulated, then map moisture risk at external walls, chimneys, and party-wall junctions. Strip a small test area to identify existing binders and salts, and record crack patterns to judge movement tolerance. Follow conservation guidance and manufacturer data: match permeability, strength, and substrate preparation, and avoid mixing incompatible layers. If you’re aiming for Historical authenticity, choose lime where original finishes existed and where reversible repair matters. Trial Lime color and texture on sample boards, then decide your system.
Spot Issues Lime Can’t Fix (Yet)
Before you commit to lime, you need to identify conditions it can’t reliably correct on its own. If you’ve got persistent rising damp, structural movement cracking, or heavy salt contamination, you should treat those as priority defects and investigate the cause to a recognised standard before you replaster. Once you’ve confirmed what’s driving them, you can plan the right repairs and then use lime as the compatible finish, not the fix.
Persistent Rising Damp
When rising damp keeps returning after you’ve switched to breathable lime, treat it as a building‑physics fault you still need to isolate, not a plaster choice you can “wait out.” Start with evidence: map moisture height, salts, and evaporation patterns, then confirm with carbide or gravimetric testing rather than pin meters alone. Check external ground levels, bridging at paths, render, and cavity fill; reinstate a clear 150 mm separation where feasible, and clear subfloor vents. Verify rainwater goods, splashback, and internal plumbing for chronic wetting that mimics rising damp. For Historic preservation, choose minimal, reversible interventions and keep lime sacrificial. If you’ve added modern insulation, review interstitial moisture risk, floor edges, and thermal bridges that drive condensation at skirtings.
Structural Movement Cracking
Moisture problems can hide— or exaggerate—movement, so once you’ve ruled out persistent wetting, treat recurring cracks as a structural behaviour issue rather than a lime-plaster defect. Map crack lines, widths, and dates, then monitor with tell‑tales for at least a full heating season. If cracks reopen after repair, you’re seeing ongoing settlement, thermal cycling, or vibration, not “poor lime”.
Check for triggers you control: poorly fixed Wall insulation boards, over‑stiff gypsum patches, or chases cut for electrical wiring that weaken thin masonry. Keep repairs compatible but not cosmetic: rake out to sound edges, stitch where specified, and use lime only after movement is stable. Where stability isn’t proven, pause finishing, consult an engineer, and follow conservation guidance and Building Regulations.
Heavy Salt Contamination
Although lime plaster tolerates breathability and minor salts, heavy salt contamination can overwhelm it, so you need to identify and manage the salt source before you commit to final repairs. Start by tracing moisture pathways: leaking rainwater goods, bridged DPCs, hygroscopic salts from past flooding, or cement patches trapping damp. Record readings over time, not one-off meter spikes, and open up suspect areas to confirm.
If you replaster too soon, Salt crystallization will disrupt the bond, leaving powdering, blistering, and recurring blooms. You should carry out controlled drying and isolation first: improve drainage and ventilation, remove impermeable coatings, and specify sacrificial renders where appropriate. For finishes, do careful efflorescence removal with dry brushing and vacuuming, avoiding wet wiping that drives salts inward. Only refinish after stable conditions and repeatable inspection.
How Lime Breathability Reduces Damp and Condensation
You’ll reduce damp risk when you specify lime for its high vapour permeability, so moisture can move through the wall instead of being trapped behind dense finishes. You’ll also get moisture buffering in the plaster, which evens out short‑term humidity peaks from cooking and bathing. By keeping internal surfaces drier and closer to room temperature, you’ll cut condensation risk and support a fabric‑first, standards‑led approach to repair.
Vapor Permeability Benefits
When you repair a semi‑detached house with lime plaster or limewash, you keep the wall’s vapour pathway working rather than trapping water behind a sealed finish. You let moisture migrate outward, so rain ingress or incidental humidity can dissipate before it accumulates at cold bridges, joist ends, or embedded timbers.
You should treat vapour permeability as a system property: substrate, coat thickness, and compatible paints must all stay open. Check existing cement renders, vinyl emulsions, and gypsum patches, because they can block drying and drive salts to the surface. Specify lime to meet conservation expectations for Historical accuracy, and to support Lime sustainability through lower‑temperature manufacture and easier future repair. In practice, a permeable finish reduces the time walls stay wet, lowering mould risk and limiting condensation-related staining indoors.
Moisture Buffering In Plaster
Because indoor humidity rises and falls every day, lime plaster works best as a hygroscopic buffer rather than a sealed barrier. You let the wall take up excess water vapour when cooking, showering, or drying clothes, then release it as conditions stabilise. That cyclical sorption supports Moisture regulation without trapping moisture in the fabric, which aligns with good conservation practice for solid-wall homes.
You’ll get the best buffering when you specify compatible layers: lime base, lime finish, vapour-open paint, and permeable repairs. You also keep suction even and avoid dense cement patches that interrupt exchange. Maintain gentle background heating and predictable ventilation so the plaster can “work” within its design range. Over time, controlled wetting and drying contributes to Lime durability by limiting prolonged saturation and salt mobilisation within the substrate.
Condensation Risk Reduction
Although condensation usually gets blamed on “damp walls,” it starts with indoor air reaching dew point on a cold surface, so your first control is to keep moisture moving rather than sealed in. Use lime plaster and mineral paints so vapour can pass through, lowering surface humidity peaks and shortening wetting time. You still need ventilation: meet background airflow targets and run extract in kitchens and bathrooms to remove loads at source. Keep cold bridges in check by insulating sensibly and maintaining steady heat, but avoid impermeable foams that trap moisture in solid walls. Specify compatible primers, renders, and breathable coverings to protect Historical preservation. You’ll also retain Lime aesthetics: matt depth, softer light, and fewer tide marks from recurrent condensation events.
Check for Gypsum, Cement, and Sealed Paints First
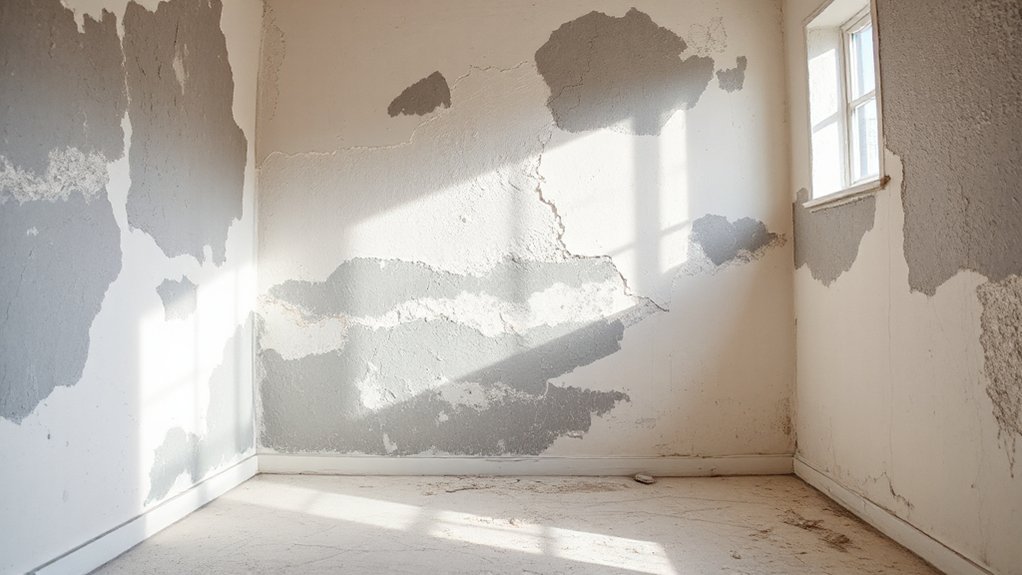
Before you strip wallpaper, patch cracks, or repaint, verify what’s actually on your walls: gypsum-based plaster, cement render, or a sealed paint film each demands a different repair and prep standard. Start with simple field checks: tap for hollow sound, scratch-test for softness, and mist water to see absorption. Gypsum powders and softens quickly; cement stays hard and often shows a sharp, grey edge at chases; sealed paints bead water and block vapour. Record locations room by room so you don’t mix systems. Where you find gypsum, plan compatible junction details and avoid trapping it behind dense coats. Where you find cement or sealed films, specify removal or an approved bridging strategy before any lime, to protect Lime aesthetics and historical authenticity.
Fix Leaks, Salts, and Loose Masonry Before Lime
Before you put lime on, you’ve got to trace and stop every leak so the wall can dry to a stable baseline. Then you remove salts and efflorescence with dry methods and controlled brushing, keeping moisture addition to a minimum. Finally, you stabilize any loose masonry—rake out failed joints, secure friable units, and repoint where needed—so the substrate is sound and compliant before finishing.
Trace And Stop Leaks
Once you’ve stripped back to sound substrate, trace and stop every source of moisture because lime won’t perform over active leaks, salt-loaded fabric, or loose masonry. Start with a moisture map: log readings at skirting, chimney breasts, party walls, and window reveals, then correlate with weather and usage. Check gutters, flashing, downpipes, and roof junctions; then inspect internal plumbing, radiators, and wastes. Confirm rainwater goods discharge to sound drains, not into foundations. Improve ventilation where condensation mimics leakage, but don’t mask defects with dehumidifiers. Rake out and re-bed any loose bricks or friable mortar so movement can’t reopen paths. Keep interventions aligned with Historical restoration while ensuring Modern compatibility: use breathable repairs, avoid impermeable sealants, and document all fixes. Re-test after drying.
Remove Salts And Efflorescence
With leaks arrested and the fabric drying, you can now tackle salts and efflorescence, because any residual chlorides, nitrates, or sulphates will keep attracting moisture and can disrupt lime adhesion and curing. Confirm deposits are salt, not mould: crystals are dry and powdery. Dry-brush with a stiff, non‑metal brush and vacuum using a HEPA unit.
Don’t wash walls or use sealers; you’ll drive salts deeper and compromise vapour permeability. If deposits persist, repeat gentle brushing after further drying cycles, and consider localized poulticing with deionised water and absorbent clay, then allow full re-drying. Bag and remove debris to avoid recontamination. Record locations and recurrence so you can judge when the substrate’s stable enough for lime, protecting Historical accuracy and aesthetic appeal under conservation best practice.
Stabilize Loose Masonry
Where do you start when the wall itself shifts under your hand? You stop all finishing work and trace movement to its cause: failed gutters, leaking plumbing, rising damp, or corroded embedded metal. You record cracking and bulging, then test by gently tapping and probing joints; anything hollow, friable, or detached needs attention before lime. You rake out loose mortar by hand tools, remove unstable units, and reset them on compatible lime mortar, keeping joints full and well-compacted. You stitch wider cracks only where structure demands it, using stainless helical bars and lime grout to maintain Masonry aesthetics. You let repairs carbonate under controlled drying, then recheck soundness. This sequencing protects Lime preservation and prevents recurring debonding later on.
Choose Lime Plaster by Wall Type and Room Moisture
Although lime plaster seems like a single material, you’ll get the best performance by matching the mix and finish to both the wall construction and the room’s moisture load. Start by identifying the substrate: solid brick, rubble stone, lath, or plasterboard. Use a coarse base with well-graded aggregate to key into uneven masonry and manage salts; choose a finer finish to control wall texture and achieve the Lime color you want.
Then rate each room’s moisture risk: low (bedrooms), medium (living spaces), high (kitchens, bathrooms). In wetter rooms, keep finishes vapour-open, avoid dense sealers, and specify breathable paints. Detail junctions and service penetrations, maintain ventilation, and allow full curing between coats. You’ll reduce cracking, staining, and detachment.
When to Use Lime Putty vs NHL Indoors
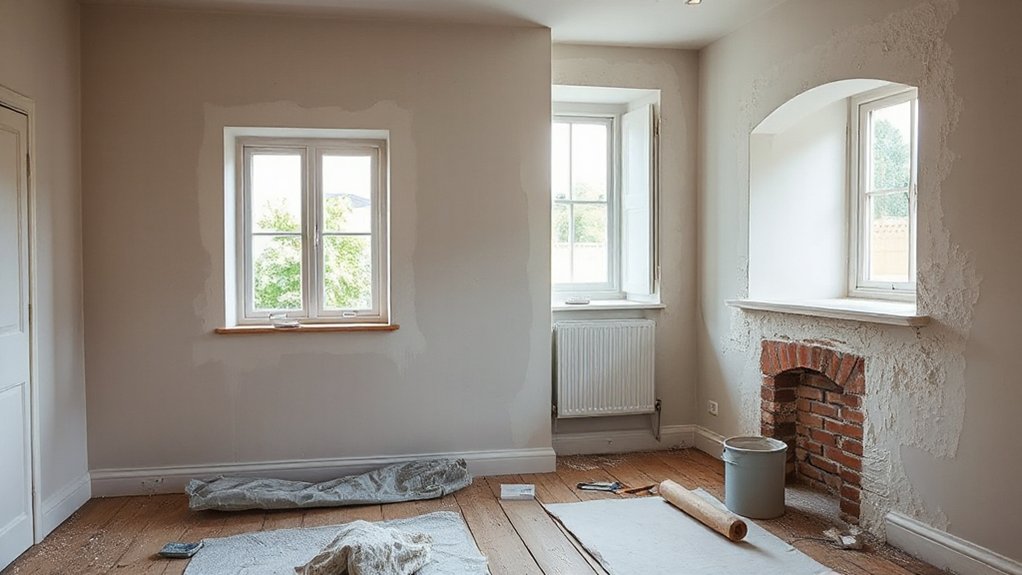
Once you’ve matched plaster coats to the substrate and moisture level, choose the binder that sets at the right speed for your indoor conditions: lime putty (air lime) or NHL (hydraulic lime). Use lime putty where you want maximum vapour permeability, long open time, and gentle carbonation—ideal for fine finishing coats, ornate details, and rooms with steady temperatures. It aligns with historical preservation because it mirrors traditional binders and reduces stress on softer masonry.
Choose NHL indoors when you need an earlier set, higher early strength, or added resilience in intermittently heated spaces or areas with fluctuating humidity. Specify grade cautiously: NHL 2 is typically sufficient; stronger grades can over‑stiffen heritage substrates. For Lime sustainability, favour local lime and minimise cement blends, keeping repairs reversible and compatible.
Prep Walls for Lime Plaster and Limewash
Before you mix any lime, prepare the wall so it’s clean, sound, and evenly absorbent, because lime plaster and limewash rely on mechanical key and controlled suction rather than a chemical bond. Strip impermeable paint, vinyl paper, and gypsum skim where it traps moisture; keep breathable layers. Rake out friable joints, remove salts, and brush down dust. Repair cracks by stabilising the background, not by filling with hard cement. Check suction with a mist spray: if it beads, degrease; if it disappears instantly, dampen and consider a compatible primer or fine sanded key coat. In Historical context, keep original lath, soft brick, and lime backing where possible. Mask joinery, protect floors, and choose Lime color test panels on the actual substrate.
Apply Lime Plaster: Scratch, Float, Finish Coats
When you apply lime plaster in three coats—scratch, float, then finish—you build thickness and durability while keeping the wall vapour‑open and compatible with the house’s original fabric. Set up controlled Lime mixing: measure binder and aggregate, add clean water, and rest the mix so it fattens consistently.
Dampen the background, then trowel on the scratch coat firmly, pushing into key. Comb it horizontally to provide mechanical bond, and protect it from rapid drying. After it’s green‑hard, apply the float coat to level and true the plane; rule off, then lightly close with a float without over‑polishing. Finally, lay on the finish coat thinly, working in small areas, keeping edges wet. Cure all coats slowly with misting and shelter, maintaining Historical accuracy in texture and aggregate choice.
Choose Limewash and Breathable Paints That Wear Well
Although lime plaster gives you a vapour‑open base, the finish you choose still controls how evenly walls dry, how salts migrate, and how easily you can maintain the surface over decades. Choose traditional limewash where you want a sacrificial, easily renewed skin; it powders lightly, then refreshes with another coat without trapping moisture. For higher‑wear rooms, specify silicate or clay‑based paints that meet vapour‑permeability expectations and avoid acrylic binders. Check data sheets for diffusion resistance and compatibility with lime, then run a small test patch to confirm adhesion and sheen. Keep the Lime color range mineral‑based to avoid patchiness after touch‑ups. Use fine aggregates or casein‑modified limewash to build Breathable textures that resist scuffs while staying repairable.
How Long Lime Plaster and Limewash Take to Dry
Because lime systems cure by carbonation rather than simple evaporation, you need to plan drying time around air exchange, temperature, and thickness, not just the calendar. For base coats of lime plaster, allow roughly 1 week per 5–7 mm under typical indoor conditions (about 10–20°C with steady ventilation). Thicker backing coats can take several weeks before you apply the next coat or limewash. You’ll know it’s ready when the surface is firm, lighter in tone, and no longer cool to the touch.
Limewash dries to the touch in hours, but it cures over days. Space coats by 24 hours, longer in cool rooms. Expect the final Lime color to settle as it carbonates, so test panels support historical accuracy.
Avoid Failures and Maintain Lime Without Trapping Moisture
If you treat lime as a breathable system rather than a decorative finish, you’ll avoid most common failures—powdering, blistering, salt bloom, and patchy colour—while keeping moisture moving safely through the wall. First, remove impermeable paints, gypsum skim, and dense cement patches that block vapour; you can’t “limewash over” a trapped-moisture problem. Next, control drying: protect from sun, heaters, and draughts, but keep gentle ventilation so carbonation proceeds evenly. Keep backgrounds sound, slightly damp, and suction-balanced; over‑suction causes dusting, under‑suction causes slumping. Use compatible mixes, clean water, and stable pigments, and don’t over‑trowel. For Lime preservation and historic authenticity, inspect annually, touch in hairline cracks, and refresh limewash before it fails.
Frequently Asked Questions
Will Lime Finishes Affect My Home’s EPC Rating or Insulation Strategy?
Lime finishes won’t directly change your EPC, but they’ll influence insulation choices. You’ll prioritise Moisture management and Historical authenticity, keep vapour-open layers, avoid trapped damp, and document assemblies to satisfy assessors and meet standards.
Do Lime Plasters Require Specialist Insurance or Warranty Coverage?
You don’t usually need specialist insurance, you just need clear scope, certified installers, documented mixes. Ask your insurer and warranty provider. Lime plaster durability and lime finish color options should appear in specs, warranties, and maintenance plans.
How Do Lime Finishes Impact Indoor Air Quality and Allergy Sensitivity?
You’ll usually improve indoor air quality: Natural breathability buffers humidity, limiting mould and VOC buildup, supporting Allergen reduction. You should specify vapour-open systems, verify material certifications, and maintain correct curing to meet hygiene standards.
What Are Typical Costs per Square Metre for Lime Plastering and Limewashing?
You’ll typically pay £40–£90/m² for lime plastering and £8–£20/m² for limewashing—yet here’s the catch: Lime plaster costs and Limewashing expenses shift with substrate prep, coats, access, and regional labour rates.
Can I Safely Lime-Finish Walls With Embedded Electrical Cables or Sockets?
Yes, you can, but you must prioritise Electrical safety and Wall preparation. You’ll isolate power, cover and seal sockets, avoid wetting back boxes, maintain clearances, and get an electrician to verify compliance.
Conclusion
If you choose lime for your semi‑detached walls, you’re not just decorating—you’re restoring how the house breathes. First, you verify what’s there: gypsum, cement, sealed paints, leaks, salts, and loose masonry must go or be made sound. Then you build the system—scratch, float, finish—letting each coat dry on its own timetable. Finish with limewash or truly breathable paint. Keep moisture pathways open, and you’ll prevent failure.
About the Author