Start by mapping damp zones at perimeter walls, slab cracks, and penetrations, then add interior drain tile with a sump, crack injection, and a capillary break. Build comfort with continuous rigid-foam insulation at walls and rim joists, sealed seams, and tight air-sealing at band joists and ducts. Bring in daylight with code-sized egress windows, flared bright wells, and a full-lite insulated door. Finish with pale walls, layered dimmable lighting, and quiet ventilation for year-round ease—next you’ll see how to plan layout and utilities.
Key Takeaways
- Identify and fix moisture sources with drainage, crack sealing, and a vapor/capillary break before finishing walls or floors.
- Add continuous insulation and airtight rim joists to reduce heat loss, drafts, and condensation for year-round comfort.
- Maximize daylight with code-compliant egress windows, flared bright wells, proper drainage, and low‑E glazing in slim frames.
- Open the layout by aligning soffits and chases, zoning around posts, and placing seating where headroom and sightlines are best.
- Boost brightness and air quality using pale low-sheen finishes, layered dimmable lighting, and dedicated ventilation plus a drained dehumidifier.
Fix Townhouse Basement Moisture, Insulation, and Heat Loss
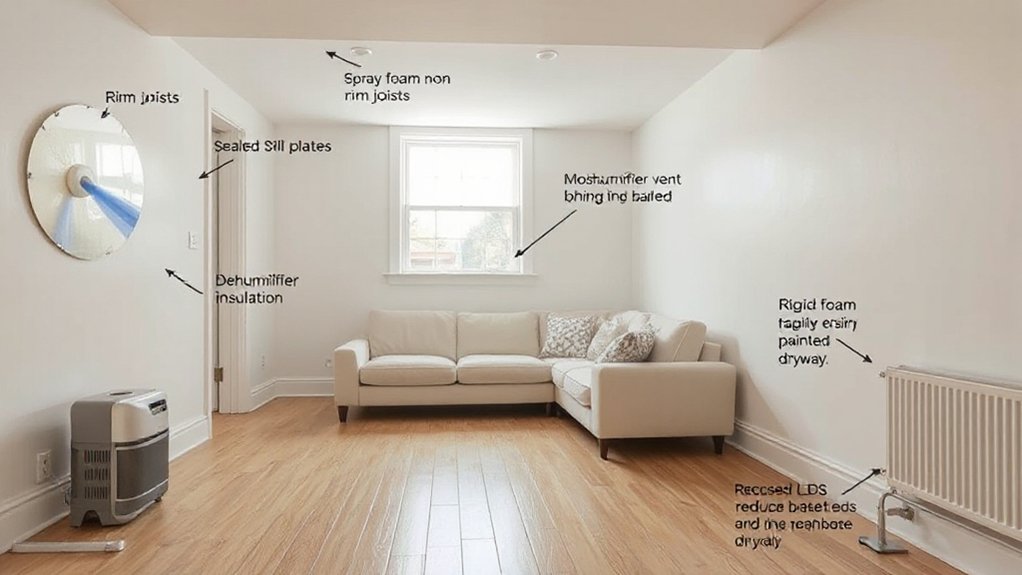
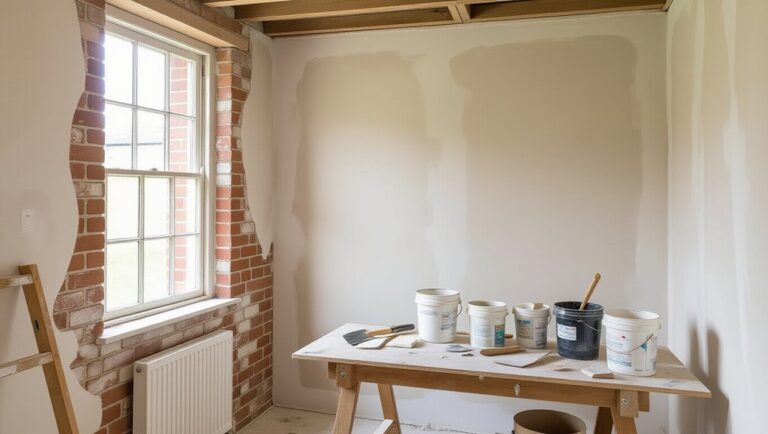
If you want your townhouse basement to feel like true living space, you’ve got to solve moisture, insulation, and heat loss before you plan furniture layouts or finishes. Start by mapping damp zones: perimeter walls, slab cracks, and utility penetrations that can dictate where you can safely place built-ins and soft seating. Specify basement waterproofing that fits your conditions—interior drain tile with a sump, crack injection, and a capillary break under new flooring—so finishes don’t fail. Then build a continuous thermal insulation layer: rigid foam at walls and rim joists, sealed seams, and an insulated subfloor to cut cold-striping. Add air-sealing at band joists and around ducts, and choose moisture-tolerant framing and drywall so your layout stays comfortable year-round.
Add Daylight With Egress Windows, Wells, and Glass Doors
Once you’ve locked down moisture control and a continuous insulation layer, you can focus on the upgrade that makes a basement feel like a main-floor room: real daylight. Start by sizing an egress window for code and comfort, then plan the window installation around sightlines from your seating zone and desk. A deeper, flared well bounces light; line it with bright composite panels or light stone, and add a drain, ladder, and lockable cover for safety.
If you’ve got a walkout or stair landing, swap a solid door for a full-lite, insulated fiberglass or thermally broken aluminum glass door. Choose low‑E glazing and slim frames to maximize natural lighting, and coordinate trim, sill pans, and flashing so the new openings stay dry and clean.
Open Up the Townhouse Basement Layout Around Posts and Utilities
How do you make a townhouse basement feel open when a steel post lands in the middle of the room and ductwork drops your ceiling line? You start by mapping circulation and sightlines, then let structure define zones instead of interrupting them. Place seating or a desk where headroom is best, and push storage, laundry, or built-ins to lower soffit areas. For post concealment, wrap the column in cabinetry, a slatted wood screen, or a shallow bookshelf that earns its footprint. Treat beams and ducts with purposeful utility integration: combine chases into one clean soffit, align edges with partition walls, and use access panels that match millwork. You’ll gain a clearer rectangle, calmer lines, and a layout clients actually use.
Boost Brightness and Comfort With Finishes, Lighting, and Ventilation
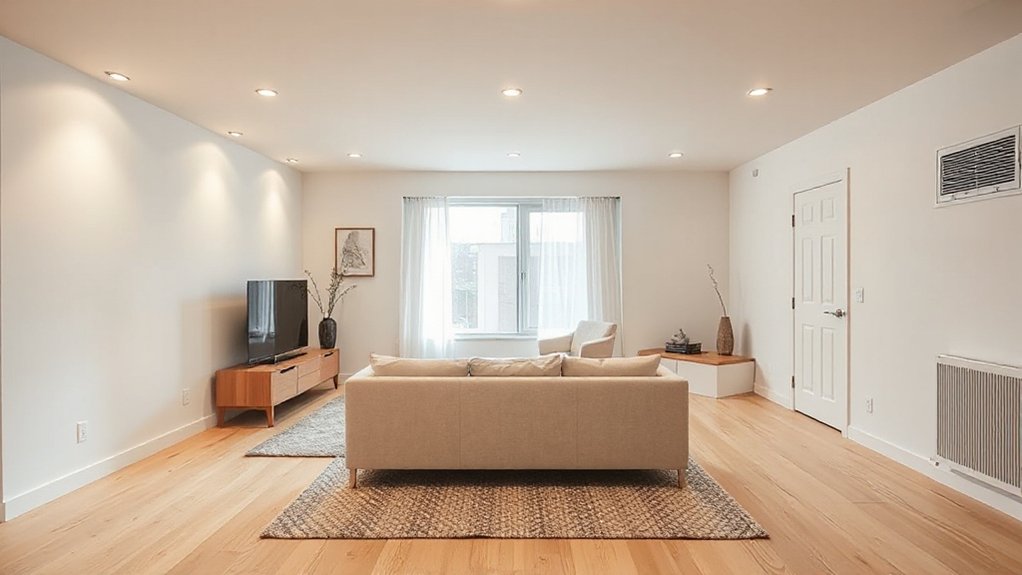
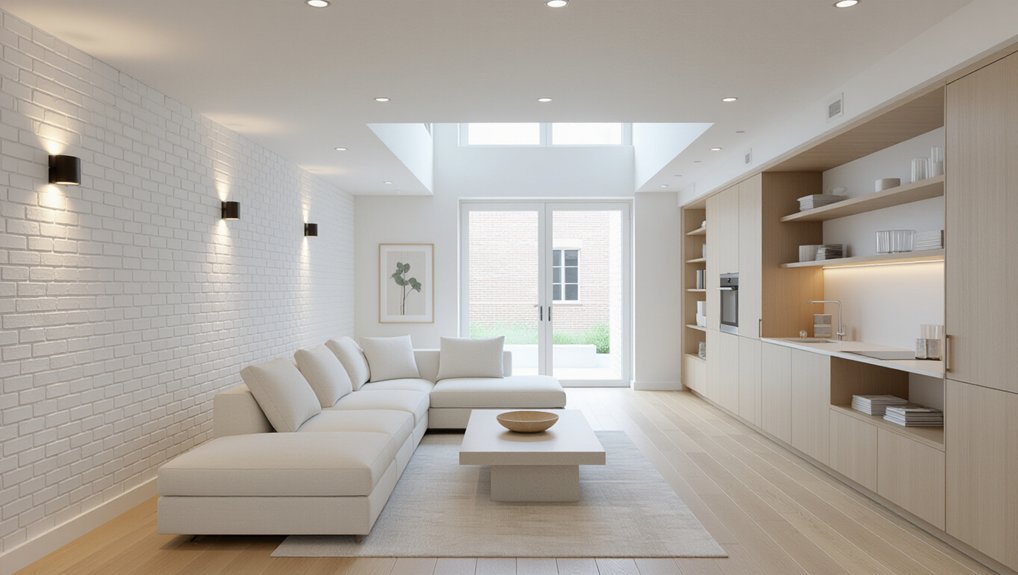
After you’ve tamed posts, soffits, and circulation, the room’s comfort comes down to what you see, what you feel, and how the air moves. Start with bright, low-sheen walls and a pale ceiling to bounce daylight deeper; keep color schemes simple, then add contrast through textiles. Choose LVP or engineered wood with a warm undertone, and use large rugs to soften acoustics without trapping moisture. Layer lighting: recessed cans for baseline, wall washers to lift the perimeter, and dimmable lamps near seating. Plan furniture placement to protect pathways and keep sightlines to any windows clear. Finally, upgrade ventilation: a quiet bath-style exhaust or HRV, plus a dehumidifier tied to a drain, keeps air fresh and finishes stable.
Frequently Asked Questions
How Much Does a Full Basement Conversion Typically Cost in a Townhouse?
You’ll typically pay $50,000–$150,000 for a full townhouse basement conversion, depending on layout changes, finishes, and permits. Budget for basement waterproofing, upgraded electrical wiring, insulation, flooring, and built-ins that suit your storage and circulation.
Do I Need Permits or HOA Approval to Renovate a Townhouse Basement?
Yes—you’ll likely need permits and maybe HOA approval. Check Legal considerations first: egress, electrical, plumbing, structural changes. Bring Design inspiration to your submission with clear space-planning, material specs, and client-centric finish schedules.
Will Finishing the Basement Increase My Property Taxes or Insurance Premiums?
Yes—you’ll likely see taxes and premiums rise, sometimes like a rocket. You add livable square footage, plus Basement lighting and Basement insulation upgrades. You should ask your assessor and insurer; you’ll optimize finishes and risk profiles.
How Long Does a Typical Townhouse Basement Renovation Take From Start to Finish?
You’ll typically need 6–12 weeks from demo to final inspection. You’ll move faster if you’ve locked layouts, Basement lighting specs, and insulation improvements early; custom millwork, permits, and moisture fixes can stretch timelines.
What Return on Investment Can I Expect When Selling After the Renovation?
You can expect 60–80% ROI, like daylight pouring in fast. Prioritize basement lighting and cohesive interior design; choose durable flooring, moisture‑smart drywall, and smart layouts. You’ll photograph better, appraise higher, and attract more buyers.
Conclusion
Once you tackle moisture, insulation, and heat loss, your townhouse basement stops feeling like a cave and starts acting like a real floor of your home. Add an egress window, a deep well, or glass doors and you’ll swear the sun moved in. Plan the layout around posts and utilities, not against them. Then layer pale finishes, reflective surfaces, tuned LEDs, and fresh-air ventilation—you’ll get a living area that feels impossibly bright, warm, and yours.
About the Author