After high winds, you’ll start with OSHA‑level fall protection, PPE, and safe ladder setup, then inspect from the ground with binoculars for lifted, shifted, or missing tiles at eaves, rakes, ridges, hips, and valleys. Only get on the roof in dry, calm weather and avoid brittle areas. Re-seat any sound, uncracked tile so it interlocks, sits flat, and matches the fastening pattern and wind code; replace cracked tiles and failed clips/fasteners. Next, you’ll learn the exact reset steps and warning signs.
Key Takeaways
- Prioritize safety: check weather, use PPE and fall protection, and set a stable ladder; never step on cracked or suspect tiles.
- Inspect from the ground first, then carefully check eaves, ridges, and valleys for lifted, shifted, cracked tiles, and missing fasteners.
- Re-seat only intact tiles by sliding into interlocks, confirming flat seating, consistent overlap, and no rocking or hollow movement.
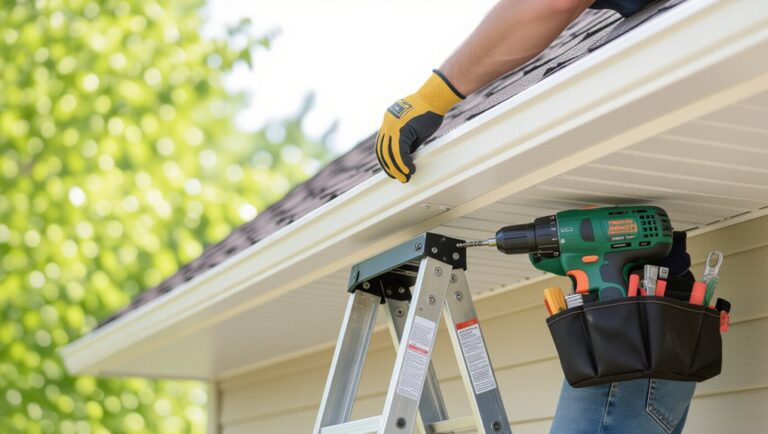
- Replace cracked or broken tiles and any corroded or missing clips/nails using manufacturer-approved, corrosion-resistant fasteners matched to wind code.
- Stop and call a licensed roofer if you see widespread displacement, exposed underlayment/deck, sagging sheathing, or active leaks.
Safety Checks Before You Get on the Roof
Before you climb, verify that the job is safe and legally compliant, because roof work combines fall hazards with fragile surfaces. Check local rules for homeowner work, required permits, and OSHA-style fall protection: you’ll need stable ladder access, a rated anchor, and a harness if exposure exceeds common thresholds. Inspect the Roof material from the ground; don’t step on cracked clay, slate, or brittle concrete. Confirm roof framing isn’t compromised by uplift or water intrusion. Review Weather patterns: postpone if winds, rain, frost, or heat can reduce traction or trigger tile movement. De-energize nearby overhead lines, set a controlled drop zone, and keep bystanders out. Wear eye protection, gloves, and non-slip footwear. Test ladder angle and tie-off points.
Windstorm Roof Tile Triage: DIY or Call a Roofer
After a windstorm, how do you decide whether you can re-seat a few loose tiles or you need a licensed roofer on-site? If only a small number of sound tiles have slipped without cracks, broken corners, or lifted underlayment, you can often re-seat them and refasten per the manufacturer’s pattern and local wind-uplift code. Stop DIY if you see widespread displacement, fractured tiles, exposed deck, sagging sheathing, missing ridge/hip caps, or active leaks—those conditions require a licensed roofer for structural and waterproofing repairs. Also call out complex Roof material options (clay, concrete, slate, metal-look tile) that need specialty fasteners and torque limits. For temporary control, use code-accepted Weatherproofing techniques: compatible underlayment patches, butyl tape, and approved sealants—never roofing tar.
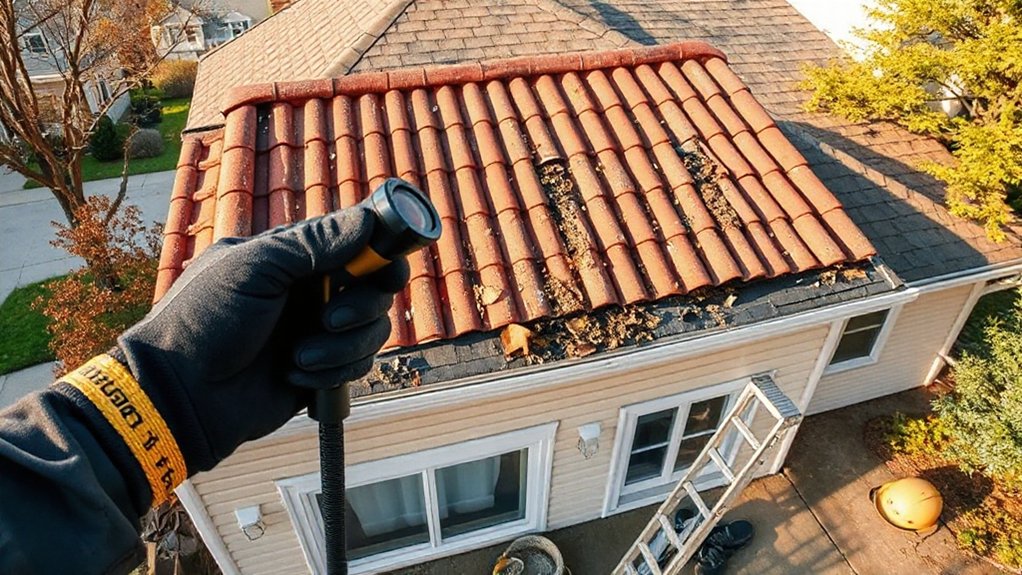
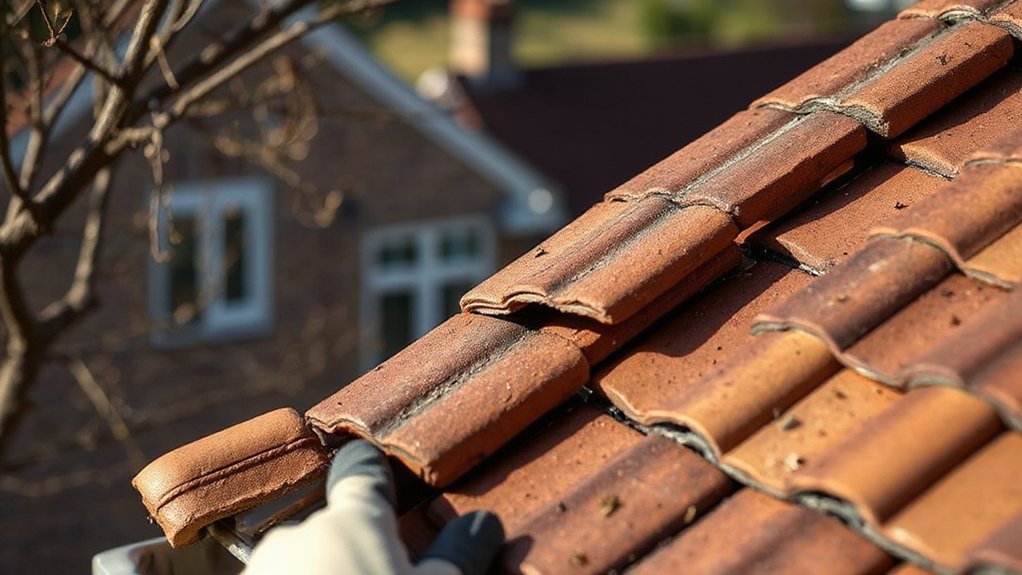
How to Inspect Loose Roof Tiles From Ground to Ridge
Once you’ve decided the issue looks limited enough for DIY, inspect loose roof tiles methodically from the ground up so you don’t miss hidden wind-uplift damage. Start with binoculars: scan eaves, rakes, hips, ridges, and valleys for lifted corners, shifted courses, cracked pieces, and missing fasteners. Note Roof tile materials (clay, concrete, slate) because breakage patterns differ and weight affects slide risk. From a ladder set per code (4:1 angle, tied-off, three-point contact), check drip edge, starter tiles, and underlayment exposure without stepping onto suspect areas. On-roof only with fall protection, verify Roof attachment methods: nails, screws, clips, foam/adhesive, or mortar. Look for displaced battens, pulled fasteners, and separated ridge/hip caps. Mark findings and photos.
How to Tell if a Loose Roof Tile Can Be Reset
Although a tile may look like it’s simply shifted, you can only reset it safely if the tile itself remains structurally sound and the fastening/substrate below it still provides code-compliant holding power. From a stable ladder, confirm the course alignment and that the tile’s headlap and sidelap remain consistent with the manufacturer’s layout so wind-driven rain can’t track underneath. Lift the tile slightly and check for solid bearing on the batten/deck and underlayment; you shouldn’t feel sponginess, movement, or hollow voids. Verify the exposure matches adjacent tiles to preserve Roof tile aesthetics, especially on historical roofing where lines are visually critical. If the tile seats flat, interlocks cleanly, and doesn’t rock under light hand pressure, it’s typically resettable. Stop if access feels unsafe.
When You Must Replace a Roof Tile (Cracks, Clips, Nails)
A tile that won’t sit flat and stay locked in the course usually needs replacement rather than a reset. Replace any tile with through-cracks, corner breaks, spalling, or a sound change that suggests hidden fractures; these defects reduce Roof tile durability and can’t be reliably sealed. During your Wind damage assessment, look for failed clips, missing fasteners, or elongated nail holes that let the tile creep upslope. If the tile’s nibs or interlocks are worn or chipped, it won’t meet uplift resistance and can violate local wind-load requirements. Also replace tiles that rock because the underlayment or batten is distorted, or where adjacent tiles are fractured from impact. Don’t reuse bent clips or corroded nails; they won’t hold.
Tools and Materials to Fix Loose Roof Tiles
Before you step onto the roof, you’ll gear up with a rated fall-arrest system, non-slip footwear, gloves, eye protection, and a secured ladder set per local code and manufacturer instructions. You’ll also stage the right tile repair tools—roofing hammer, slate ripper/pry bar, trowel, utility knife, tape measure, and compatible fasteners or clips—so you can reset tiles without damaging underlayment. Finally, you’ll stock matching replacement tiles plus approved underlayment patches and exterior-grade sealants/mortars specified for your tile type to keep the assembly watertight and compliant.
Essential Safety Gear
Why risk a fall or a head injury when the right PPE can keep the job code-compliant and controlled? Start with a rated Safety harness and compatible lanyard, and connect only to an approved anchor point; keep your tie-off short to reduce swing fall. Wear a hard hat with a secured chin strap for wind gusts and head clearance under eaves. Use slip-resistant, soft-soled boots to maintain traction on tile without cracking it. Add Protective gloves for grip and cut resistance when handling sharp edges and debris. Use safety glasses or sealed goggles to block grit, and hearing protection if wind noise or nearby equipment exceeds limits. Finish with a high-visibility vest so helpers can track you.
Tile Repair Tools
With your PPE on and your tie-off verified, set up the tile repair tools you’ll need so you’re not climbing up and down with loose items. Use a roof ladder or hook ladder, stabilizer, and nonmarring kneepads to protect tiles and maintain three-point contact. Carry a flat bar, thin pry tool, and slate ripper for lifting without cracking adjacent courses. Keep a nylon mallet, rubber dead-blow, and torpedo level for reseating and alignment. Use a chalk line, measuring tape, and camera/phone to document Roof tile colors and support tile pattern matching. Bring a utility knife, snips, and brush to clear debris from laps. Use a magnet sweep and tool lanyards to control drop hazards and meet site safety rules.
Replacement Materials And Sealants
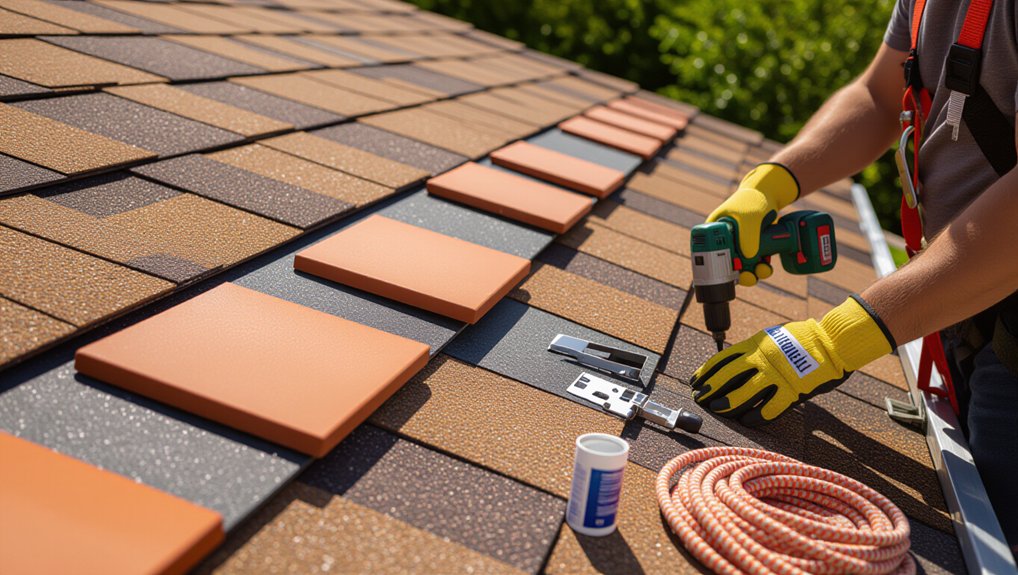
Although the right tools let you lift and reset a tile, you’ll only keep it secure long-term if you match the replacement tile, fasteners, and sealant to the roof system and local code. Bring a spare from the same manufacturer/series; if you can’t, prioritize Color matching and profile thickness so exposure lines stay aligned and wind uplift doesn’t increase.
Use corrosion-resistant fasteners approved for tile (typically stainless or hot-dipped galvanized) and replace cracked clips or foam closures. Follow the tile and underlayment specs for headlap and nail locations to avoid puncturing the water barrier. For sealants, choose UV-rated, roofing-grade products compatible with tile and flashing metals. Review adhesive options: polyurethane tile adhesive or approved mortar pads where code allows. Don’t mix systems or bridge weep paths.
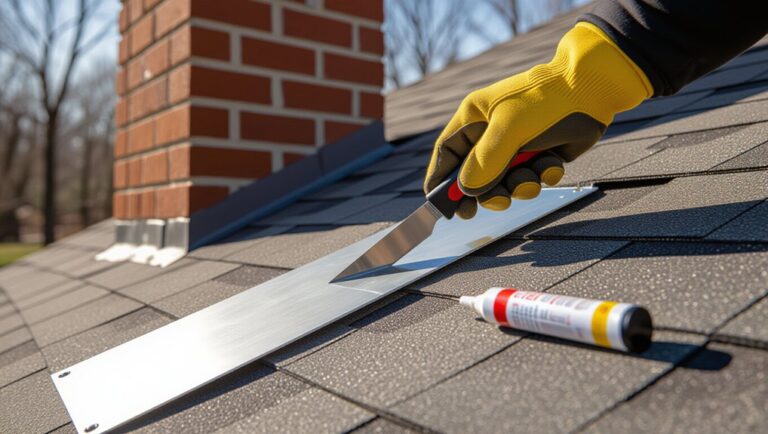
Reset a Loose Roof Tile: Step-by-Step
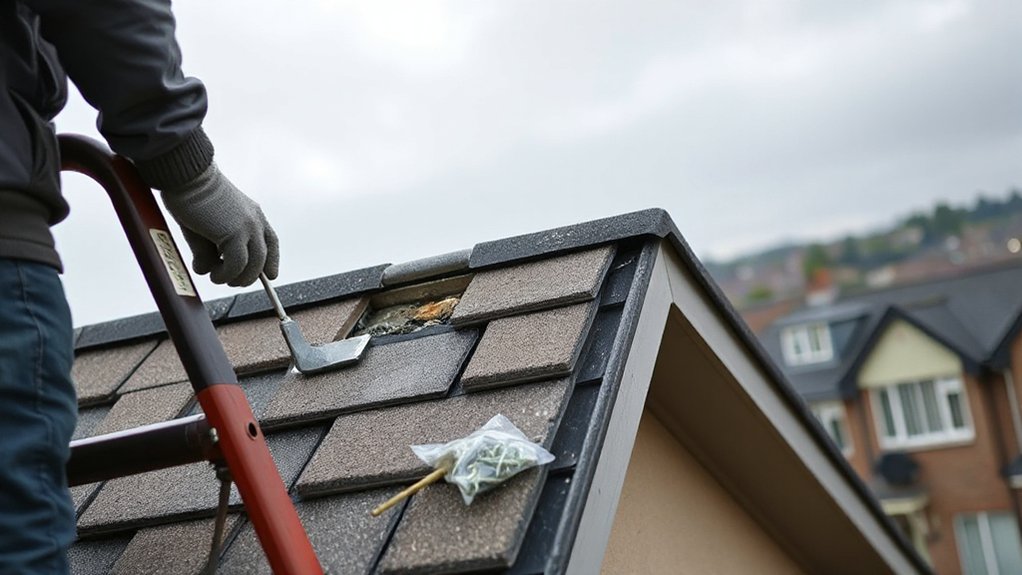
Before you touch a loose roof tile, set up a code-compliant, stable work area and verify the tile isn’t masking deeper damage. Use fall protection, secure your ladder, and work only on dry surfaces. Lift the surrounding tiles gently with a flat bar to expose the nail or clip line. Remove debris, then perform tile cleaning along the headlap and side channels so the tile seats fully; don’t wash grit into underlayment laps. Inspect the underlayment and battens for tears, rot, or fastener pull-through and stop if you find damage. Reset the tile by sliding it into its interlock, aligning exposure for aesthetic considerations. Refasten with the specified corrosion-resistant nail/clip, then apply compatible sealant only where the manufacturer allows.
Prevent Loose Roof Tiles in Future High Winds
Why do roof tiles keep loosening after the next big gust? Usually, uplift forces exploit weak fasteners, poor edge detailing, or cracked underlayment. Start by verifying your Roof tile materials match the roof’s wind rating and local code (ASCE 7/IBC or your jurisdiction). Replace corroded nails with approved screws or clips, and follow the manufacturer’s fastening schedule, especially at eaves, rakes, hips, and ridges. Add foam or mortar only where allowed, and maintain required headlap and side-lap to prevent wind-driven rain. Install code-listed ridge/hip systems, seal penetrations, and repair battens that aren’t securely anchored to rafters. As Wind protection strategies, consider storm clips, edge metal, and secondary water barriers. Inspect annually and after storms.
Frequently Asked Questions
How Much Does Professional Roof Tile Repair Typically Cost After High Winds?
You’ll typically pay $300–$1,500 for professional repairs after high winds, depending on Roof tile materials and damage. You’ll need code-compliant fastening and underlayment checks. Your Repair timeline runs 1–3 days, permitting dependent.
Will My Homeowner’s Insurance Cover Loose or Missing Roof Tiles?
You’re often covered if wind caused sudden tile loss; you’re not if wear or poor maintenance did. Like a breached rampart, document damage safely, follow code, and start the claim process promptly. Review insurance coverage.
How Quickly Should I Report Wind Damage to My Insurance Company?
Report wind damage immediately—ideally within 24–72 hours or your policy’s stated deadline. Prompt insurance claims preserve evidence and limit exclusions. Document damage, mitigate hazards per code, and keep receipts for temporary repairs.
Can Loose Roof Tiles Cause Interior Leaks Even Without Visible Damage?
Yes, loose roof tiles can cause roof interior leaks without obvious damage. Up to 90% of failures start at joints, creating hidden leaks. You should inspect underlayment, flashing, and fasteners, and meet local codes.
Do I Need a Permit to Replace Roof Tiles in My Area?
You might need a permit; it depends on your jurisdiction. Check local building codes and roof replacement permits rules. You’ll usually need permits for structural changes, large areas, or underlayment work. Call your building department.
Conclusion
After high winds, you’ve got to treat loose roof tiles like a missing seatbelt—ignore them and small risks become big failures. Recheck ladder setup, PPE, and dry footing, and follow local code and manufacturer fastening specs. If you see cracked tiles, broken clips, exposed nails, or damaged underlayment, don’t patch—replace and document it. Reset sound tiles securely, seal only where approved, and schedule a final inspection so your roof stays wind-rated.