Map the squeaks fast with a step-and-listen grid: take slow full-weight steps every 6–8 inches, mark hot spots with painter’s tape, and note direction. Diagnose the movement using a flashlight and straightedge, then find joists with a stud finder. Lock layers by driving 2–2-1/2 in. trim-head or squeak-repair screws into joists, or add adhesive and blocking from below. For joints, tap in shims or work in graphite. Next, you’ll see the best method for your floor type.
Key Takeaways
- Map squeak hotspots using slow step-and-listen passes, marking spots with painter’s tape and measuring positions from walls for repeatability.
- Diagnose the source by checking for loose fasteners, gaps, or board friction using a flashlight, straightedge, and localized listening.
- Secure subfloor to joists with 2–2½ inch screws every 8–10 inches, using a stud finder and countersink to keep heads flush.
- From below, apply construction adhesive at seams, add blocking, and screw through joists to clamp subfloor tight and stop movement.
- Prevent recurring squeaks by keeping indoor humidity 35–55% and adding dense underlayment or rugs to reduce high-traffic noise.
Find Squeaky Floorboards Fast (Step-and-Listen Test)
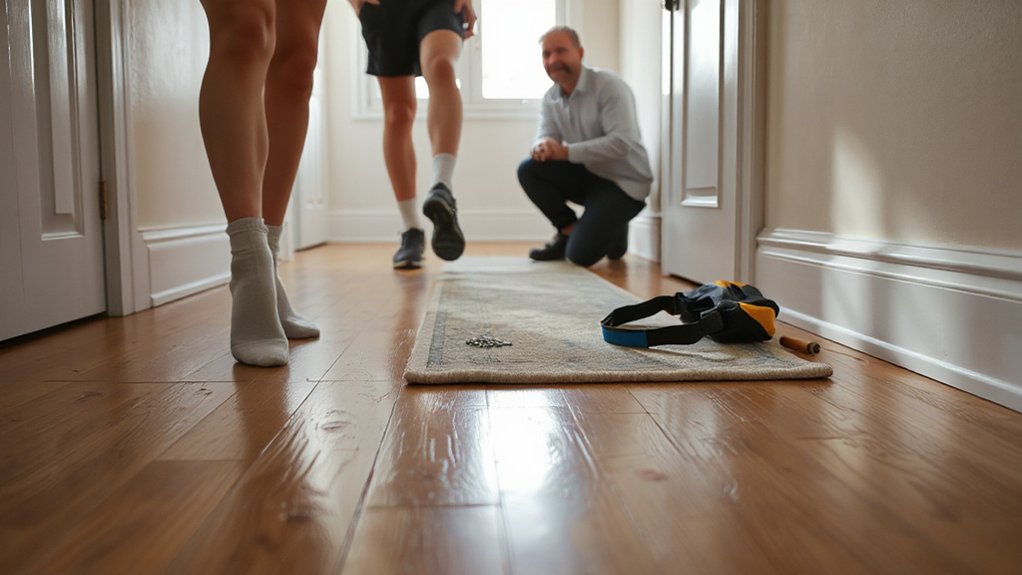
Before you grab screws or shims, you need to pinpoint the exact boards and joists making noise. Clear the area, wear hard-soled shoes, and run a step-and-listen grid: take slow, full-weight steps every 6–8 inches, pausing to note squeaks, clicks, or rubbing. Use painter’s tape to mark each hot spot and arrow the walking direction so you can reproduce it. Have a helper walk while you kneel and press a mechanic’s stethoscope or a long screwdriver to the surface to localize vibration. Record locations relative to walls with a tape measure. Repeat after changing Flooring materials underfoot (bare wood vs. carpet) and after temporarily laying Acoustic insulation pads to see which spots change.
Diagnose What’s Causing Squeaky Floorboards
Now that you’ve mapped the squeak with the step-and-listen test, pinpoint the noise source by isolating whether it’s board-on-board friction, subfloor rubbing on joists, or movement at a nail. Use a bright flashlight, a thin putty knife, and a straightedge to check for loose fasteners, popped nails, and visible gaps at seams and along joist lines. Once you’ve confirmed what’s moving and where, you can choose the right fix—re-screw, shim, or lubricate—without guessing.
Identify Noise Source
Although squeaks can sound identical from room to room, you’ll fix them faster if you pinpoint what’s actually moving: a board rubbing on a nail shank, subfloor flexing between joists, or a joist shifting on its hanger. Walk the lane in hard-soled shoes while a helper listens below; mark hot spots with painter’s tape. Use a stethoscope app or mechanic’s stethoscope on the surface to localize the highest-pitch friction point. Check for floor vibration by placing a straightedge across seams and watching for deflection as you load the area. From the basement/crawlspace, shine a headlamp along joists and look for structural movement: rubbing edges, shiny wear marks, or dust trails. Probe with a pry bar to see which interface squeals under light load.
Check Fasteners And Gaps
When you’ve marked the hot spots, inspect the fasteners and the gaps around them because most squeaks come from movement at a loose nail, a missed joist, or a subfloor seam that’s opened up. Use a bright flashlight and a thin feeler gauge to spot shifting edges and lifted heads. Run a stud finder (joist mode) to confirm framing, then probe with an awl to find soft spots.
Check for floorboard expansion by noting tight joints at room edges and seasonal cupping; that pressure can lever boards against nails. Back out proud screws with a drill/driver, or set nails with a nail set and hammer. If you’ve got misses, plan fastening techniques that hit joists: trim-head screws, or angled pilot holes to eliminate chatter.
Choose Screws and Fasteners for Squeaky Floorboards
Choose the right screw type for your floor system—trim-head wood screws for quiet pull-down through subfloor, or specialized breakaway squeak-repair screws when you can’t hit joists cleanly. Match fastener length to your stack-up so you fully bite into the joist without punching through finished flooring; a 2 to 2-1/2 in. screw is typical for 3/4 in. subfloor over joists, but measure and confirm. Keep a drill/driver, countersink bit, and a stud finder or joist locator on hand so you place fasteners accurately and lock the movement out.
Selecting Screw Types
Before you drive a single fastener, match the screw type to your floor assembly so the fix bites into solid framing instead of just pulling boards together temporarily. For subfloor-to-joist squeaks, use construction screws with coarse threads and a self-countersinking nib; they clamp without snapping like brittle drywall screws. Choose screw material based on environment: coated carbon steel for interior speed and grip, or stainless if you’re near wet entries or below-grade moisture. Pick the right screw head type for your driver and surface: star/Torx resists cam-out under impact drivers, while square drive stays stable in tight corners. Use trim-head flooring screws when you must minimize surface disruption and avoid splitting. Keep a bit set, countersink, and clutch-adjusted drill ready.
Matching Fastener Lengths
Screw style sets the grip, but length determines whether the fix locks into framing or just chews up subfloor. For matching fastener lengths, you want full bite into the joist without punching through. Measure the subfloor thickness (typically 3/4 inch) and add at least 1 inch of joist engagement; a 2 to 2-1/2 inch screw usually lands right.
If you’re tightening from above, use a countersink bit so the head seats flush and won’t telegraph through finish flooring. If you’re working from below, choose structural wood screws and confirm fastener compatibility with the joist species and any existing nails. Avoid overlong screws near wiring or plumbing; probe bays first with a flashlight and inspection mirror.
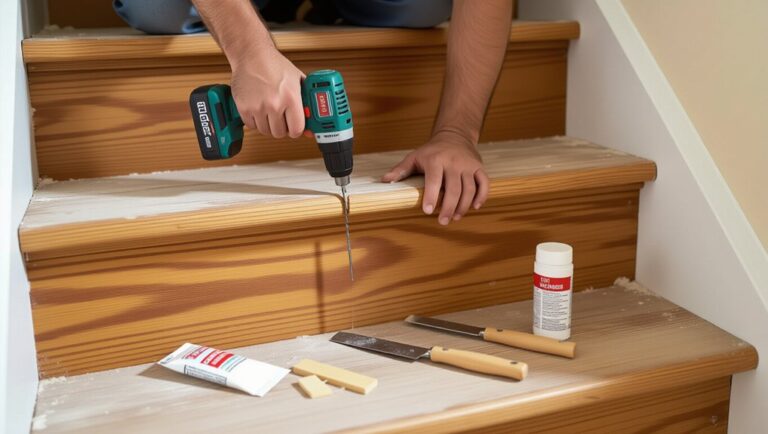
Fix Squeaky Floorboards From Above (Finish Floors)
When the noise comes from finished flooring, you’ll get the best results by locking the floorboard to the subfloor without tearing up the surface. Find the squeak by walking and marking tape lines along the joist path. Use a stud finder in joist mode, then confirm with a tiny pilot hole in a closet or edge gap. Drive trim-head screws or breakaway squeak-repair screws through the finish floor into the joist, keeping fastener length matched to your flooring materials and subfloor thickness. Countersink, then fill with color-matched wood putty or wax crayon. If the squeak is board-to-board friction, dust powdered graphite into the seam and work it in. Finish with area-rug pads or thin acoustic treatments only where movement persists.
Fix Squeaky Floorboards From Above (Carpeted Floors)
Although carpet hides fasteners, you can still eliminate most squeaks from above by pinning the subfloor tight to the joist without cutting a big access hole. Find the joist by tapping for a solid sound or using a stud finder set to deep scan. Mark the line with painter’s tape. Use a carpet floor repair screw kit with a depth-setting guide: drive screws through carpet and pad into the subfloor and joist, then snap the heads flush below the pile so they don’t telegraph. Add fasteners every 6–8 inches across the squeak zone. If you suspect floorboard insulation or soundproof underlayment, use shorter screws to avoid bunching, and compress the pad before driving. Vacuum fibers after snapping.
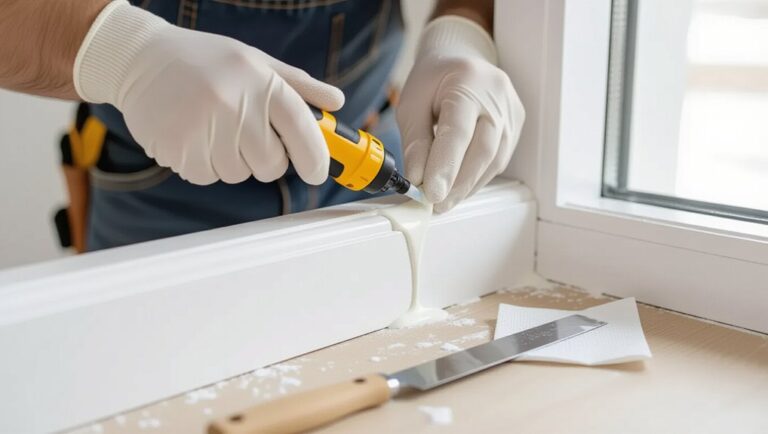
Fix Squeaky Floorboards From Below (Blocking & Adhesive)
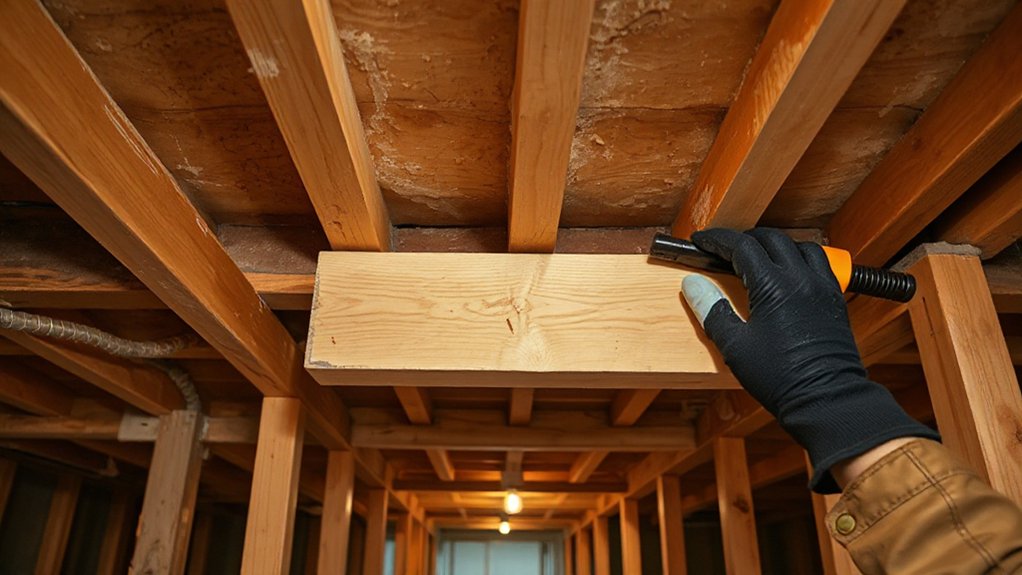
If you’ve got access to the underside of the floor through a basement or crawlspace, you can stop squeaks at the source by locking the subfloor to the joists with construction adhesive and tight blocking. Start with a floor joist inspection: use a bright work light to find gaps, fastener misses, or loose seams at the squeak location. Clean dust, then run a bead of polyurethane construction adhesive along the subfloor-to-joist contact line. Press 2x blocking snug between adjacent joists under the noisy panel; clamp it, then drive 3-inch structural screws through the joists into the block and up into the subfloor. Wipe squeeze-out. As soundproofing techniques, add acoustical sealant at seams and install mineral wool between joists nearby.
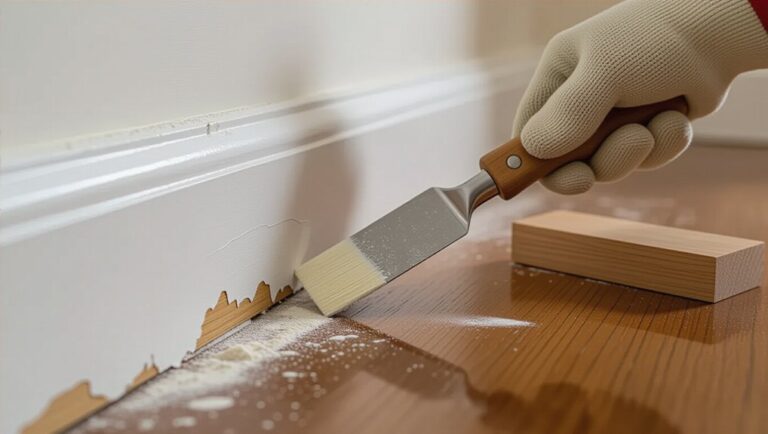
Quiet Squeaky Floorboard Joints (Shims & Lubricant)
Because most squeaks start as wood-on-wood friction at a loose tongue-and-groove joint, you can silence the noise by tightening the seam with thin shims and adding a dry lubricant. Locate the squeak by stepping and marking the board edges with painter’s tape. Use a putty knife to open the seam slightly, then tap hardwood shims in with a small hammer for controlled shim placement; stop when resistance increases so you don’t crown the plank. Score and snap the shim flush, then vacuum the gap. For floor joint lubrication, puff graphite or PTFE powder into the joint, work it in by rocking your weight, and wipe residue. If the gap’s visible, tint wood filler and knife it smooth. Recheck under load.
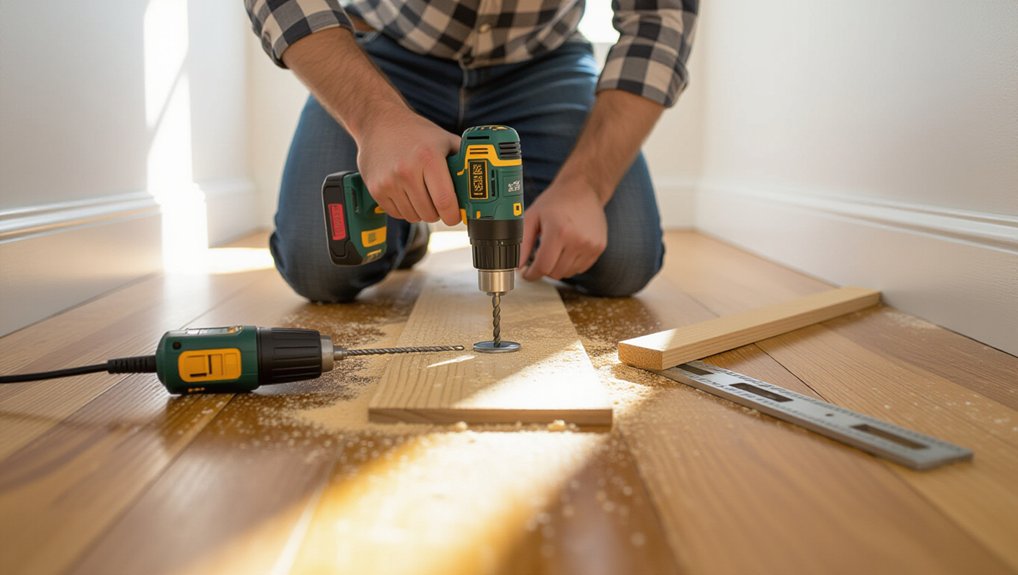
Prevent Squeaky Floorboards in High-Traffic Rooms
When foot traffic pounds the same paths day after day, minor floor movement turns small fastener gaps and joint wear into repeat squeaks. To prevent it, lock the subfloor to the joists: drive 2-1/2 in. deck screws with a countersink bit every 8–10 in. along noisy runs, using a stud finder and chalk line to stay centered. If you’ve got hardwood over plywood, predrill to avoid splitting brittle flooring materials. Add construction adhesive with a caulk gun at accessible seams from below, then clamp with temporary blocking. Control seasonal shrink-swell: keep indoor RH 35–55% with a hygrometer and humidifier. Improve noise insulation by laying dense underlayment or rugs to damp impact and limit vibration transmission.
Frequently Asked Questions
How Much Does a Professional Floor Squeak Repair Typically Cost?
You’ll typically pay $150–$600 for professional squeak repair; extensive jobs run $1,000+. Your flooring material drives labor. Pros apply repair techniques like screw kits, shims, adhesive injection, and joist bracing with drills.
How Long Do Floorboard Squeak Fixes Usually Last in Busy Hallways?
In busy hallways, fixes usually last 2–10 years—like tightening a ship’s rigging. You’ll extend life by matching fasteners to floorboard materials and using squeak detection tools to pinpoint joists, gaps, and movement.
Can Squeaky Floors Indicate Structural Damage or Subfloor Rot?
Yes, squeaks can signal floor joist damage or subfloor deterioration, but you’ll confirm with inspection. Use a stud finder, moisture meter, and pry bar to check movement, rot, and fastener pullout.
Will Squeak Repairs Affect My Home’s Resale Value or Inspection Results?
Yes—done right, squeak repairs boost resale and calm inspections like thunder silenced. You’ll tighten joists with screws, shims, adhesive; document work. Pair home decor upgrades with soundproofing techniques for cleaner reports and value.
What’s the Best Time to Repair Squeaks During a Renovation Schedule?
Schedule squeak repairs right after framing/subfloor is exposed and before finish flooring, trim, or paint. Consider seasonal timing—aim for mid-humidity months. Choose DIY vs. professional based on access, using screws, shims, adhesive, drill.
Conclusion
By now, you’ve chased each squeak with a step-and-listen pass, and—coincidentally—each noise lined up with a loose joist, a rubbing board, or a shifting fastener. You’ve matched the fix to the access: trim screws through finish, breakaway screws through carpet, or blocking and adhesive from below. Where joints still talk, you’ve shimmed, powdered, or lubed. In high-traffic lanes, you’ll predrill, screw to joists, and lock movement out.