Dry everything, then place paper towels under the P-trap, slip joints, and shutoff valves to pinpoint the leak. If it wets only during drainage, tighten slip nuts hand-tight plus a small turn, or disassemble and replace beveled washers. If it wets with the faucet running, shut both angle stops, depressurize, and replace supply lines, ferrules, or valve packing. Check the faucet base and sprayer hose, then test full-flow and fill-and-drain for two minutes. Continue for detailed, stepwise checks.
Key Takeaways
- Dry surfaces, place paper towels under trap, slip joints, and valves; run water to pinpoint whether supply-side or drain-side leaks.
- Shut off both angle stops, open the faucet to relieve pressure; if valves won’t close, shut the main and tag it.
- Inspect faucet base, shank, spray hose, and fittings with a flashlight; replace damaged O-rings, washers, or ferrules and grease with silicone.
- Tighten leaking slip-joint nuts hand-tight plus a small turn; if still leaking, disassemble, clean, replace beveled washers, and reassemble correctly.
- After repairs, dry joints and retest: run two minutes, fill and drain sink; check for drips or wicking and avoid overtightening plastic parts.
Find the Under-Sink Leak Source (Drain vs Supply vs Faucet)
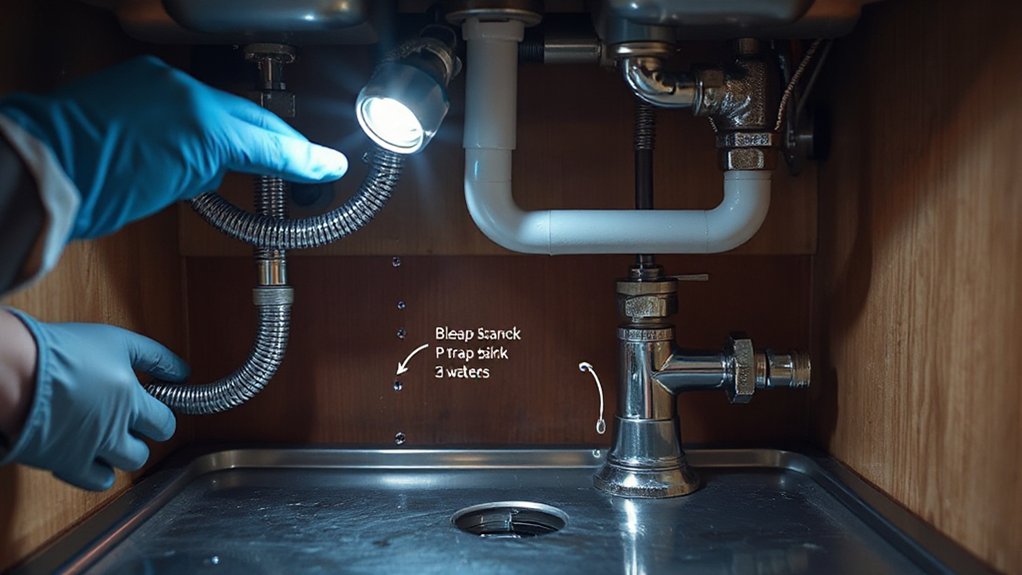
Where’s the water really coming from—your drain, supply line, or faucet body? Start Leak detection by drying all surfaces, then place paper towels under the P-trap, slip joints, and shutoff valves. Run the faucet cold, then hot, watching for first wetting to support Source identification. If towels under the trap dampen only during drainage, suspect the tailpiece, trap nuts, or disposer connection. If wetting appears with the faucet running but before draining, inspect supply tubes, compression nuts, and valve stems for seepage. If moisture forms at the deck plate or underside of the sink, check faucet shank, mounting hardware, and spray hose pass-through. Use a flashlight; don’t use open flame.
Shut Off Water and Clear the Cabinet Safely
Once you’ve pinpointed whether the leak comes from the drain, supply, or faucet, shut the water off before you loosen any fittings. Close both angle stops fully, then open the faucet to relieve Water pressure and confirm flow stops on hot and cold. If a stop won’t close, shut the home’s main valve and tag it to prevent accidental reopening. Unplug disposal and dishwasher cords under the sink; keep the receptacle dry and GFCI-protected. Clear the cabinet of stored items, then place a pan or absorbent pads to control drips. Protect finished surfaces from moisture. Don’t pull or kink supply tubes, and don’t remove pipe insulation; instead, slide it back carefully and keep it intact for reinstallation.
Gather Tools + Common Parts for Under-Sink Leaks
Before you loosen a single nut, stage the right tools and a few common replacement parts so you don’t overtighten, cross-thread, or leave a joint half-sealed. Keep an adjustable wrench, basin wrench, tongue-and-groove pliers, screwdrivers, flashlight, and a small mirror for inspection. Add a bucket, towels, nitrile gloves, and safety glasses for Plumbing safety, plus a non-contact voltage tester if outlets are present. For Tool maintenance, verify jaws are clean, threads turn freely, and plier grips aren’t slipping. Stock PTFE tape, pipe joint compound rated for potable water, spare supply lines, cone washers, O-rings, faucet and valve packing, and a replacement shutoff valve. Keep a rag and vinegar to clean mineral buildup before reassembly and troubleshooting.
Tighten and Reseal Slip-Joint Drain Connections
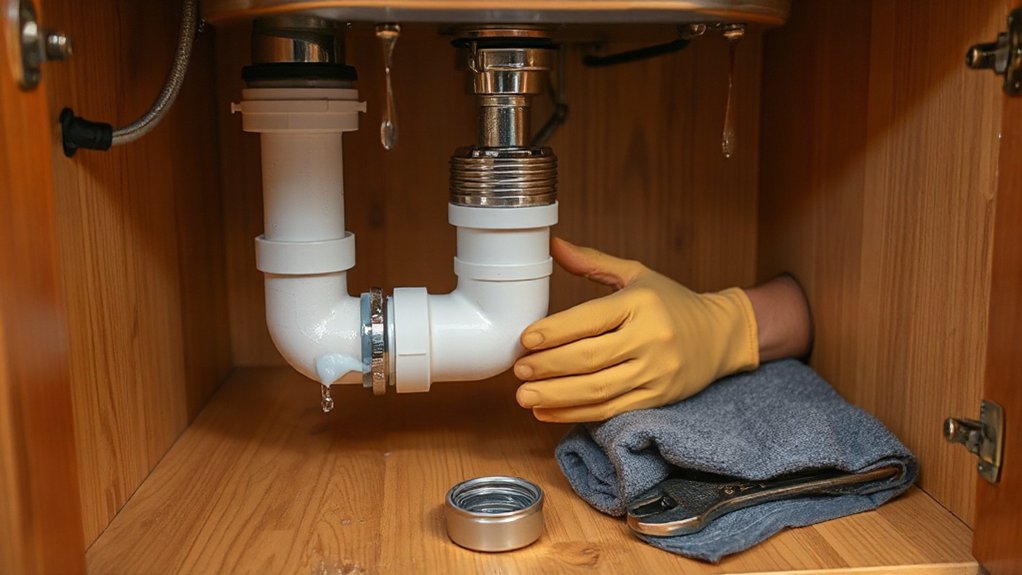
Start by checking each slip-joint for loose slip nuts and signs of active dripping, then snug the nuts by hand and finish with a slight turn using channel-lock pliers so you don’t crack the tubular plastic. If a joint still weeps, disassemble it, replace the beveled washer (and slip nut if damaged), and clean the mating surfaces before reassembling in correct orientation. Restore flow and run the faucet while inspecting every joint to confirm you’ve sealed the drain path without stressing the piping.
Identify Loose Slip Nuts
If you’re seeing drips at the curved trap, tailpiece, or horizontal drain run, a loose slip nut at a slip-joint connection is a prime suspect. Place a bucket under the assembly, then dry each joint and run water briefly to pinpoint the weep. Feel for moisture at the nut’s underside and around the beveled joint line; active seepage there indicates movement or misalignment. Check that the trap arm and tailpiece are fully seated and square, with no side-load from the disposal or drain line. Inspect threads for damage and look for pipe corrosion, especially on thin-wall tubular brass or steel. If you see cracking, heavy pitting, or deformation, stop and plan component replacement per code.
Replace Washers And Reseal
Once you’ve confirmed the leak comes from a slip-joint, replace the conical washer and reseal the connection rather than simply cranking down on the nut. Set a bucket, wear gloves, and shut off the disposer or dishwasher breaker for safety. Loosen the slip nut, slide it back, and remove the old washer; if it’s flattened, cracked, or mis-sized, it won’t seal.
Clean the mating surfaces and inspect for burrs or misalignment. Install a new washer with the taper facing the joint, then hand-tighten the nut and add only 1/4 turn with pliers. Don’t use pipe dope or tape on slip joints unless the manufacturer allows it. Verify slope and appliance compatibility, then wipe dry and test flow while protecting Kitchen decor.
Reseal the Sink Basket (Flange) and Drain Washer
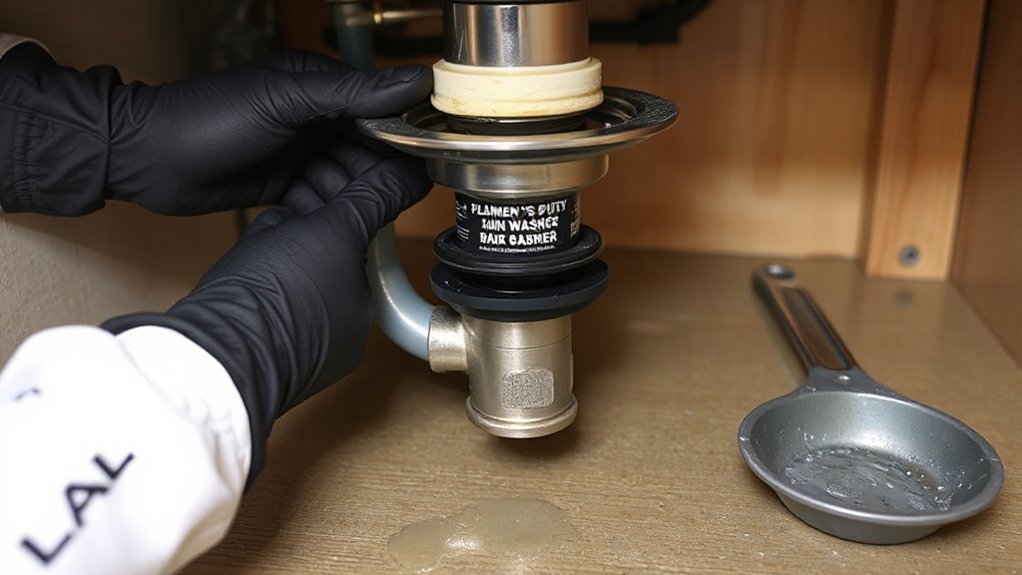
Although a drip under the sink often looks like a loose slip nut, a failed seal at the sink basket (flange) or its underside drain washer can let water track along the drain body and leak into the cabinet. Shut off water, unplug disposers, and set a pan. For basket removal, loosen the locknut and disconnect the tailpiece; support the basket so you don’t twist piping. Scrape off old putty or silicone from the rim and sink opening, then dry the surfaces. Apply plumber’s putty (or 100% silicone if required by the manufacturer) under the flange and seat it square. Install a new rubber drain washer and friction ring, then tighten the locknut evenly to compress the seal without deforming the sink. If sealing surfaces are pitted, do flange replacement. Fill and drain-test.
Replace a Cracked P-Trap or Damaged Drain Section
Two common culprits—hairline cracks in the P-trap and split tubular drain sections—can leak only when the line is flowing, so confirm the source with a bright light and a dry-paper-towel wipe test before you start swapping parts. If you spot a cracked pipe, stop using the sink, place a pan, and wear gloves and eye protection. Loosen slip-joint nuts, support the trap arm, and remove the P-trap and any damaged section. Inspect washers; replace them if they’re nicked or deformed. Clear any drain blockage before reassembly so pressure and backflow don’t force leaks. Reinstall with the trap weir aligned, nuts hand-tight plus a quarter-turn, and maintain proper slope on horizontal runs. Run water, check all joints, and retighten only if needed.
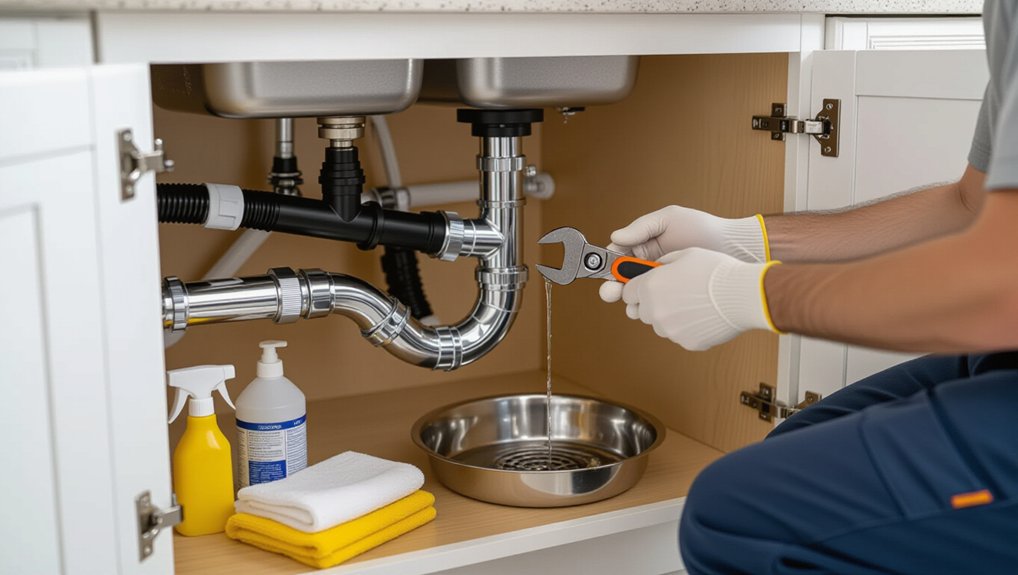
Fix Leaking Shutoff Valves and Supply Lines
If water beads up around the angle stop or along the braided supply line, shut off the house main (or the nearest upstream valve) and relieve pressure by opening the faucet before you put a wrench on anything. Verify the cabinet stays dry and place a pan under the valve. Tighten the supply nut and valve packing nut 1/8 turn; don’t overtighten. If seepage persists, replace the supply line with a listed, stainless-braided connector of correct length; don’t reuse old ferrules or kink the hose. For compression angle stops, hold the valve body with a backup wrench while tightening to protect the stub-out. If the valve stem or body leaks, replace the stop, using code-approved fittings and pipe sealant where required. Restore water, test, and document for Water conservation and leak prevention.
Check Sprayer, Hose, and Faucet Base Drips
Shut off the water, relieve pressure, and dry the area so you can verify any active drips without slip hazards. Inspect the sprayer head seals for wear, then check the hose connections at the sprayer, quick-connect, and faucet body for leaks under light flow. Finally, examine the faucet base gasket and mounting surface for seepage, and tighten hardware to manufacturer torque limits so you don’t crack the sink or violate installation requirements.
Inspect Sprayer Head Seals
Before you start chasing a drip under the sink, inspect the sprayer head seals because worn O‑rings and loose couplers often leak only when the sprayer is pressurized. Shut off the faucet, relieve pressure, and place a towel in the cabinet to prevent slip hazards. Pull the sprayer head out, wipe it dry, then run water while aiming into the sink to confirm the leak originates at the head, not below. For seal inspection, look for mineral buildup, nicks, flat-spotted O‑rings, and cracked washers at the swivel and nozzle interfaces. Hand-tighten the coupler; don’t use pliers that can distort threads. Replace seals with manufacturer-matched, potable-water-rated parts, lubricate with NSF-approved silicone grease, and recheck for drips.
Check Hose Connection Leaks
While the sprayer head may look dry, leaks often start at the hose connections and only show up under flow. Clear the cabinet, place a pan, and run water while you watch with a flashlight. Feel for moisture at the sprayer hose union, diverter, and supply-to-faucet fittings. Identify the connection type (compression, threaded, quick-connect) and check that it’s fully seated, square, and properly clipped. Match tightening method to the hose material: braided stainless and polymer hoses can kink or crack if over-torqued. For threaded joints, shut off stops, relieve pressure, then re-seat and snug to manufacturer specs; don’t use pipe dope on flare or compression seats. Replace damaged O-rings or ferrules. Wipe, retest, and confirm no drips.
Examine Faucet Base Gasket
Even if the sprayer hose connections stay dry under flow, water can still track down from the faucet deck and drip into the cabinet when the faucet base gasket fails or the mounting surface flexes. Dry the area, then run water and sweep the spout to simulate normal use while you watch for seepage at the faucet base.
For gasket inspection, wipe the deck, then wrap a dry paper towel around the faucet base and press lightly. Any wet ring indicates bypass. Verify the faucet is securely mounted; looseness can violate manufacturer installation requirements and lead to leaks. From below, check the mounting nut, washer, and bracket for corrosion or deformation. If the gasket is split, compressed, or missing, shut off supplies, relieve pressure, remove the faucet, clean the deck, and install an approved replacement gasket or seal per instructions.
Run Leak Tests and Prevent Future Cabinet Damage
Once you’ve tightened fittings or replaced parts, you need to pressure-test the entire drain and supply system to verify you’ve stopped the leak and to catch any slow seepage that can rot the cabinet base. Dry all joints, then wrap paper towels under the trap, slip nuts, shutoff valves, and supply lines. Run cold and hot water at full flow for two minutes, then fill the sink and release it to stress the drain. Check for drips, wicking, or bubbles. If you see moisture, shut off the stop valves and relieve pressure before re-tightening—don’t overtighten plastic. Restore power only after everything’s dry. For Preventive maintenance and Water conservation, recheck weekly, keep a drip pan, and add a leak alarm to protect the cabinet floor.
Frequently Asked Questions
How Much Does a Plumber Typically Charge for Under-Sink Leak Repairs?
You’ll typically pay $150–$450 for under-sink leak repairs, including service call and parts. You’ll want leak detection first, shut off water, and verify code-compliant fittings; add pipe insulation to prevent condensation and freezing.
Can a Slow Under-Sink Leak Cause Mold or Structural Damage?
Yes, a slow under-sink leak can cause mold and structural damage; moisture can raise indoor RH above 60%, a common mold threshold. You should prioritize Mold prevention, protect Structural integrity, and repair promptly, safely.
What Type of Homeowner’s Insurance Covers Water Damage From Sink Leaks?
You’re typically covered by an HO-3 policy for sudden, accidental sink-leak water damage, not gradual seepage. You must meet homeowner responsibilities: promptly stop flow, document losses, and file insurance claims with photos and repair receipts.
Are Under-Sink Plumbing Repairs Allowed in Rentals Without Landlord Approval?
Usually, you can’t do under-sink repairs without landlord approval; DIY plumbing often violates rental policies. Like a hidden valve, permission controls risk. You should notify maintenance, follow code, shut off water, and avoid liability.
How Long Should Plumbing Sealants or Putty Cure Before Using the Sink?
You should wait 24 hours; some products allow 4–6 hours for light use—follow the label. Sealant drying varies; cure time depends on humidity and bead thickness. Keep joints dry, ventilate, and leak-test.
Conclusion
You’ve tracked the trouble, tightened the threads, and stopped the seep. Now restore the space: dry the cabinet, secure supply stops, and confirm every connection meets manufacturer specs and local code. Run a measured test—cold, hot, then full flow—while watching joints, valves, and the faucet base for sneaky drips. Add a drip tray or leak alarm for smart, steady safeguarding. Seal, secure, and stay safe.