Shut off the hot and cold isolation valves (or main stop valve), then open the faucet to relieve pressure and plug the drain. Dry the spout and handle base to pinpoint where water’s escaping, and snug fittings hand-tight plus a quarter-turn to avoid damage. If it’s a compression tap, replace the worn washer and dress a pitted seat; if it’s a cartridge tap, swap the matching cartridge and O-rings. Next, check for damp cabinets, mineral tracks, or musty odors to stop water damage early, and keep going for step-by-step fixes and warning signs.
Key Takeaways
- Shut off hot and cold isolation valves, open the faucet to relieve pressure, and plug the drain to prevent losing small parts.
- Identify leak source and early water-damage signs like mineral tracks, swollen panels, bubbling paint, musty odors, or recurring mildew.
- Determine tap type by handle action and stem design, then obtain exact replacement washers, O-rings, seat springs, or cartridges.
- Disassemble, clean mineral buildup, replace worn seals, and dress or replace a pitted valve seat using silicone plumber’s grease only.
- Restore water, test carefully for leaks, and call a plumber if leaks persist, valves won’t close, fittings are corroded, or damage spreads.
Stop a Leaking Bathroom Tap Now (Shutoff + Quick Fixes)
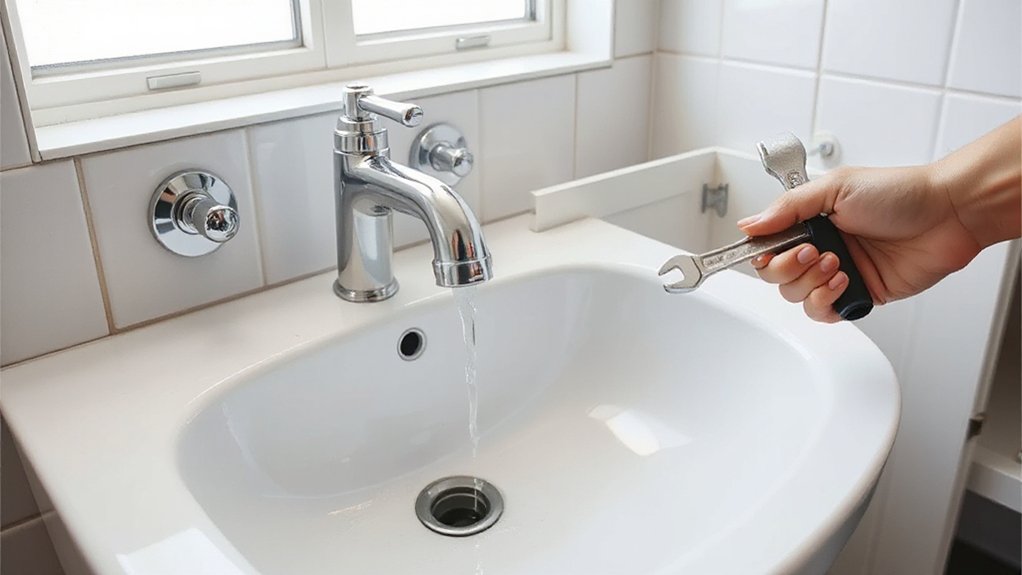
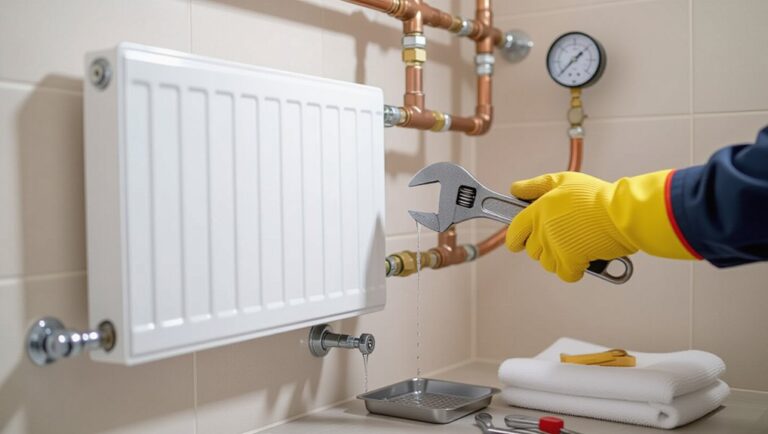
If water’s still running, shut the supply off before you touch the tap: close the hot and cold isolation valves under the basin (turn clockwise) or shut the main stop valve, then open the faucet to relieve pressure and confirm flow stops.
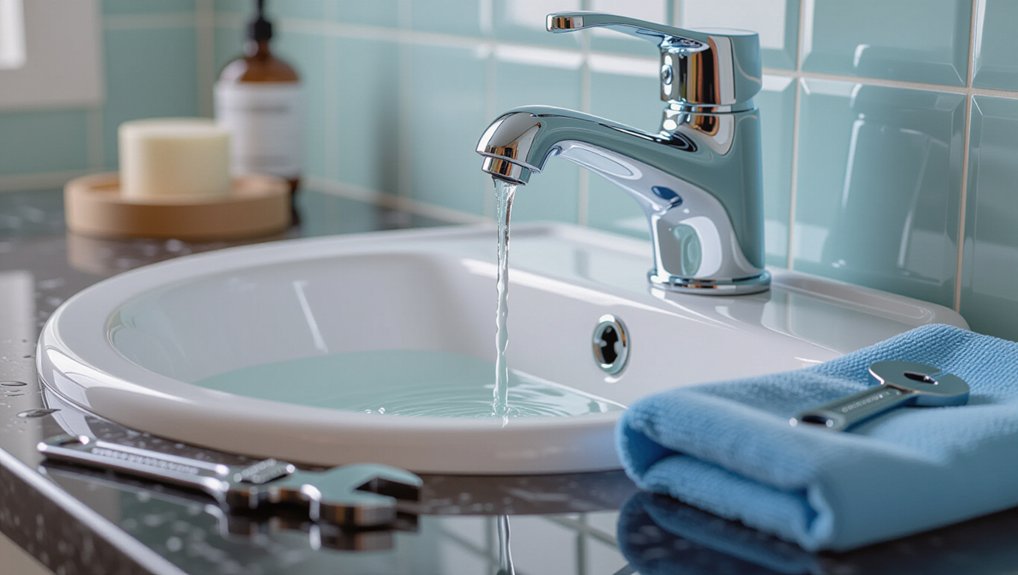
Place a towel in the basin to protect the finish and your Bathroom decor, then plug the drain so small parts can’t fall in. Wipe the spout dry and watch for beading at the aerator or handle base; if it’s at the aerator, unscrew it, rinse debris, and reinstall with its gasket seated. Snug connections by hand plus a quarter-turn—don’t overtighten. If water weeps at the handle, tighten the handle screw and packing nut slightly. Restore supply, check for drips, and don’t ignore leaks; water conservation starts here.
Identify Your Leaking Bathroom Tap Type (Compression vs Cartridge)
Before you buy parts or strip the handle, identify whether your bathroom tap uses a compression washer or a cartridge, because the repair method and the shutoff sealing surfaces differ. Start by checking the handle action. If it takes multiple turns to fully open or close, you’re likely dealing with a compression tap that seals against a valve seat. If it’s a quarter-turn or smooth single-lever motion, it’s typically a cartridge design with internal ports and seals. Confirm by shutting off supplies and removing only the index cap to view the stem: a rising stem suggests compression; a fixed stem with a retaining clip suggests cartridge. Keep finishes protected to preserve Bathroom decor, and follow local plumbing regulations for isolation, pressure control, and scald prevention.
Tools + Common Parts for a Leaking Bathroom Tap (Washers, O-Rings, Cartridges)
Before you open the tap, you’ll shut off the stop valves, plug the drain, and stage the essentials: adjustable wrench, screwdrivers, hex keys, slip-joint pliers, a strap wrench, and PTFE tape. You’ll then match common wear parts to your tap type—compression washers and seat springs, O-rings for spouts and stems, or the correct cartridge and retaining clip for cartridge valves. You’ll verify sizes and materials against the manufacturer’s specs and replace seals as a set to maintain a watertight, code-compliant repair.
Essential Tap Repair Tools
Where do you start when a bathroom tap won’t stop dripping? Shut off the isolating valves or main supply, then verify pressure is relieved by opening the tap; this supports Water conservation and protects Bathroom decor from moisture damage. Gather an adjustable wrench, basin wrench, slip-joint pliers with jaw covers, and a correctly sized spanner to avoid rounding flats. Use a flat and Phillips screwdriver set, hex keys, and a cartridge puller if the manufacturer specifies one. Keep PTFE tape and approved thread sealant for reassembly where threads require it, but don’t use sealant on compression olives. Have a pick set for removing old seals, a soft brush for mineral buildup, and a torch and mirror for under-sink visibility. Wear gloves and eye protection.
Common Replacement Tap Parts
Although most dripping taps trace back to a small wear component, you’ll get a code-compliant, long-lasting repair only if you match the replacement part to the tap type and material. For compression taps, replace the seat washer and inspect the valve seat; use the exact diameter and hardness to prevent chatter and scoring. For cartridge or ceramic-disc taps, install the manufacturer-rated cartridge, not a “close fit,” and replace retaining clips if deformed. On all styles, renew O-rings on spouts and stems; choose EPDM or nitrile rated for potable water and temperature. Use silicone plumber’s grease sparingly, never petroleum. Keep spare aerator screens and flow restrictors to maintain Water conservation and protect Bathroom aesthetics by preventing spray patterns. Isolate water, verify shutoffs, then pressure-test for leaks.
Fix a Dripping Compression Bathroom Tap (Washer + Seat)
Start by shutting off the stop valve, relieving pressure, and confirming you’ve got a compression tap by the rubber washer at the stem end—if it’s grooved, hardened, or torn, it’s worn. You’ll replace the washer with the exact size and material, reinstall the retainer screw with the washer seated flat, and reassemble without over-torquing to prevent stem damage. If the tap still drips, inspect the valve seat for pitting or scoring and either dress it with a seat reamer or replace the seat to restore a code-compliant seal.
Identify Washer Wear
Before you strip the tap down, confirm the washer’s actually the failure point by checking for wear patterns that match a compression mechanism. If the tap drips only when fully closed, you’re likely losing seal at the washer-to-seat interface, not at the spout O-ring. Isolate the water supply at the stop valve and depressurise by opening the tap; this aligns with safe isolation practice and prevents scalding. Inspect for symptom clues: increasing closing force, intermittent dripping after shutoff, or a squeak as the stem tightens. When you access the washer, look for cupping, splitting, glazing, uneven flattening, or embedded grit that could score the seat. Document the size and type for Washer maintenance and Leak prevention. Check the seat for pitting separately.
Replace Washer Correctly
Once you’ve confirmed the washer shows compression-type wear, replace it with an exact match so the stem can seal against the seat without over-tightening. Shut off the fixture stops, open the tap to relieve pressure, and verify isolation before you disassemble. Remove the handle and stem, then take out the retaining screw; replace the washer with the same diameter, thickness, and profile (flat or beveled). If the screw is corroded, replace it with a stainless or brass fastener of the same size. Clean debris from the stem end, install the washer squarely, and tighten the screw snug—don’t distort the rubber. Reassemble, restore water, and test for drips. Proper replacement supports Water conservation and reduces Environmental impact.
Reseat Or Replace Seat
Although a new washer often stops a drip, a pitted or out-of-round valve seat will keep water bypassing the seal, so you’ll need to either reseat it with a seat dresser or replace the seat entirely. Shut off the stop valves, open the tap to relieve pressure, and plug the drain. Inspect the seat with a torch; if you see grooves or corrosion, do Seating adjustments with a seat dresser, turning evenly and removing only enough brass to restore a flat, concentric surface. Flush debris from the body before reassembly to protect the plumbing system. If the seat is cracked, badly eroded, or removable by hex key, perform Seat replacement with a matching OEM part and new O-ring, then torque snug, don’t over-tighten.
Fix a Leaking Cartridge Bathroom Tap (Remove + Replace)
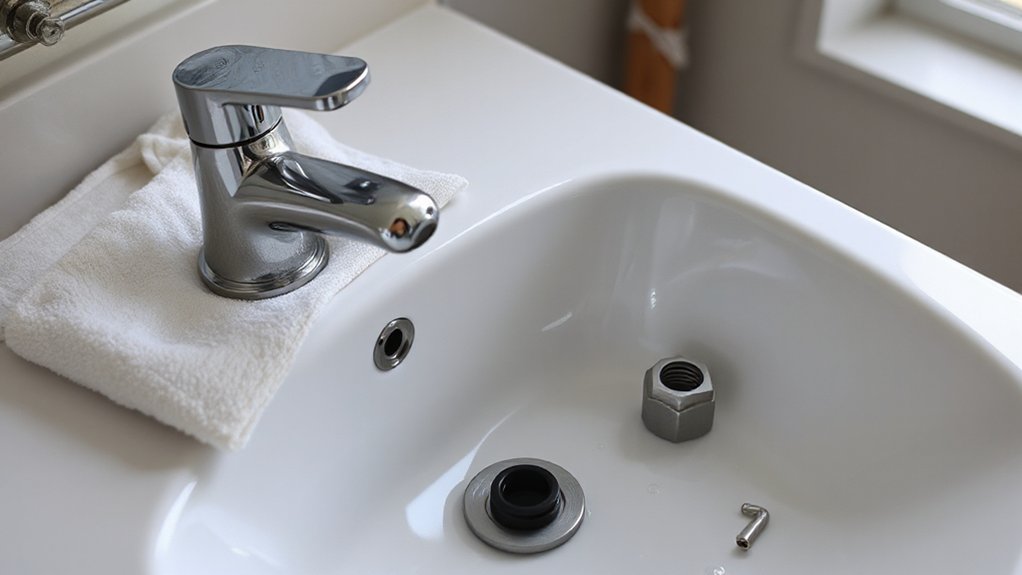
If your bathroom tap uses a cartridge valve, a persistent drip usually means the cartridge’s seals or body have worn, and you’ll need to remove and replace it rather than overtighten the handle. Shut off the isolation valves, or the main, and open the tap to verify pressure is relieved. Plug the drain, then remove the handle and trim with the correct hex key or screwdriver to protect your Bathroom decor. Note the cartridge orientation, release the retaining clip or bonnet nut, and pull the cartridge straight out with slip-joint pliers or a puller. Match the new cartridge by brand and model, lubricate with silicone plumber’s grease only if allowed, then reinstall. Restore water, check operation, and confirm no drip for Water conservation.
Fix Leaks at the Spout, Base, or Handles (O-Rings + Seals)
When a tap drips from around the spout, the handle stems, or the base plate, failed O-rings, worn seals, or a loose retaining nut usually lets pressurized water bypass the valve and escape externally. Shut off the stop valves, plug the drain, and confirm pressure is relieved before disassembly.
Remove the handle(s) and trim, then pull the spout straight up if it’s slip-fit. Inspect O-rings for flat spots, cracks, or swelling; replace with manufacturer-matched sizes. Clean mineral buildup, then apply NSF/ANSI 61-compliant silicone plumber’s grease—don’t use petroleum. Re-seat or replace stem packing and base gasket, and snug the retaining nut to spec; over-tightening can crack Stylish fixtures. Restore water, cycle the tap, and verify a dry joint for Water conservation.
Signs Your Bathroom Tap Leak Is Causing Water Damage
Because a slow leak can run unnoticed for weeks, you should treat any persistent dampness around the tap as a potential water-damage event—not just a nuisance drip. Check for darkened grout, bubbling paint, or swollen vanity panels; these indicate water wicking beyond the fixture. Look for mineral tracks, rusty fasteners, and soft caulk joints that no longer seal to code-required water-resistant surfaces. If you smell mustiness, you may have microbial growth behind the backsplash or inside the cabinet. Monitor the shutoff valves and supply lines for condensation-like beading that signals a slow seep. Warped laminate, peeling Bathroom decor, or recurring mildew means the leak’s affecting materials, not just plumbing. Also watch your meter and bills; unexplained use defeats Water conservation goals. Document changes weekly with photos.
When to Call a Plumber for a Bathroom Tap Leak
Although many tap leaks come down to a worn washer or cartridge, you should call a licensed plumber as soon as the leak persists after a basic shutoff-and-inspection, the shutoff valves won’t fully close, or you see water at the supply connections or under the vanity—conditions that can violate fixture installation requirements and create hidden damage. If you notice corroded supply tubes, cross-threaded fittings, or a loose faucet body, don’t keep tightening; you can crack the basin or compromise sealing surfaces. Call a plumber when the leak traces into the wall, floor, or cabinet, or when moldy odor appears, since code requires water-tight joints and accessible shutoffs. You’ll protect Water conservation goals by stopping continual loss, and you’ll preserve Bathroom decor by preventing stains, swelling, and finish failure.
Frequently Asked Questions
Will a Leaking Bathroom Tap Increase My Water Bill Noticeably?
Yes, a leaking bathroom tap can noticeably raise your water bill, depending on drip rate. You should use leak detection methods, support water conservation, and repair promptly to meet code, prevent hazards, and avoid wasted water.
Can Hard Water Cause Taps to Leak More Often?
Yes—hard water can make taps leak far more often, like a flood in slow motion. Mineral buildup abrades seals; tap corrosion pits seats and threads. You should isolate supply, depressurize, and replace washers/O-rings to code.
Is It Safe to Use Plumber’s Tape on Bathroom Tap Threads?
Yes, it’s safe if you use PTFE plumber’s tape correctly for thread sealing on compatible tap threads. Follow code guidance, wrap clockwise, avoid over-wrap, and keep tape application off waterways to prevent contamination and leaks.
How Long Should a Repaired Tap Last Before Leaking Again?
A properly fixed tap typically lasts 5–15 years; swift, sound servicing helps. You’ll extend life with Tap washer replacement and Valve seat repair, torqued to spec, code-compliant, with shutoff verified and leak-tested regularly.
Are DIY Tap Repairs Likely to Void My Faucet Warranty?
Yes, DIY repairs can void your Faucet warranty if you break seals, use non-OEM parts, or skip authorized service. Minimize DIY risks: follow manufacturer instructions, shut off supply, relieve pressure, and document compliant procedures.
Conclusion
You’ve stopped the drip before it turns into a slow-motion flood, and that’s code-smart prevention. Treat a leaking bathroom tap like a short in a circuit: isolate it at the shutoff, verify pressure is relieved, and replace the correct wear parts—washers, O-rings, or cartridges—to manufacturer spec. If you see swelling trim, stained drywall, soft flooring, or persistent seepage, don’t gamble—call a licensed plumber. Water damage compounds fast.
About the Author