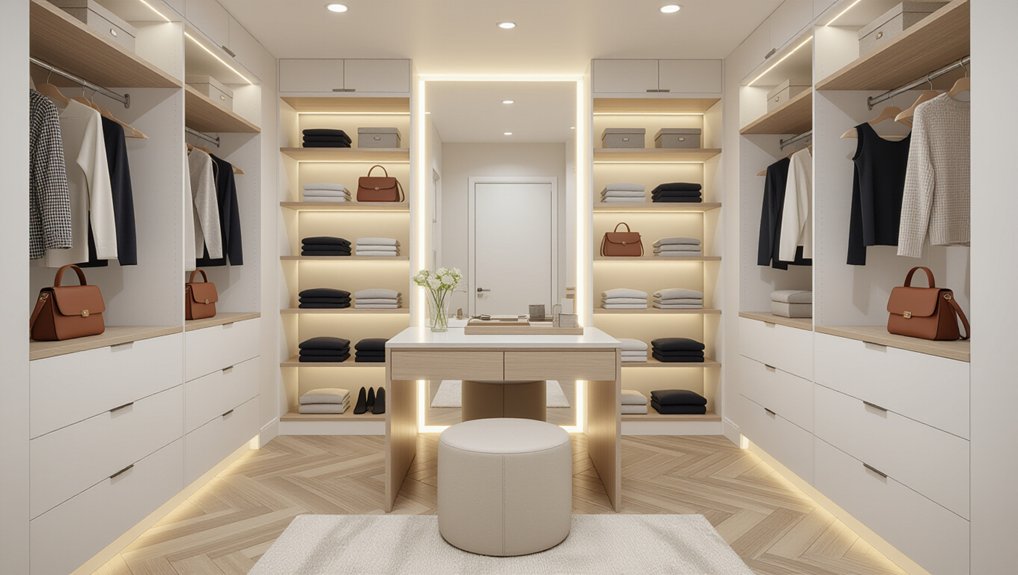
Design your modern dressing room like a tailored plan: keep a 36-inch walkway (42 for a luxe feel), allow 24 inches in front of drawers, and set full-length mirrors 30–36 inches away. Inventory what you actually hang, fold, and store, then measure hems, heels, and stack heights to size rods, shelves, and drawers. Zone daily items at waist height, shoes low and ventilated, seasonal bins up top, and add modular features for easy updates. Next, you’ll see how to choose sections, finishes, and custom vs modular.
Key Takeaways
- Plan clearances: 36-inch walkways, 24 inches for drawer extension, and 30–36 inches in front of full-length mirrors.
- Inventory and measure your wardrobe to size rods, shelves, drawers, and shoe storage around real item volumes.
- Create functional zones: daily hanging near entry, fold storage at waist height, ventilated shoe racks low, and seasonal bins on top shelves.
- Choose modular built-ins for flexibility—double-hang swaps, pull-out hampers, and adjustable shelves—so updates require no demolition.
- Use durable modern finishes and streamlined hardware, integrating lighting and mirrors to keep the room cohesive and shadow-free.
Plan Your Modern Dressing Room Layout + Clearances
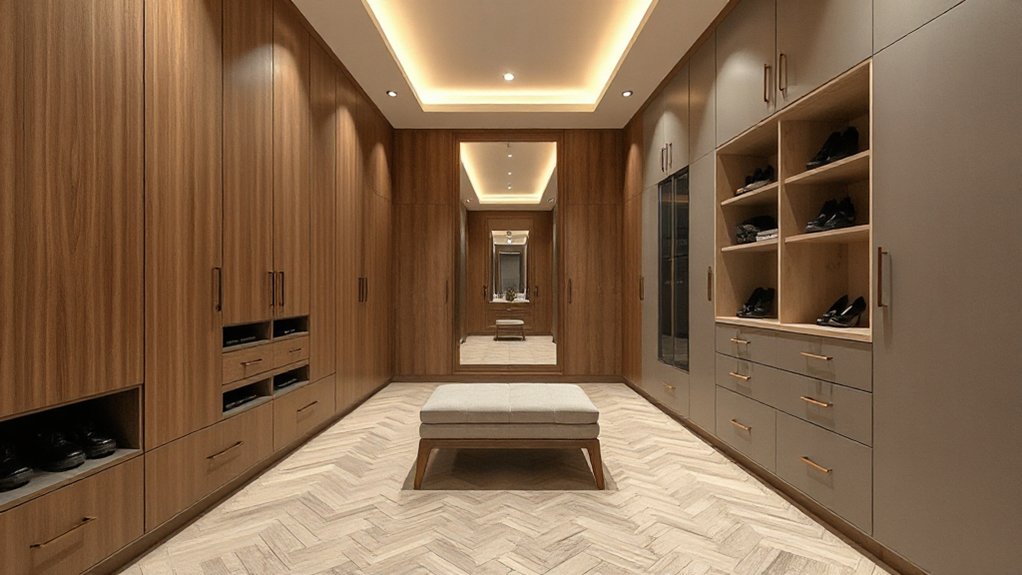
Before you pick finishes or lighting, lock in a modern dressing room layout that supports how you move, reach, and change—because clearances make or break the space. Give yourself a minimum 36-inch walkway; 42 inches feels luxe in tight footprints. Keep 24 inches in front of drawers and pull-outs so they open fully without pinching circulation. Place a full-length mirror where you can step back 30–36 inches, and keep a clear swing zone for doors or choose pocket/sliding panels. Anchor a small bench or pull-out seat at the end of a run to avoid blocking traffic. Coordinate Lighting design early: avoid shadow lines at mirrors with vertical sconces. Add ventilation considerations near closets to prevent heat and odors.
Inventory Your Wardrobe to Size Built-In Storage
Start by sorting what you actually wear—hang pieces, fold knits, corral shoes, bags, jewelry, and belts—so each category earns the right storage. Then measure both volume and key dimensions (longest hems, widest heels, tallest hats) to size rails, drawers, cubbies, and shelves without wasted air. Finally, map seasonal overflow and rotation, reserving top shelves or lidded bins for off-season items so your daily edit stays clean and current.
Categorize Clothing And Accessories
Where does your wardrobe actually live—hung, folded, stacked, or scattered across chairs? Start by grouping items the way you’ll store them: everyday, occasion, seasonal, and specialty. Then sort within each group by type—tops, bottoms, dresses, outerwear, activewear—so your future zones stay clean and intuitive. Use Color coordination to keep visual noise down and make outfit building faster; it’s a modern, boutique look that also reveals duplicates instantly.
Next, tackle Accessory organization with the same discipline: shoes by use, bags by size, belts and ties by category, jewelry by frequency. Keep sets together (suit + shirt + belt), quarantine “maybe” pieces, and flag anything that needs tailoring, repair, or donation. You’ll design storage around real habits.
Measure Volume And Dimensions
Once your clothing and accessories sit in clear categories, you can size storage to fit what you actually own instead of guessing. Start with a fast count: hanging pieces, folded stacks, shoes, bags, jewelry. Then do dimension measurement, not estimates. Measure your longest coats and dresses for hanging height, plus rod-to-shelf clearance. For folded items, measure the width and depth of an ideal stack so shelves don’t waste air. Use volume calculation for bulky categories: sweaters, denim, handbags, and workout gear. Multiply average stack dimensions by the number of stacks to set drawer and cubby capacity. Note special shapes—boots, hats, clutches—so you can specify dividers and toe-kick recesses. Record everything in a simple spreadsheet for quick revisions.
Plan Seasonal Storage Needs
How often do you actually swap your wardrobe over the year? Track it for a month, then map categories: coats, knits, tees, denim, dresses, shoes, bags, and accessories. Count hangers, folded stacks, and bulky pieces so your built-ins match real volume, not guesses.
Design zones for your seasonal wardrobe: prime-height rods and drawers for what you wear now, upper shelves for off-season bins, and deep cubbies for boots and puffer coats. Add pull-out trays for scarves and belts, plus divided drawers for swim or thermals. Label bins by season and garment type, and keep a 10% buffer for new finds. This inventory-driven approach keeps storage optimization tight, flexible, and visually calm year-round.
Zone Your Built-Ins: Hang, Fold, Shoes, Accessories
If you zone your built-ins before you pick finishes, the entire dressing room runs smoother and looks more intentional. Start with hanging zones near your daily route: long-hang for dresses and coats, short-hang for shirts and jackets. Keep fold zones at waist height so you can stack tees and knits without bending, and reserve higher areas for occasional pieces. Dedicate a shoe zone low and ventilated, with clear sightlines so pairs don’t disappear. Add an accessories zone close to where you get ready, grouped by function—belts, bags, jewelry—so you can grab and go. Use Decorative lighting to spotlight each zone and reduce shadowy corners. Nail Mirror placement to face the outfit-edit area, not the doorway, so the room stays calm and efficient.
Choose Built-In Sections: Drawers, Shelves, Valet Rods
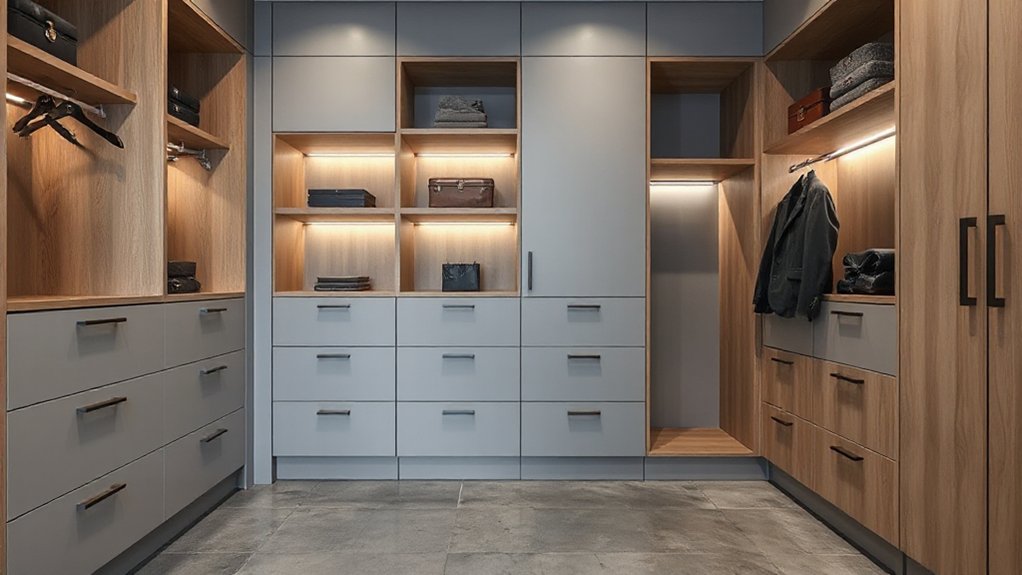
Lock in drawer and shelf zones that match your daily rhythm—shallow drawers up top for jewelry and tees, deeper ones below for denim, and adjustable shelves for bags and folded knits. Keep sightlines clean by grouping like items and aligning shelf heights across bays for a modern, built-to-measure look. Add a valet rod where you’ll actually use it—near the door or mirror at shoulder height, with enough clearance for hangers and a staged outfit.
Drawer And Shelf Zones
While hanging space gets most of the attention, your dressing room runs smoother when you carve out clear drawer-and-shelf zones for the items you reach for daily. Put drawers at mid-height so you don’t bend or reach, and reserve the deepest drawers for knits, denim, and bags. For smart drawer organization, add low-profile dividers, a jewelry tray, and labeled inserts so every category resets fast.
Use shelves above drawers for folded tees, clutches, and display-worthy accessories. Keep shelf depth tighter (12–14 inches) to avoid messy stacks, and adjust pin holes so piles stay low and visible. For modern shelf styling, mix uniform bins with a few open sections, align edges, and leave breathing space for a clean, boutique feel.
Valet Rod Placement Tips
Because a valet rod turns “in-between” moments into an organized routine, place it where you actually dress: near the closet opening or beside your mirror, not buried in a back bay. Set valet rod height so a jacket or dress hangs clear of drawers—typically around hip to waist level—and keep a 12–18 inch swing zone free of door pulls and hanging rails. Mount it on a vertical panel between shelf stacks for clean lines, or on the side of a tower so it disappears when folded in. Choose valet rod material that matches your hardware: brushed brass feels current, matte black reads minimal, and polished nickel suits bright, modern rooms. Add a soft-close model to cut noise and prevent pinched fingers.
Choose Modern Built-In Finishes and Hardware
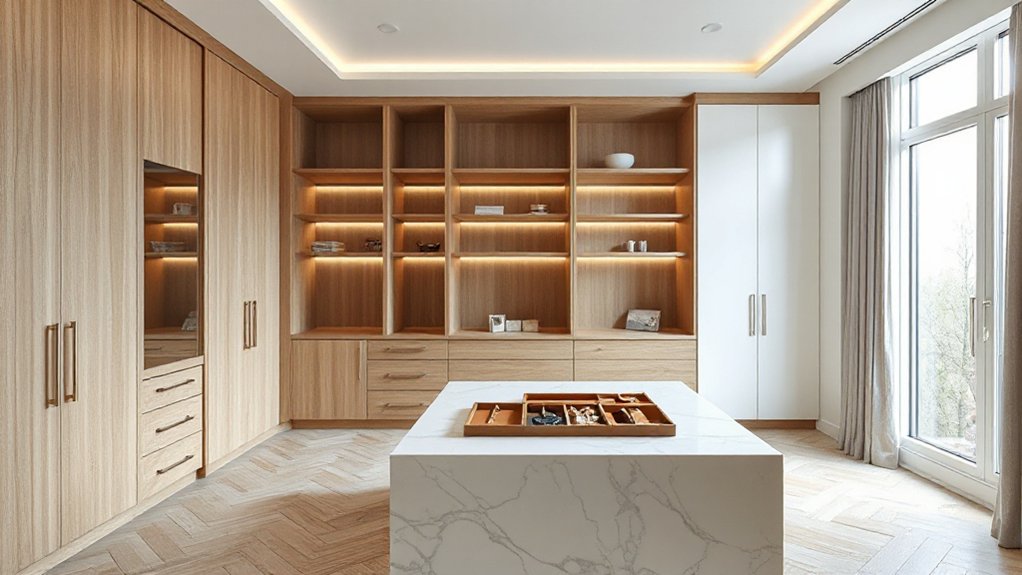
Once you’ve nailed the layout, your built-in finishes and hardware set the tone—and they need to work as hard as they look. Start with material selection that handles daily wear: matte lacquer for easy wipe-downs, thermofoil for budget durability, or textured oak veneer to warm up sleek lines without visual clutter. Keep your palette tight so doors read as a calm wall, not busy cabinetry.
Dial in hardware styles to match the room’s scale. Long linear pulls sharpen a modern look and give you a full-hand grip; edge pulls disappear for a cleaner face. Choose soft-close hinges and full-extension slides to prevent snagged knits and crushed hems. Finish in brushed nickel, black, or champagne brass to stay current and hide fingerprints.
Should You Go Custom or Modular Built-Ins?
Your finishes and hardware can look spot-on, but the built-in system you choose will decide how seamless the room feels and how well it adapts to your wardrobe. Go custom when you’re working with odd corners, sloped ceilings, or you want tight reveals and a truly architectural look. Custom options let you dial in drawer depths, shoe angles, and integrated lighting so every inch earns its keep.
Choose modular if you want speed, cleaner budgeting, and the ability to reconfigure as trends and seasons shift. Modular flexibility shines in rental-friendly or evolving closets: swap in more double-hang, add pull-out hampers, or convert shelves to bag cubbies without demolition. For the most modern result, mix both—custom perimeter panels with modular interiors.
Frequently Asked Questions
Do Dressing Rooms Increase Home Resale Value?
Yes, a well-planned dressing room can boost resale value if it feels efficient and luxurious. You’ll win buyers with a smart Dressing room layout and Custom closet organization, maximizing square footage, lighting, and tidy storage solutions.
What Lighting Color Temperature Is Best for Trying on Clothes?
Like sunrise on clean linen, you’ll look best under 3500–4000K neutral white. You’ll nail Color temperature selection for true tones, keep Lighting ambiance flattering, and add a 5000K option for daytime accuracy. Avoid warm-yellow.
How Do I Add Ventilation to Prevent Musty Odors?
Add ventilation with a quiet exhaust fan on a timer and a door undercut for air circulation. Use a slim dehumidifier and charcoal sachets for odor control. Keep vents clear, and avoid overstuffing.
What’s the Best Way to Soundproof a Dressing Room?
Want the best way to soundproof a dressing room? You’ll layer soundproofing techniques: seal gaps, add a solid-core door, and pack walls with mineral wool, then mount slim acoustic panels for chic, space-smart hush.
Are Permits Required for Adding Built-In Dressing Room Cabinetry?
You’ll often need permits for built-in cabinetry, especially if you modify electrical, plumbing, or walls. Check local building codes and your city’s permit process. Keep plans tight, measured, and minimalist for clean, modern lines.
Conclusion
Walk into your finished dressing room and you’ll feel the difference: every inch works. In fact, the average person wears only 20% of their wardrobe regularly—so your built-ins should spotlight that top tier and hide the rest. Keep clearances tight but comfortable, zone by habit, and mix drawers, open shelves, and a valet rod for daily speed. Choose streamlined fronts and low-profile hardware to keep the look modern, quiet, and clutter-free.
About the Author