Start by defining what each room must do, who uses it, and what adjacencies and storage you need. Draw a scaled partition plan with grids, dimensions, door swings, furniture clearances, and accessible circulation and egress. Map windows, supply/return registers, and plumbing stacks so walls don’t block daylight or force impossible runs. Choose partitions that balance privacy, acoustics, and fire ratings, then coordinate power, data, sprinklers, and permits. Next, you’ll see how to mock up, test, and fine-tune the layout.
Key Takeaways
- Define each room’s purpose, occupants, storage needs, and adjacencies before drawing any new partitions.
- Produce a scaled partition plan with dimensions, grids, and door swings, verifying furniture clearances, circulation, egress, and accessibility.
- Map existing windows, HVAC registers, plumbing stacks, and electrical/data routes to avoid blocked daylight and costly service relocations.
- Select partition types to balance privacy, acoustics, fire ratings, and flexibility, using insulated gypsum or sealed demountable systems where needed.
- Coordinate code compliance and MEP details early, then mock up layouts on-site to validate sightlines, sound control, and as-built documentation.
Set Goals and Map Your New Partition Layout

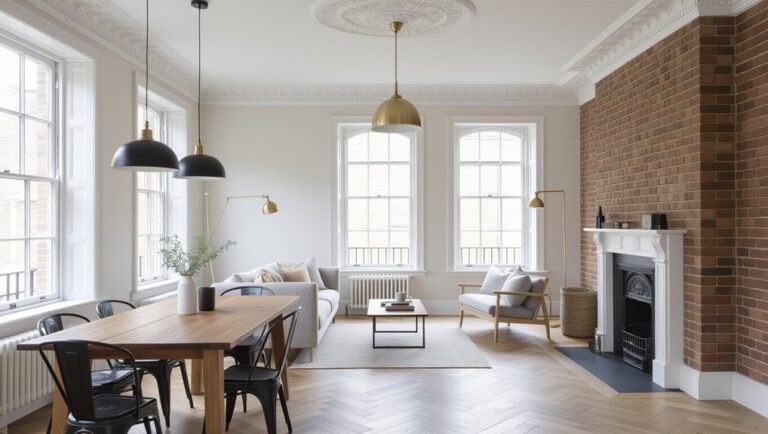
Before you move a single stud line, define what the new rooms must accomplish and translate those goals into a scaled partition plan. List occupants, activities, storage needs, and adjacencies, then assign target room sizes that fit within existing structure and MEP constraints. Confirm required clearances for Furniture placement, door swings, and circulation routes, keeping egress paths, hallway widths, and accessibility turning radii code-compliant. Locate windows, supply/return registers, and plumbing stacks so you don’t block daylight or create impossible runs. Draft a dimensioned layout with centerlines, wall thicknesses, and reference grids tied to fixed points. Coordinate lighting design early: map switch locations, fixture spacing, and task zones so partitions won’t shadow work areas. Validate with a quick walk-through mockup before finalizing.
Pick Partition Systems for Light, Privacy, and Acoustics
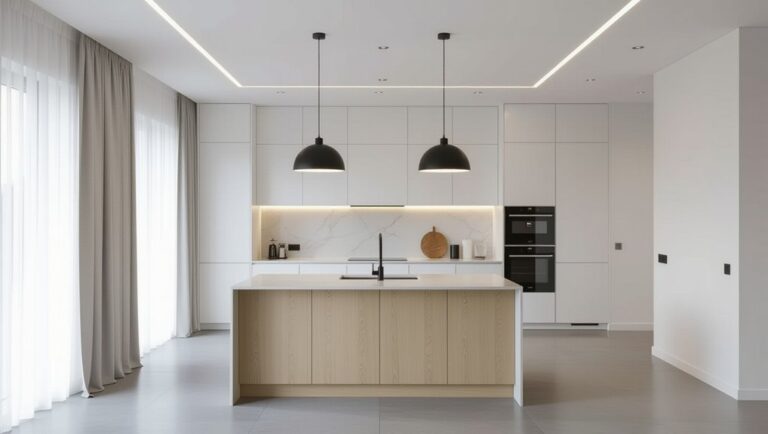
Once you’ve locked the layout, choose a partition system that balances daylight transfer, visual privacy, and sound control without compromising fire ratings or egress. Use glazing where you need borrowed light, then add frosted bands or film at eye level to protect sightlines. For acoustic separation, specify full-height gypsum partitions with insulated cavities, resilient channels, and sealed perimeters; don’t leave gaps above ceilings if you’re targeting higher STC. In quieter zones, consider demountable systems with integral seals so you can reconfigure later without losing performance. Review Material options—glass, gypsum, wood, metal, and composite panels—against durability, cleanability, and repair access. Let aesthetic considerations guide mullion rhythm, base details, and consistent door-frame alignment throughout.
Check Codes, Services, and Permits Before Redesigning
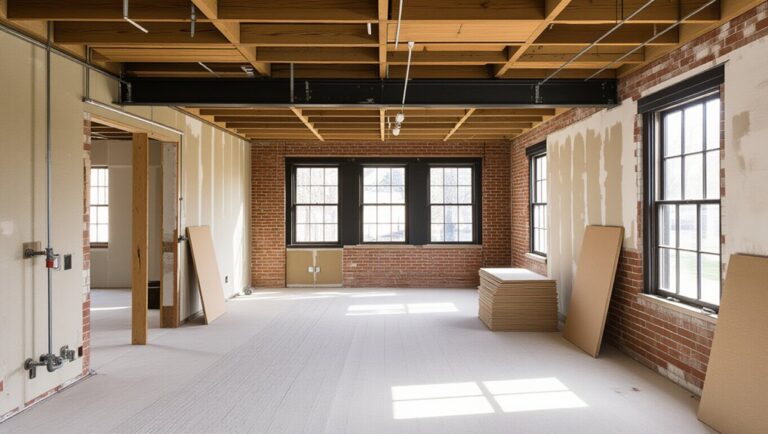
After you’ve narrowed your partition strategy, verify that the proposed room changes comply with building and fire codes and that your services can actually support the new layout. Confirm required egress widths, travel distances, door swings, and rated wall and ceiling assemblies. Check accessibility clearances at entries, turning radii, and hardware heights. Coordinate sprinklers, smoke detection, return air paths, and firestopping at penetrations. Map power, data, and lighting circuits so you don’t overload panels or strand outlets behind new walls. Validate HVAC supply/return balancing and thermostat zoning. Determine whether plumbing stacks, floor drains, or wet walls constrain the plan. Pull permits early and align inspections with your schedule. Use Material durability to select code-appropriate finishes, and refine Cost estimation with rated assemblies, MEP reroutes, and permit fees.
Install, Then Test and Tweak the Partition Layout
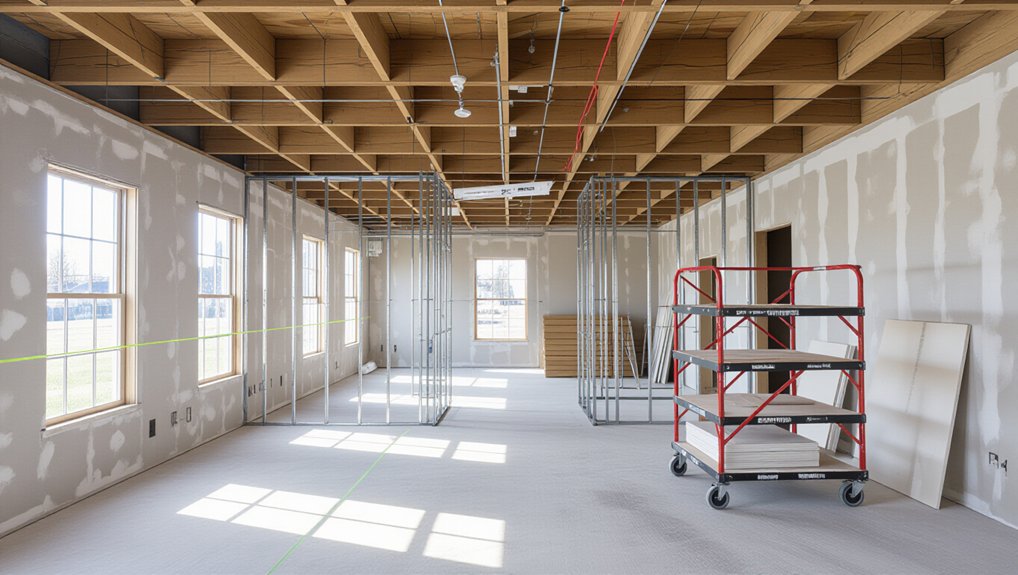
When your permits and MEP coordination line up, install the partitions to the verified layout and treat the first pass as a controlled field mockup rather than a final condition. Snap control lines, verify plumb, and confirm head and base conditions at slab and deck. Maintain required clearances at doors, corridors, and accessible turning spaces, and don’t bury dampers, valves, or cleanouts.
Before you close walls, walk the plan at full scale with taped swing arcs and key Furniture arrangement pieces. Check sightlines, privacy, and acoustic breaks at outlets and penetrations. Coordinate lighting design by confirming fixture centers, switching, and daylighting edges against the new room geometry. Then tweak: shift a wall inches to align with structure, reduce soffit conflicts, or improve egress width, and update as-builts immediately.
Frequently Asked Questions
What Does a Partition Layout Redesign Typically Cost per Square Foot?
You’ll typically pay $8–$25 per sq ft for a partition layout redesign, depending on cost estimation scope and material expenses. You’ll meet code-compliant fire, egress, and ADA needs; structural, MEP, and permitting coordination raises costs.
How Long Does It Take to Complete a Partition Reconfiguration Project?
You’ll typically finish in 1–4 weeks, like moving walls in a chess match. You’ll schedule demo, framing, inspections, decorative finishes, acoustic treatments, and punch-listing, coordinating trades and egress, fire-rating, and ADA clearances.
Can I Reuse Existing Doors, Frames, and Hardware in New Partitions?
You can reuse existing doors, frames, and hardware if Door compatibility checks out and Hardware reuse meets current codes. Verify dimensions, swing, fire ratings, egress, hinges/closers, and jamb conditions; replace anything worn or noncompliant.
Will Partition Changes Increase or Reduce Heating and Cooling Efficiency?
Measure twice, cut once: partition changes can increase efficiency if you seal and insulate; they can reduce it if you create leaks or short returns. Specify thermal insulation, maintain acoustic privacy, and keep ducts clear and code-compliant.
How Can I Minimize Disruption to Occupants During Partition Renovation?
Phase work after hours, isolate zones with dust barriers, maintain egress per code, and post clear signage. Prioritize occupant safety, coordinate temporary routes, and schedule loud tasks for noise mitigation. Communicate daily schedules.
Conclusion
You’ve mapped goals, selected partitions for daylight, privacy, and sound, and verified codes, egress paths, fire ratings, and MEP clearances before you’ve built. Now install with plumb lines, level tracks, and sealed joints, then test doors, STC performance, and airflow returns. Tweak panel alignment, hardware, and glazing film until circulation reads clean. Done right, your new layout works like a well-tuned compass—quiet, compliant, and guiding people effortlessly.