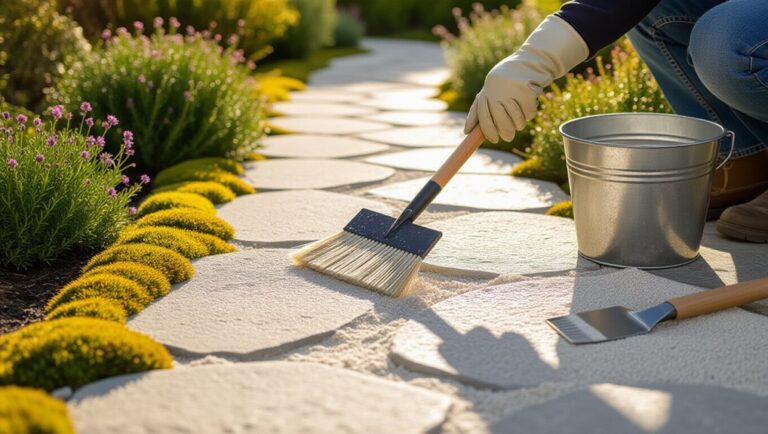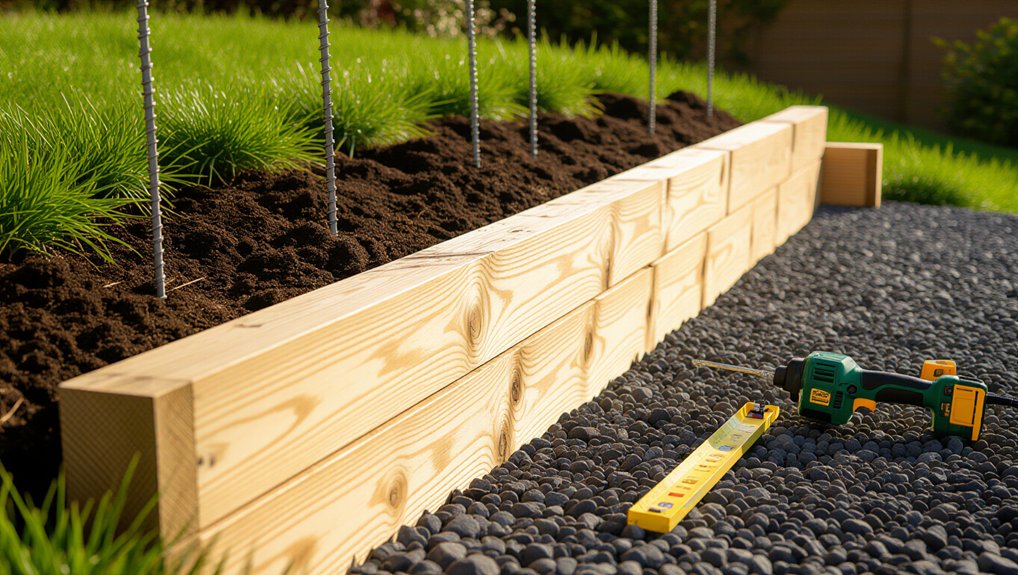
Build a simple timber retaining border on a slope by stepping short, level runs on a compacted 3–4 in. crushed-stone base, not on loose fill. Set ground-contact-rated timbers and anchor them to plumb posts spaced to suit load, buried to frost depth (or local standard) and braced during set. Add free-draining gravel, filter fabric, and a perforated drain to daylight, then backfill in compacted lifts and cap/seal all cuts. Next, you’ll see how to size height and spacing to stay within permit limits.
Key Takeaways
- Measure the slope and mark a level border line with stakes and string, stepping the layout into short, level sections.
- Excavate a stepped trench on undisturbed soil, burying the first timber course partly below grade for stability.
- Add 3–4 inches of compacted crushed stone as a base to prevent settling and keep courses level.
- Install posts or rebar anchors, then fasten timbers with galvanized screws, pre-drilling and staggering joints for strength.
- Backfill with gravel and filter fabric plus a perforated drain pipe, and slope soil away to reduce water pressure.
Choose Timber Edging vs. a True Retaining Border
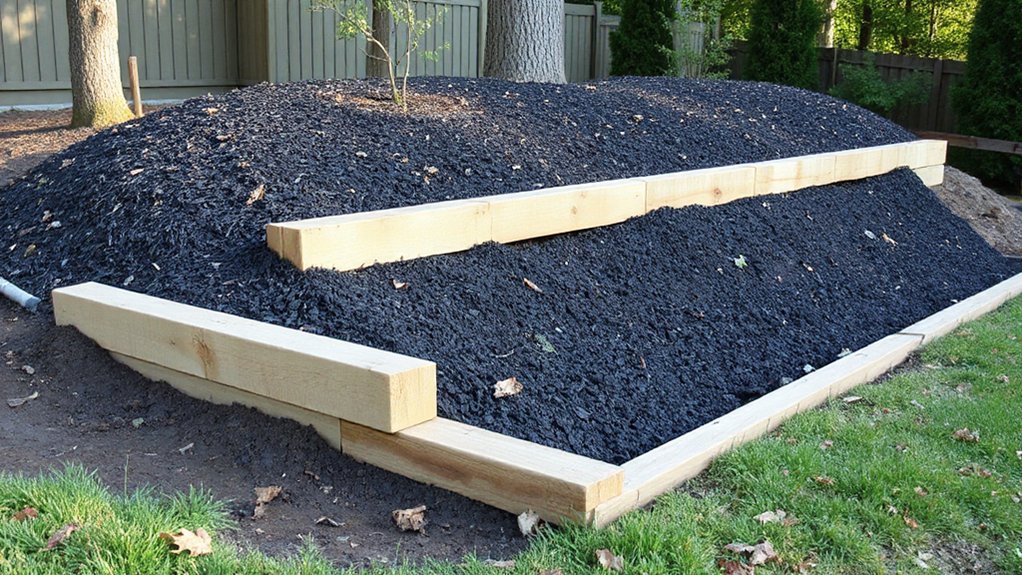
Before you buy lumber or start digging, decide whether you need simple timber edging (a low curb that defines a bed) or a true retaining border that resists lateral soil pressure. Use edging when you’re only separating mulch or turf and the soil grade stays fundamentally level behind it. Choose a retaining border when you’ll hold back soil, create a terrace, or place planting media above adjacent grade; that triggers fastening, embedment, and drainage details.
Check local code and HOA rules: some jurisdictions treat borders over 24–36 in. as retaining walls requiring permits and setbacks. Specify treated, ground-contact-rated lumber for timber durability, and avoid untreated softwoods in splash zones. For aesthetic options, match timber species, profile, and cap boards to nearby decking, fences, or hardscape.
Measure the Slope and Plan Where Soil Will Push
Because soil doesn’t push evenly, you’ll get a safer design if you first map the slope and pinpoint where lateral pressure will concentrate. Start with slope measurement: set a straight 8–10 ft stringline or 2×4 on stakes, level it, then measure the vertical drop over the horizontal run to calculate percent grade. Mark the high point, toe, and any breaks in slope; those gradual changes typically concentrate load on a timber border. Lay out the border so it steps down in short, level segments rather than following the slope continuously. Keep finished timber height within your local “landscaping wall” threshold (often 24–48 in) to avoid permit/engineering triggers. Plan stake spacing tighter at the steepest segment to improve soil stability and reduce rotation at corners.
Check Drainage and Soil Type Before You Start
With your stepped layout marked, verify how water will move through and around the border and what the soil will do when it gets wet. Watch the site during a rain, or run a hose uphill for 10 minutes and note where flow concentrates. If water ponds at the toe, plan to daylight it or add a gravel trench behind the lowest course.
Next, check Soil composition. Dig test holes at top, middle, and bottom steps. Rub soil: gritty means sand (fast Water drainage, low holding), smooth means silt (erosion-prone), sticky ribboning means clay (slow drainage, high pressure). If clay dominates, keep step heights conservative and add free-draining backfill plus a filter fabric to limit fines migration. Verify local setback and permit triggers for retaining edges over 24 inches high.
Pick Rot-Resistant Timber (and Safe Treatments)
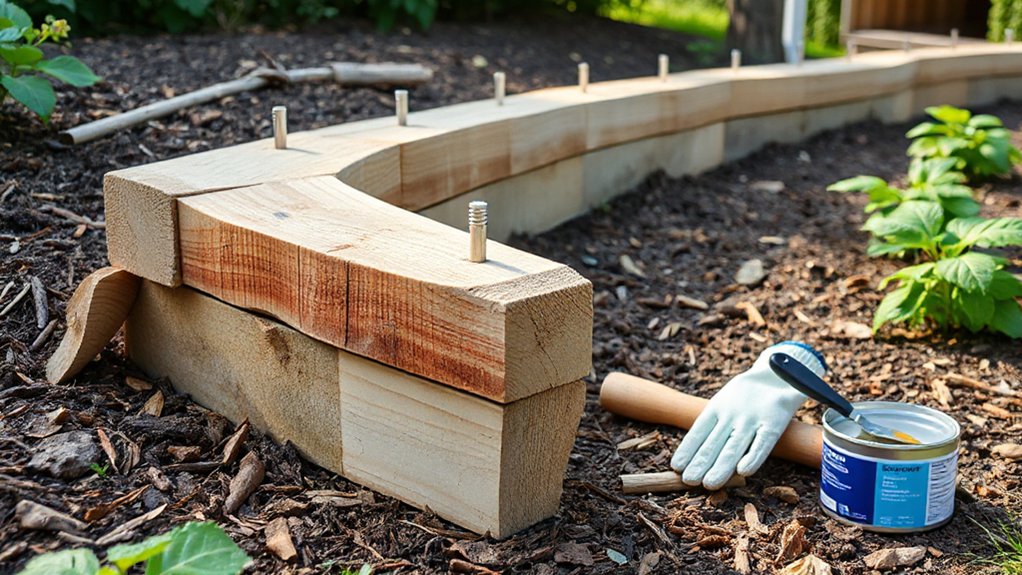
Once you know how wet the site stays, choose timbers that can handle ground contact and splash-back without leaching unacceptable chemicals into soil. For borders, use UC4A/UC4B rated pressure-treated lumber (AWPA Use Category) where soil contact is constant, and confirm the tag or stamp matches local code and intended exposure. If you’re near edibles, play it safer: use naturally durable species like black locust, cedar, or redwood heartwood, and keep cut ends sealed. Avoid old CCA-treated stock and unknown reclaimed ties. For treatments, pick eco friendly preservatives such as borate for sheltered sections, or copper-based systems labeled for residential landscape use. Finish with low-VOC timber staining to slow checking, and follow label recoat intervals.
Set Border Height, Post Spacing, and Board Thickness
Set your border height from the finished grade difference you’re retaining, then cap it to what your local code allows without engineered design (often around 4 ft, including surcharge). You’ll space posts based on site loads and soil stiffness—tighter spacing for soft/wet soils, curves, and high backfill, wider only where conditions and fastening schedules support it. Lock in board thickness to match that height and span so the timbers don’t bow under lateral pressure.
Determine Border Height
How tall should your timber border be to hold back soil without bowing or tipping? Set height from the grade difference you’re retaining, then add 50–75 mm for bury depth and a 25 mm cap allowance. Keep exposed wall height at or below 600 mm unless you engineer it; many jurisdictions treat taller retaining walls as “regulated structures” needing permits, setbacks, and drainage details. For Garden aesthetics, step the border in short lifts that follow the slope, rather than forcing one tall face. Your Timber selection affects allowable height: use ground-contact-rated, straight lumber and avoid knots at midspan. Match board thickness to height; higher faces need thicker planks and full contact against compacted backfill. Include drainage aggregate behind boards to reduce pressure.
Choose Post Spacing
Where you place posts determines whether your timber face stays straight under lateral soil and surcharge loads or starts to belly out over time. For most garden borders under 24 inches high, set 4×4 PT posts at 4-foot centers; tighten to 2–3 feet if you’ve got saturated clay, heavy pedestrian traffic above, or you’re using thinner boards. Keep end posts within 6–12 inches of each corner and any grade break. Embed posts below local frost depth (or at least 24 inches) and align them plumb to reduce bending. Check with your jurisdiction: taller walls may trigger permit, setbacks, or engineered spacing. Balance Plant compatibility with root zones, and meet aesthetic considerations by matching post rhythm to planting groups.
Gather Tools, Fixings, and Gravel for Drainage
Before you break ground, stage the right kit so your timber border meets typical landscape construction and drainage expectations: grab a spade, trenching shovel, level or laser, tape, stringline, square, drill/driver with long bits, and a sledge or post driver, then stock exterior-rated structural screws or hot‑dip galvanized fasteners plus galvanized angle brackets/plates for corners (avoid interior drywall screws). Add PPE, a wheelbarrow, and a tamper. Do tool maintenance now—sharpen blades, charge batteries, and oil moving parts—to keep cuts square and consistent for garden aesthetics. For drainage, bring washed angular 3/4 in. gravel and nonwoven geotextile; many jurisdictions expect free‑draining backfill behind timber retaining edges. Include a perforated drainpipe if runoff concentrates, and cap with filter fabric to limit fines clogging.
Mark the Border Line and Decide Where to Step It
With your tools and drainage materials staged, lay out the retaining border accurately so the timbers run true and any stepped sections match grade changes without creating weak points. Set batter boards beyond the work area, pull a mason’s line to define the face, and mark it with paint. Check setbacks from property lines and easements, and call utility locating before you stake.
Use a line level or laser to read slope and decide step locations where grade breaks naturally, keeping each course level within its run. Plan steps so overlaps maintain at least half-timber bearing at transitions. Mark step-down points square to the line and note finished height to stay below permit thresholds in your jurisdiction. Confirm Plant placement clearances and reserve space for Soil enrichment behind the border.
Dig the Trench and Lay a Compacted Base
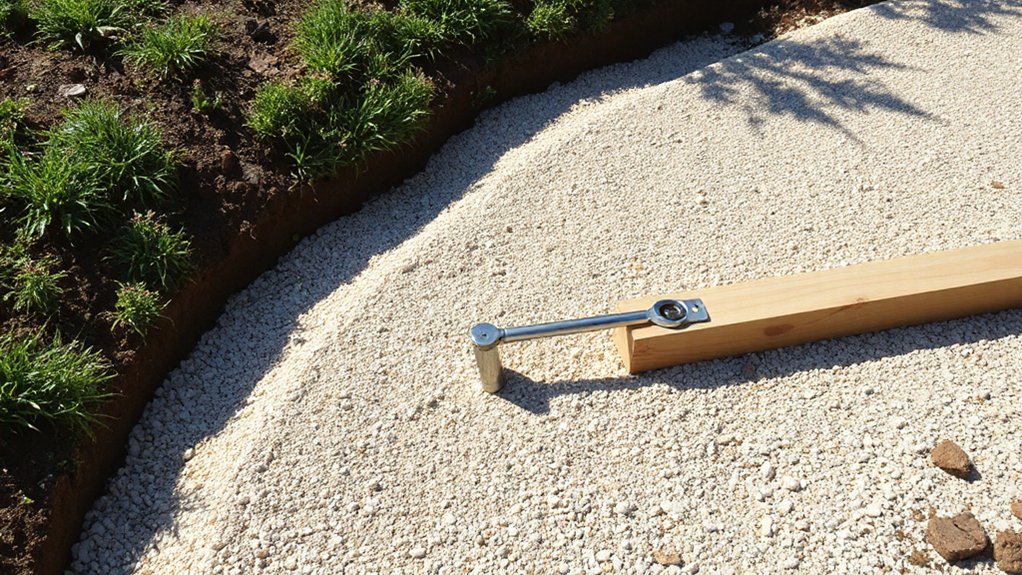
You’ll transfer your border layout into a trench line with paint or stakes and string so the excavation matches the step locations and stays square to the site grades. You’ll dig to the design depth—below organic topsoil and deep enough for the timber plus a compacted base—so the first course bears on undisturbed soil and meets local frost and setback requirements where applicable. Then you’ll place 3/4-in. minus (or equivalent) in lifts and compact each lift to a firm, unyielding base before setting any timbers.
Mark Trench Line
Where should the trench go so the border stays straight, drains properly, and meets your local setback and utility rules? Start by calling 811 (or your local locate service) and confirming property lines, easements, and minimum setbacks for retaining elements in your jurisdiction. Use your landscaping design to set the border’s finished face: offset from trunks, irrigation, and future Plant selection rooting zones. Snap a chalk line between stakes for short runs, or pull a taut mason’s line with line levels for longer slopes. Mark curves with a garden hose, then paint the final alignment. Square corners with the 3-4-5 method. Check fall with a laser or builder’s level so runoff won’t pond behind the timber. Confirm access for compactor and spoil placement.
Dig To Proper Depth
Once your layout line’s locked in, cut and excavate a trench to the depth needed for both embedment and base so the first timber sits below grade on undisturbed soil. Keep the trench width just over timber thickness to allow alignment, but don’t overcut; excess voids invite settlement. Step the trench on slopes so each course bears fully, and maintain a level bearing surface with a hand tamper and shovel trimming, not loose backfill. Check local frost depth and bury the timber bottom below seasonal movement where required. Slope the trench slightly to daylight or a drain outlet so water won’t pond behind the border. Stockpile topsoil separately for Soil enrichment later, and avoid mixing subsoil that could harm Plant compatibility. Verify utilities before digging.
Compact Base Material
After you’ve excavated to line and grade, place a 3–4 in. layer of well-graded crushed stone (¾ in. minus/road base) in the trench and compact it to a firm, unyielding pad so the timber bears uniformly and won’t settle. Use a hand tamper for short runs or a plate compactor for longer borders, compacting in lifts if the trench is deep. Keep the base level side-to-side and step it with the slope so each timber course sits fully supported. Verify drainage: don’t trap water against the wood; add a slight fall to daylight where feasible. For soil stabilization, lay nonwoven geotextile under the stone in silty soils to prevent pumping. Match timber selection to exposure, using ground-contact-rated material per local code.
Set Posts Deep, Plumb, and Braced for Pressure
Although the timbers do most of the visible work, your retaining border fails at the posts if they aren’t set below frost depth, held dead plumb, and braced against lateral soil pressure. Lay out post locations on the compacted base, then auger holes to local frost depth (or the IRC-required minimum for decks in your jurisdiction) plus 6 in. for drainage gravel. Bell the bottom in loose soils to resist uplift and Soil erosion. Drop in treated posts, crown-side uphill, and set them on gravel, not mud. Plumb each post in both directions, then brace with stakes and 2×4 kickers so it can’t rack. Backfill with compacted crushed stone or concrete per site loads and Plant integration. Verify alignment with stringline.
Fix Timber Boards and Tie Them Into the Posts
When the posts stand locked in line and braced, start fastening the timber courses so the wall acts as a single unit, not a stack of boards. Set the first board level on a compacted bed and clamp it tight to the posts. Pre-drill to prevent splitting, then drive hot-dip galvanized or stainless structural screws (not drywall screws) through the board into each post, keeping edge distances per manufacturer. Stagger joints so no two seams land on the same post, and cut ends square for full bearing. Use exterior-rated construction adhesive only as a supplement, not primary fastening. Add a top cap course and recess fasteners for clean timber finishing. If your site allows, add decorative accents by chamfering exposed edges or fitting trim strips without weakening fastener zones.
Backfill in Layers and Add Drainage Behind the Border
Once you’ve tied the timber courses into the posts, start building the backfill zone as a drained, compacted system—not loose soil—so hydrostatic pressure can’t load the border. Place a 100 mm perforated drain at the base, set to fall 1% to daylight or a dry well where permitted. Wrap pipe and a 300–450 mm zone of 19 mm clear crushed stone with nonwoven geotextile to keep fines out. Backfill above the stone in 150–200 mm lifts, moisture-condition, then compact to firm, uniform density; don’t ram against timbers. Maintain finished grade sloping away (typically 2%) to shed runoff. Reserve a planting strip of topsoil with Soil amendments matched to your Plant selection, keeping organics away from the drainage aggregate zone.
Seal Cuts, Cap the Top, and Check for Movement
Seal every field cut—especially end grain—with an approved wood preservative or end-cut sealer to maintain the treatment envelope and meet exterior durability requirements. Cap the top course with a UV- and water-shedding protective cap (or flashing where appropriate) so runoff doesn’t soak the timber and fasteners. After backfill and the first wet/freeze cycle, you’ll recheck line, level, and plumb and correct any shifting or frost heave before it loads adjacent hardscape.
Seal End Grain Cuts
Although pressure-treated lumber resists rot, every fresh end-grain cut and drilled pocket exposes a fast moisture pathway, so you should seal those cuts immediately with an approved end-cut preservative to keep the border compliant with typical above-ground exterior use and to slow decay where water will sit. Brush or daub preservative onto timber end grain until it won’t soak in, including notch shoulders and bolt holes. Work in dry weather above 50°F, and don’t bury treated members until the coating flashes off. If your border touches soil, verify the lumber’s treatment rating and use a product compatible with ACQ/CA treatments per the manufacturer; don’t substitute paint. Recoat after any trimming. Before backfilling, inspect for missed faces, then re-tighten fasteners and confirm the wall hasn’t crept out of level.
Add A Protective Cap
After you’ve coated every fresh end-grain cut and drilled pocket, protect the assembly from top-down moisture by capping the border and re-checking alignment. Set a continuous cap board (or manufactured composite cap) on the timber course, pitch it slightly to shed water, and fasten with exterior-rated, corrosion-resistant screws compatible with any ACQ/CA-treated lumber. Pre-drill to prevent splitting, keep fasteners back from edges, and bed the cap in a thin bead of polyurethane sealant where codes allow (don’t trap water at joints; leave small gaps). If you want decorative finishes, apply a UV-stable exterior stain after the cap is installed for consistent color. Add aesthetic enhancements like chamfered edges, but maintain safe, snag-free corners. Finally, sight the line and tighten any hardware.
Monitor Shifting And Heave
Once the cap’s on and the sealants have cured, you need to treat the border like a small retaining structure and verify it isn’t moving with moisture swings or frost. Mark reference lines on end posts, then recheck after heavy rain and the first freeze-thaw cycle. If you see separation at joints, reseal exposed cuts and confirm fasteners still meet exterior-rated corrosion specs. Probe behind the timber for voids; recompact lifts to restore soil compaction and reduce hydrostatic pressure. Verify drainage stays open and the backfill isn’t pumping fines. Watch for top-course heave: shim and re-level the cap, then add compacted gravel where settlement started. Keep plant compatibility in mind—avoid aggressive roots that can lever timbers and trap water.
Frequently Asked Questions
What Permits or Approvals Are Required for a Retaining Border in My Area?
You’ll need your local building permit when the retaining border exceeds height limits, impacts drainage, or sits near property lines; call planning. They’ll review pest control and material selection, plus inspections, HOA and utility clearances.
How Close Can the Border Be Built to Fences, Walls, or Property Lines?
You can’t build closer than your setback/easement—often 0–5 ft—check your survey; here’s the catch: fence footings and drainage need clearance. Keep 6–12 in off walls for Border aesthetics; match Timber selection durability.
Can I Integrate Steps or a Path Alongside the Retaining Border?
Yes—you can integrate steps or a path alongside it; align grades with border design, keep consistent riser/tread dimensions, provide 36-inch clear width, add drainage separation, and verify setback/permit rules to preserve garden aesthetics and stability.
How Do I Prevent Termites or Carpenter Ants From Damaging the Timber?
You’ll stop termites by pairing dryness with durability: specify Pest resistant wood, keep soil 2 inches below timber per IRC, add gravel drainage, isolate with membrane, and apply Termite treatment; don’t trap moisture. Inspect annually.
What Ongoing Maintenance Schedule Will Extend the Border’s Lifespan?
Inspect quarterly: check fasteners, timber rot, insect tubes, and movement. After storms, verify soil erosion control and drainage improvement, clear weep paths. Recoat annually, keep grade 2 inches below wood, meet local setback codes.
Conclusion
You’ve built a timber retaining border that’s sized to your slope and soil load, not guesswork. Before you sign it off, confirm post embedment meets your local frost depth, setbacks, and any permit triggers (often around 1.0–1.2 m / 3–4 ft). Verify drainage stone and fabric stay clear to daylight. Seal fresh cuts, cap the top, and recheck plumb after rain. When it holds, it feels like a seatbelt on a steep drive.
About the Author