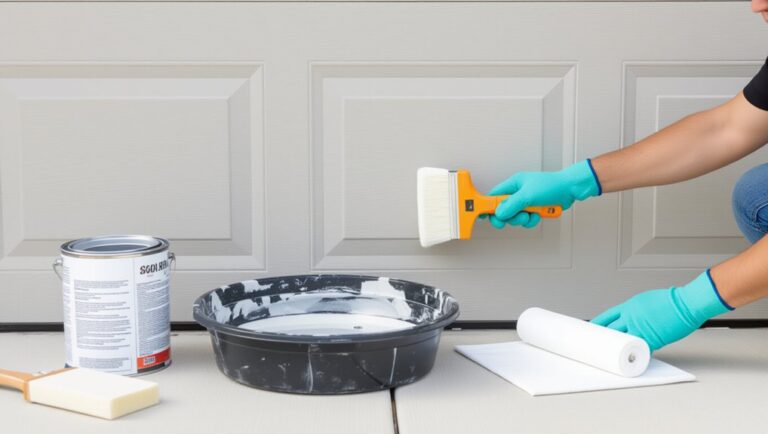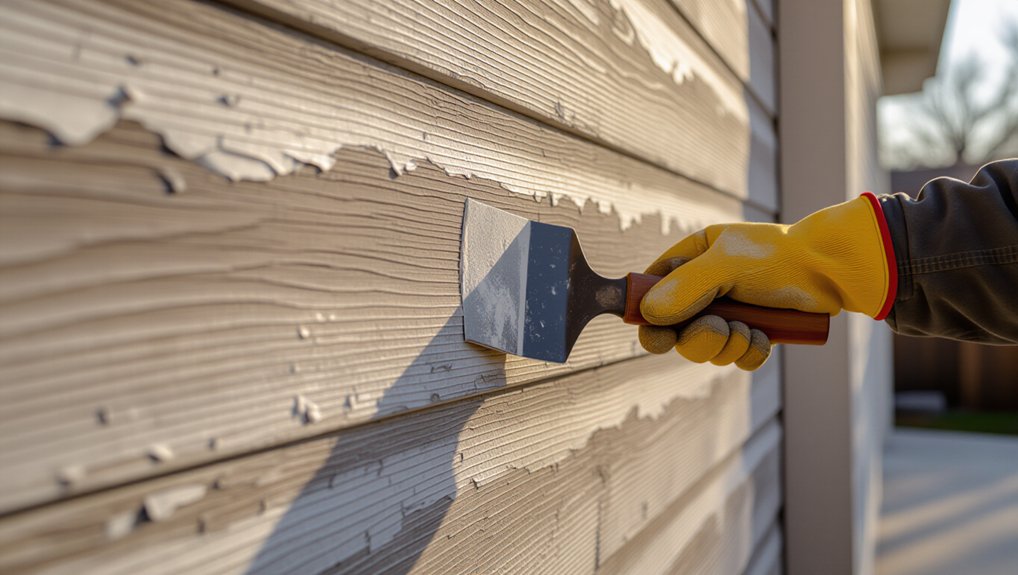
Start by testing adhesion on a dry, shaded spot with a crosshatch-and-tape pull, and check wood moisture—especially bottom rails, joints, and end grain—before you scrape. Remove only loose paint with a carbide scraper, feather edges, then sand 80→120→150/180 grit while wearing PPE and vacuuming dust. Clean with detergent/TSP substitute, degloss, and spot-prime bare wood and patches with a bonding primer. Caulk seams, then seal bottom edges/end grain. Keep going to master topcoat prep and long-term prevention.
Key Takeaways
- Identify peeling causes (poor adhesion, incompatible layers, moisture, UV) and run a crosshatch tape test to confirm what must be removed.
- Check wood moisture in multiple areas, especially bottom rail and end grain, and delay painting until within product limits.
- Scrape loose paint to tight edges, feather transitions, and sand progressively (80→120→150/180) for a smooth, uniform surface.
- Clean thoroughly with detergent or TSP substitute, rinse, dry, then degloss or scuff-sand to remove sheen and contamination.
- Spot-prime bare wood and repairs, seal end grain and bottom edges, caulk joints, and lightly sand cured primer before applying topcoat.
Identify Why Your Garage Door Paint Is Peeling
If your wooden garage door’s paint is peeling, start by pinpointing the failure mode so you can correct the root cause before you repaint. Wear gloves, eye protection, and a respirator, then inspect in daylight. Look for peeling limited to edges and panel joints, which suggests poor adhesion from inadequate sanding or contaminated surfaces (chalk, oils, silicone). Check for widespread flaking with brittle layers, indicating incompatible coatings or aged, overbuilt paint films. Note bubbling or cratered spots, often caused by heat and UV breakdown or application in direct sun. Identify rust-stained fasteners or bleeding knots that can undermine primers. Document existing paint sheen and plan Color matching to avoid patchwork that highlights repaired areas.
Check Moisture Levels in the Wood First
Before you scrape or prime, verify the door’s wood moisture content, because trapped moisture will push new paint off as it tries to escape. Work on a dry day, and keep the door open for airflow so readings reflect the wood, not surface condensation. Check multiple spots: bottom rail, panel joints, and any shaded areas where water lingers. If one section reads higher, don’t assume the rest matches. Follow the wood grain when selecting test locations, since end grain and checks absorb faster and stay wet longer. Don’t paint until moisture is within the coating manufacturer’s limit; otherwise you’ll get blisters, premature peeling, and uneven paint sheen. If levels are high, stop and let the door dry fully before proceeding.
Tools and Materials for Fixing Peeling Paint
Once the wood checks out dry, gather the right tools and materials so you can remove failed paint completely, prep cleanly, and recoat without contamination or adhesion issues. You’ll need nitrile gloves, safety glasses, and a P100 respirator for dust and old coatings. Set up drop cloths, painter’s tape, and plastic sheeting to control debris. Use a HEPA shop vac and tack cloths for cleanup, plus a detergent or TSP-substitute cleaner and clean rags. For surface prep and repair, stage a random-orbit sander, sanding blocks, assorted grits, exterior wood filler or epoxy, and a putty knife. Have a stain-blocking exterior primer, topcoat, and quality brushes/rollers ready. Bring a sample for Color matching and confirm paint sheen.
Scrape Loose Paint and Feather the Edges
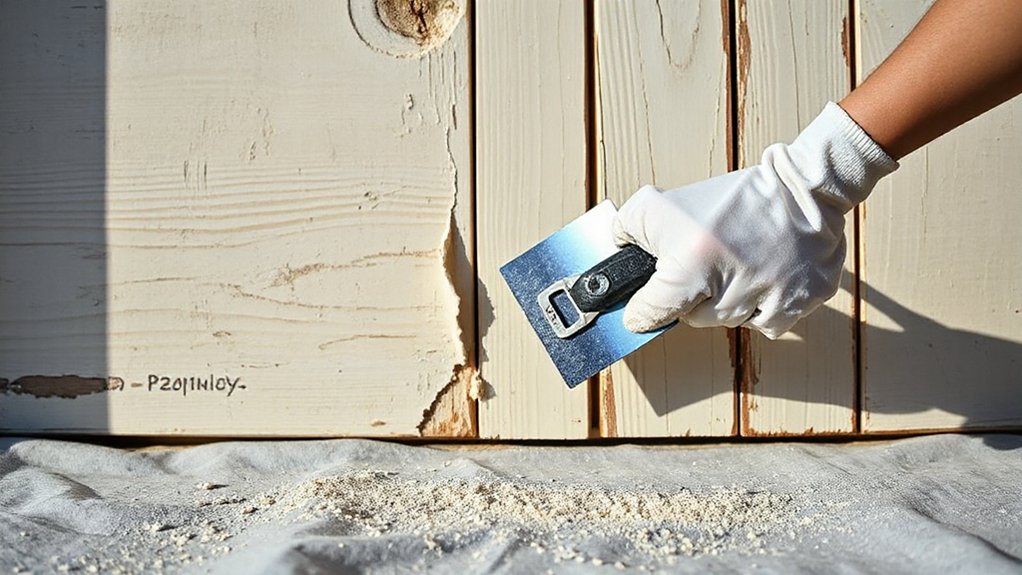
With your tools staged and PPE on, start by removing every bit of paint that’s already failed so the new coating can bond to solid film. Hold a sharp carbide scraper at a low angle and pull with steady pressure, working with the wood grain to avoid gouges. Stop when you hit paint that’s tight and can’t be lifted with firm strokes.
Next, feather the edges by shaving only the ridge where intact paint meets bare wood, creating a gradual gradation you can’t catch with a fingernail. Keep the blade clean and replace dull inserts to prevent chatter. Vacuum chips as you go and bag debris; older layers may contain lead. Don’t chase the paint color or paint finish yet—your goal is sound edges, not uniform sheen.
Sand the Garage Door (Best Grits to Use)
Although scraping removes the failed film, sanding levels the shifting zones and gives the new primer a consistent mechanical bite. For Paint removal cleanup and surface preparation, start with 80-grit on remaining ridges and hard edges, using a sanding block for flats and a detail sander for profiles. Don’t gouge; keep the tool moving with light pressure. Switch to 120-grit to blend transitions between bare wood and intact paint. Finish with 150–180 grit to refine the entire panel so primer wets evenly and doesn’t telegraph scratches. Vacuum dust thoroughly, then wipe with a tack cloth or damp microfiber. Wear eye protection, a P100 respirator, and hearing protection; assume old coatings may contain lead. Keep cords clear, and avoid sanding in windy conditions.
Fix Cracks, Holes, and Minor Rot
Before you prime, repair every crack, nail hole, and soft spot so the new coating doesn’t bridge weak material and fail again. Put on gloves, eye protection, and a dust mask. Probe suspect areas with an awl; if fibers crumble or feel spongy, dig out all compromised wood to firm edges.
For cracks and holes, vacuum dust, then force in exterior-grade epoxy or wood filler with a putty knife, overfilling slightly. For minor rot, treat remaining wood with a consolidant, then rebuild with two-part epoxy. Once cured, sand flush to match surrounding wood grain and restore crisp panel profiles. Feather edges so transitions won’t telegraph through the topcoat and alter paint sheen. Wipe off sanding residue with a dry tack cloth.
Wash and Degloss So Paint Will Bond
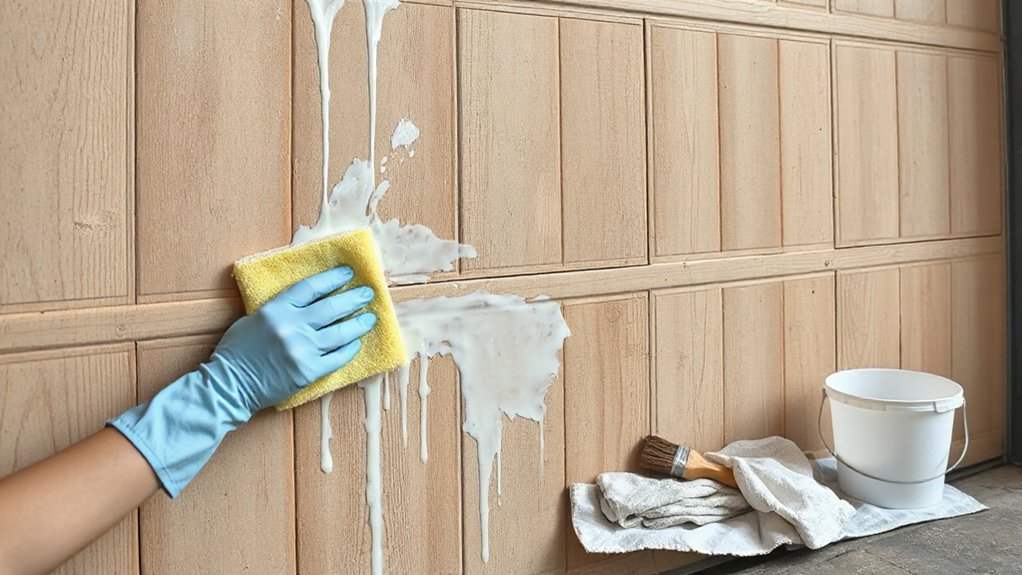
After you’ve patched and sanded repairs flush, clean and degloss the entire door so primer can bite into sound wood instead of dust, chalk, or grease. Wear gloves, eye protection, and a respirator; open the garage and shut off ignition sources. Rinse loose grit with a hose, then scrub panels with a stiff nylon brush and a solution of warm water plus TSP substitute or detergent. Focus on bottom rails and around handles where oils build up. Rinse thoroughly and let the door dry completely. Next, wipe with a liquid deglosser or scuff-sand with 180–220 grit to dull remaining sheen; don’t polish edges. Vacuum dust and tack-wipe. This Garage door maintenance step prevents peeling and keeps Paint color options consistent.
Prime Bare Wood and Patched Spots
Inspect the door and mark every area of exposed bare wood and any patched filler so you don’t miss absorption-prone spots. Spot-prime those sections first, keeping your respirator on and maintaining ventilation as the primer flashes off. Use a compatible wood primer (stain-blocking if needed) to seal the substrate and lock down edges for a uniform topcoat bond.
Identify Bare Wood Areas
Once you’ve removed the loose paint and cleaned the surface, locate every spot where the wood is exposed so you can seal it properly. Scan in raking light with a handheld work light, moving it parallel to the panels to reveal raw fibers, dull patches, and hairline cracks. Mark each area with painter’s tape so you don’t miss edges, joints, stiles, or bottom rails where moisture damage starts.
For safe, methodical surface preparation, wear gloves and eye protection, and vacuum dust before you inspect up close. Check for soft, punky wood by pressing with a putty knife; stop and flag any rot for repair. Confirm paint compatibility by identifying any remaining coating type and noting progressions between old film, filler, and bare wood.
Spot-Prime Patched Sections
Even if you’re only repainting small failures, you need to spot-prime every bare wood and patched area to lock down fibers, seal end grain, and create a uniform bonding surface for the topcoat. Wear gloves and eye protection, and keep the door propped open for ventilation. Vacuum dust, then wipe with a damp, lint-free cloth and let it dry fully. Mask hardware and weatherstrips to prevent bonding. Use a small brush to wet out edges first, then coat the center, feathering onto intact paint to eliminate ridges. Don’t flood panel joints where movement can crack films. Let primer cure per label, then lightly sand to de-nib and wipe clean. This helps paint color matching by preventing patch “flashing.”
Choose Proper Wood Primer
Because bare wood and patch compound absorb at different rates, you’ll get longer-lasting adhesion and fewer lap marks if you match the primer to the substrate and exposure. For tannin-rich doors (cedar, redwood, fir), choose a stain-blocking oil or shellac primer to prevent bleed-through. For sound, sanded wood without staining, a high-build acrylic bonding primer works and sands smoother. Brush primer into the wood grain, then back-brush to level; don’t flood joints where it can glue panels.
Spot-prime all sand-throughs and repairs, then feather edges with 180–220 grit once dry. Wear gloves and a respirator, and ventilate well, especially with solvents. A uniform primer film also stabilizes your final paint sheen across patched and unpatched areas.
Caulk Joints and Gaps to Block Water
Where does water sneak in first on a wooden garage door? It enters at panel seams, stile-and-rail joints, trim edges, and around hardware fasteners. After priming, inspect every joint under bright light, then clean out dust with a brush and vacuum. Wear gloves and eye protection, and ventilate the area.
Choose an exterior-grade, paintable acrylic-latex caulk for narrow gaps; use polyurethane for wider, high-movement joints. Cut the nozzle to match the gap, gun a continuous bead, and tool it firmly to wet both sides. Don’t caulk weep paths or the door’s bottom clearance. Let caulk cure per label before topcoats. These waterproofing techniques reduce swelling and future peeling, and they support consistent paint color selection by preventing tannin bleed and moisture staining.
Do a Quick Tape Test for Adhesion
Before you commit to primer or finish coats, run a quick tape test to confirm the remaining paint has enough adhesion to stay put. Choose a dry, shaded section of the door. Put on safety glasses and a dust mask to avoid inhaling loose chips. With a sharp utility knife, score a small crosshatch (about 1 in. square) through the existing paint without gouging wood. Press high-tack painter’s tape firmly over the cut area, rub it down, then pull it off fast at a 180-degree angle. If flakes lift past the score lines, the surrounding paint isn’t stable, regardless of paint color. Keep scraping and sanding until the test passes. Document results for consistent garage maintenance and future repaint cycles.
Seal Bottom and Edges Before Repainting
Even if the face of the door looks sound, moisture usually enters at the bottom rail and end grain first, so seal these areas to stop new peeling from starting under your fresh coats. Start with Edge preparation: scrape loose fibers, sand to 120–150 grit, then vacuum and wipe with a damp rag; let it dry fully. Wear eye protection and a respirator when sanding old coatings. Mask hardware and weatherstrips. Apply your Sealing techniques next: brush on a penetrating exterior wood sealer or oil-based primer to all bottom edges, hinge mortises, panel ends, and any exposed joints. Flood end grain until it won’t absorb more, then back-brush to remove runs. Caulk open seams with paintable exterior sealant, tool smooth, and cure before priming.
Frequently Asked Questions
What Temperature and Humidity Are Best for Repainting a Wooden Garage Door?
Aim for 50–85°F and 40–60% relative humidity. You’ll get ideal paint adhesion and predictable cure time. Avoid rain, dew, or direct sun; monitor weather conditions, and don’t paint below 50°F or above 70% humidity.
Should I Use Oil-Based or Acrylic Latex Paint for Longest Durability?
Choose 100% acrylic latex for longest durability; it flexes and resists UV. Worried it won’t stick? Proper sanding and priming lock Paint adhesion. You’ll also get easier color matching, lower VOCs, safer cleanup.
How Long Should Primer and Paint Cure Before Closing the Garage Door?
You should wait 24 hours after priming and 48–72 hours after painting before closing; longer in cool, humid weather. This guarantees primer adhesion and paint durability, prevents sticking, and reduces abrasion and fume exposure.
Can I Repaint Over Old Lead-Based Paint on a Garage Door?
You can repaint over old lead-based paint if it’s intact, but you shouldn’t disturb it. Verify paint compatibility, avoid sanding, use encapsulating primer, and consider Lead paint removal by certified pros. Control dust.
How Often Should a Wooden Garage Door Be Repainted to Prevent Peeling?
A stitch in time saves nine: you should repaint every 3–5 years, sooner in harsh sun or moisture. Schedule Garage door maintenance inspections annually, prioritize safe prep, and match Paint color selection to UV-resistant exterior coatings.
Conclusion
Peeling paint won’t stop until you fix what caused it. Treat your garage door like a boat hull: if water gets in, coatings fail. I once tested a “dry” panel with a pin meter and it read 19% moisture—paint lifted in weeks. Keep wood at or below 15% before priming. Scrape, feather, sand, and prime bare spots, then caulk and seal edges. Wear eye and respiratory protection; dust and chips aren’t optional.
About the Author