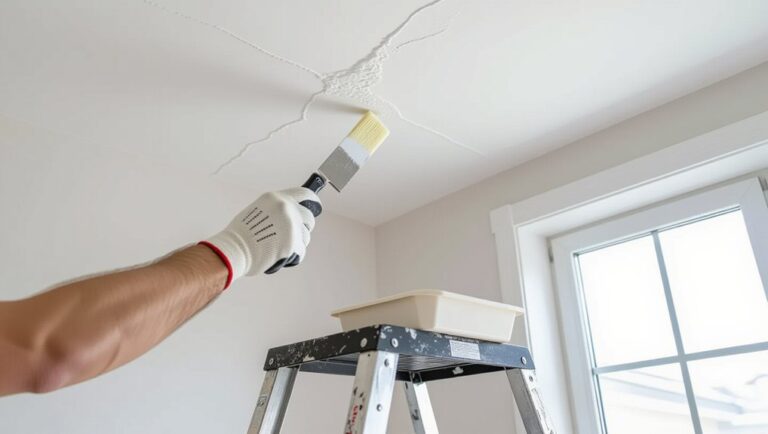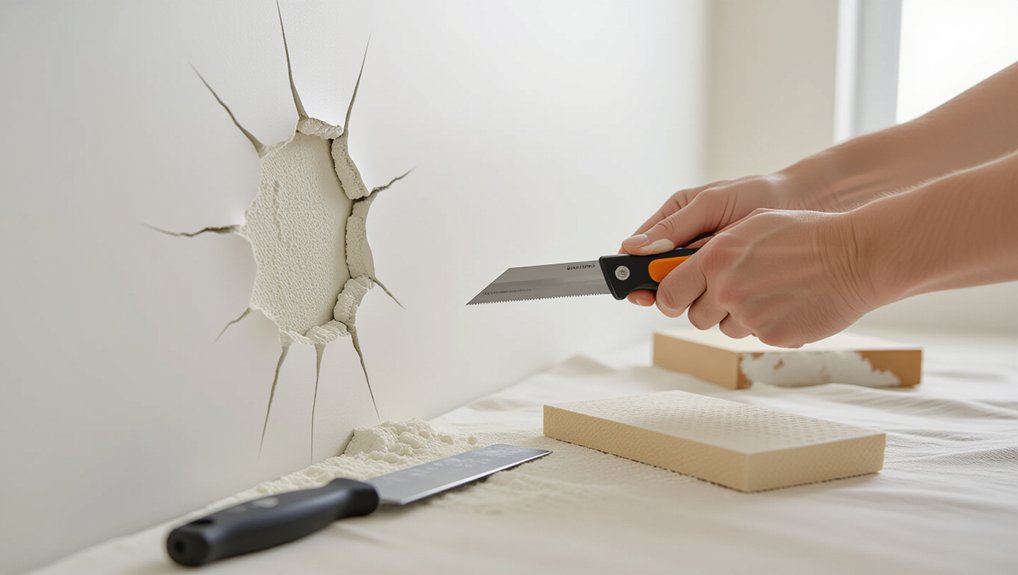
Start by identifying impact signatures: dents, star cracks, soft spots, fastener pops, torn paper, or moisture-soft gypsum. For shallow damage up to 10 mm, scrape loose paper, apply lightweight joint compound slightly proud, dry, and sand 180–220 grit. For 10–50 mm, cut to sound edges, add backing, plug, tape, and feather coats. Over 50 mm, square the hole to framing and insert new board. Prime, then repaint to match—keep going for pro tips.
Key Takeaways
- Inspect dents, cracks, delamination, stains, and soft spots to confirm impact severity, moisture exposure, and possible stud movement.
- For shallow damage under 10 mm, apply lightweight joint compound, let dry, sand flush, and recoat thinly if needed.
- For 10–50 mm holes, cut to sound edges, add backing strips, fit a plug patch, tape seams, and feather compound.
- For holes over 50 mm or crushed sections, cut a neat square to framing, screw in a board insert, then tape and mud joints.
- Sand smooth, prime to seal compound and exposed paper, repaint to match sheen, and add corner guards or door stops to prevent repeats.
Identify the Plasterboard Damage Type Fast
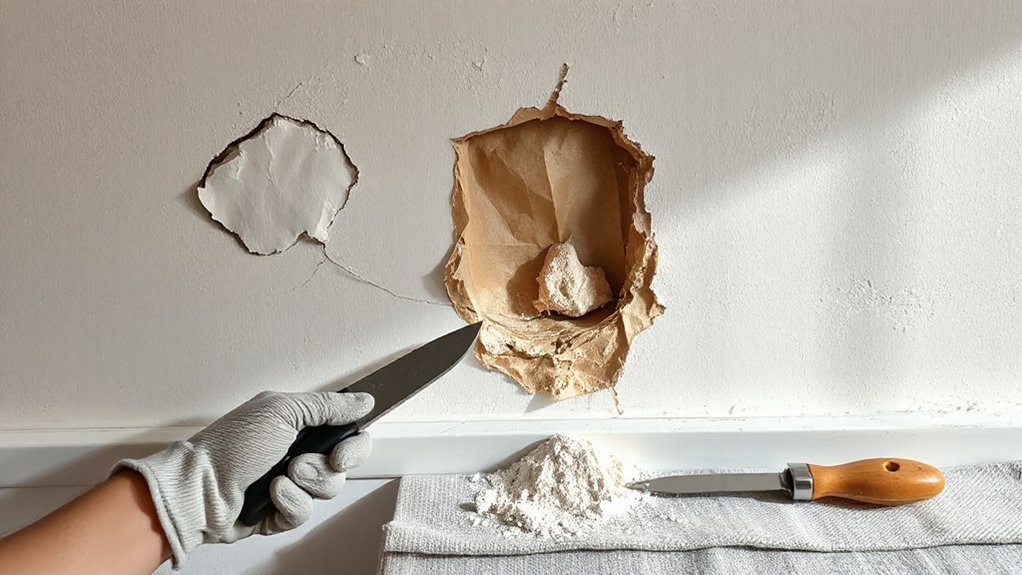
Where do you start when plasterboard looks “damaged”? You classify the failure mode before you touch tools. First, scan for impact signatures: sharp dents, crushed paper face, star cracks, or a soft spot that rebounds. Next, check edges and corners for delamination where the paper has lifted from the core. Then assess surface cues: Plasterboard discoloration often indicates staining, smoke, or salts, so confirm by wiping and noting bleed-through. Probe for Moisture damage by pressing firmly; a spongy feel, crumbling core, or damp backing suggests water exposure, not impact. Finally, look for fastener pops and linear cracks that track studs, which point to movement. Record location, size, depth, and whether the board is still sound.
Choose the Right Plasterboard Repair for Size
Choose your repair method by sizing the damage and matching the patch to it. For shallow dents and small surface chips, you’ll use filler and feather it out to level. For larger holes or crushed sections, you’ll cut back to sound edges and replace the plasterboard piece.
Match Patch To Damage
Although all plasterboard damage can look similar once it’s painted, you’ll get a stronger, flatter repair by matching the patch method to the hole’s size and depth. Start with damage assessment: confirm whether you’ve got torn paper, crushed gypsum, or a full breakthrough, and check for loose edges that must be trimmed back to sound board. For a small puncture up to about 10 mm, you can usually stabilise the perimeter and use a rigid face patch so the repair won’t dish in. For holes around 10–50 mm, use a backing piece behind the board, then fasten a plug and tape the seam. Beyond 50 mm, cut to a neat square over framing and install a full board insert. That matching patch reduces cracking.
Use Filler For Dents
Once you’ve matched the patch method to the damage, handle shallow dents and minor surface crush with filler rather than a cut-out repair. Start with Surface preparation: scrape off loose paper, shave high edges, and sand to a feathered taper. Wipe dust with a dry cloth; keep the area clean so adhesion doesn’t fail.
For Filler application, use lightweight joint compound or a fine surface filler for small depressions. Press the filler firmly into the dent to eliminate voids, then skim slightly proud using a 100–150 mm knife. Let it dry fully, then sand with 180–220 grit until flush. Recoat as needed in thin layers; thick fills shrink and telegraph. Seal with primer before repainting to prevent flashing and uneven sheen.
Replace Board For Holes
When a hole breaks through the plasterboard facing or spans more than a small dent, replace the damaged section instead of trying to bridge it with filler. Square the opening with a knife and drywall saw, then check for cables and pipes. Cut back to the centre of studs or install timber backing strips, screwed tight, to support patch edges. Measure and cut a matching board piece, keep factory edges where possible, and screw it off flush without tearing paper. Tape joints with paper tape and setting compound, then apply two thin coats, feathering wide. Sand flat, prime, and repaint. If the area supports wall mounting or gets hit due to furniture placement, add noggins/backing now for stronger fixings.
Plasterboard Repair Tools and Materials Checklist
Before you start cutting, patching, or sanding, gather every tool and material you’ll need so the repair stays clean, flat, and structurally sound. For a Tools overview, line up a utility knife with snap blades, jab saw, tape measure, straightedge, stud finder, drill/driver, drywall bit, and a vacuum. Add a 150–220 grit sanding block, sanding pole, and dust mask. Keep a 100–150 mm taping knife plus a 200–250 mm finishing knife, mud pan, mixing paddle, and work light. For Material selection, stock paper tape or fiberglass mesh, setting-type compound for fast strength, lightweight topping for final passes, and matching plasterboard offcuts. Include drywall screws, adhesive-backed scrim, primer-sealer, and matched paint. Use drop sheets and painter’s tape.
Fill Dents and Dings in Minutes
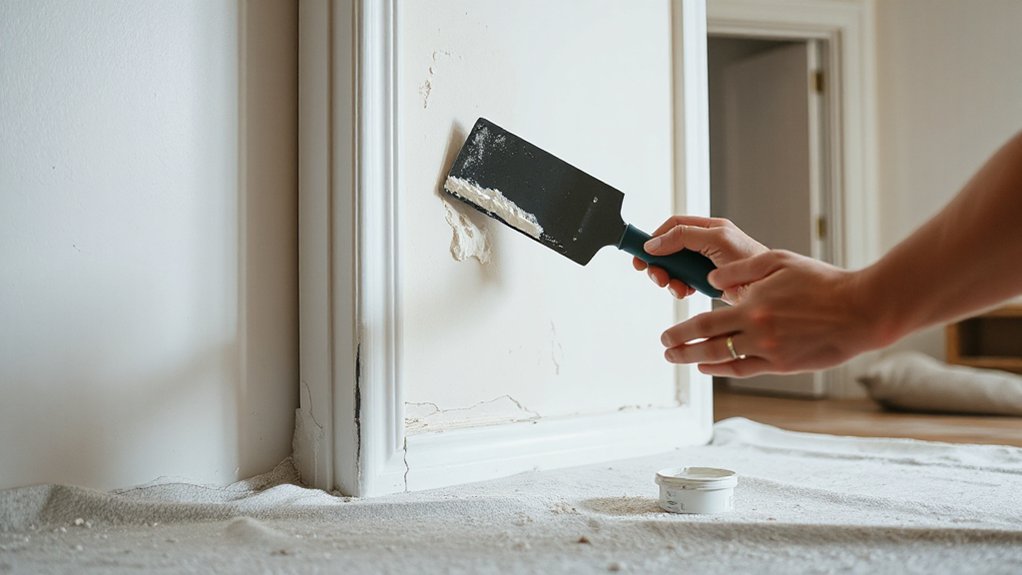
With your tools and compounds ready, you can knock out shallow dents, scuffs, and nail dings quickly without cutting out plasterboard. First, scrape loose paper and high ridges with a taping knife, then lightly sand to feather the perimeter. Vacuum dust so the compound bonds.
Press setting-type joint compound into the depression, forcing air out, and leave it slightly proud. For pinholes, switch to lightweight spackle. Let it set, then shave or sand flush with 180–220 grit. Wipe clean and spot-prime to prevent flashing and keep Plasterboard aesthetics consistent. If the wall takes frequent bumps, topcoat with impact resistant coatings after primer and paint, following the manufacturer’s recoat times. Inspect under raking light and touch up as needed.
Stop Plasterboard Cracks From Coming Back
To stop plasterboard cracks from coming back, you’ve got to identify what’s driving the movement and remove the cause before you patch. Check for loose fixings, framing shrinkage, moisture, or impact, then correct them so the board stays stable. Next, reinforce the joint with tape and a flexible compound system so it can absorb minor movement without re-cracking.
Identify And Remove Causes
Although you can patch a crack in minutes, it’ll reappear if you don’t remove the stress that created it. First, map the crack: note length, direction, and whether it radiates from doors, windows, or corners. Check for ongoing movement by measuring width and photographing it over 7–14 days. Inspect framing alignment, fastener pops, and any sagging ceiling lines that indicate load transfer or vibration. Trace recent impacts: furniture strikes, door handles, moving equipment, or kids’ play zones, and correct the traffic path for Impact prevention. Control moisture swings; fix leaks, seal wet areas, and stabilise ventilation to reduce board expansion. If you find loose studs or rattling, plan Structural reinforcement before repainting.
Reinforce Joints For Flexibility
Once you’ve removed the source of movement, reinforce the plasterboard joints so they can flex slightly without tearing the finish coat. Cut a shallow V along the crack, vacuum dust, then seal porous edges with a plasterboard primer. Apply a thin bed of setting-type joint compound, embed paper tape, and knife it tight to eliminate bubbles. For joint reinforcement at impact-prone corners, use composite corner bead or metal-reinforced tape.
After the base sets, apply two wider coats, feathering 150–200 mm each side. Sand lightly between coats; don’t over-sand the tape crown. For flexibility enhancement, finish with a polymer-modified topping compound or an elastomeric skim at stress points. Prime before paint to lock down fines and equalise suction.
Patch Small Holes Under 50 Mm
Where do you start with a small plasterboard hole under 50 mm? Treat it as a surface repair: you’re not rebuilding structure, you’re restoring a smooth paint base. For small holes, quick fixes work best when you control edges and shrinkage.
Cut away loose paper and crumbly gypsum with a utility knife, then bevel the rim slightly to create a keyed edge. Brush out dust and seal torn paper with a thin coat of primer-sealer so compound won’t blister it. Apply setting-type joint compound with a 100–150 mm knife, pressing firmly to fill the void, then feather tight to the board. Let it set, scrape high spots, and apply a second thin skim if needed. Sand lightly (P180–P220), wipe clean, and prime before repainting.
Patch Large Holes With Backing and Tape
When a hole gets too wide for compound alone, you need to rebuild a solid substrate before you skim it smooth. Square the opening with a knife or saw, cutting back to sound board. Slip two timber battens or plasterboard offcuts behind the hole, spanning it, then screw through the existing sheet to clamp them tight. Cut a Repair patch to fit the squared opening with a 2–3 mm gap, then screw it to the backing. Apply a thin bed of compound over all seams, press in Backing tape, and knife it flat to remove air. Add two wider coats, feathering edges each time. Sand lightly between coats, then prime before paint. Clean dust before priming.
Fix Damaged External Corners (Corner Bead)
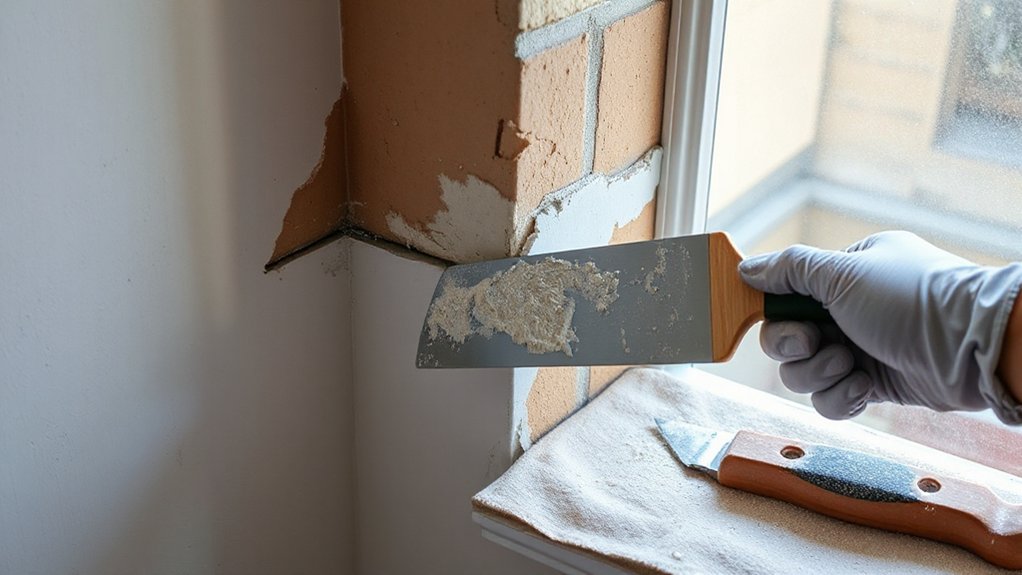
Although compound can hide small dents, a crushed or loose external corner needs a sound corner bead before you skim it out. Cut back torn paper and remove any bent bead, nails, or screws. Check the corner framing; if it’s split or soft, add a timber backing strip and fasten it tight. Measure and snip a new metal or PVC bead to length, then dry-fit so it sits straight and tight to both faces for External corner protection. Apply setting compound or bead adhesive along each side, press the bead in, and align it with a straightedge. Fasten with drywall screws or staples at 150–200 mm centres. Wipe off squeeze-out and recheck plumb; that’s Corner bead installation done properly.
Sand and Feather the Patch Flush
Let the corner bead and patch coats set hard, then bring the repair flush by sanding and feathering the edges into the surrounding board. Start with 120–150 grit on a sanding block or pole sander; keep the face flat to avoid gouges. Use light, even strokes, crossing directions to level ridges—these Sand techniques reduce divots and waves. Switch to 180–220 grit to refine the surface and erase scratch lines.
Work the perimeter wider than the patch, thinning compound to nothing over 200–300 mm. Use controlled pressure at the outer edge and firmer pressure over the high spots; these Feathering methods blend the smooth without undercutting the paper. Check with a straightedge and raking light, then spot-sand only the highs.
Prime and Paint to Hide the Repair
Once you’ve sanded the patch flush, you’ll prime to seal the compound and equalize porosity. Choose the right primer for the surface and stain risk, then let it cure fully before coating. Match the existing paint’s color, sheen, and finish, and feather your topcoat past the repair so it disappears.
Choose The Right Primer
How do you keep a plasterboard patch from “flashing” through the final coat? You control porosity and sheen with correct Primer selection and disciplined surface preparation. Start by removing dust, sanding the repair feather-edge smooth, and vacuuming again. If joint compound feels chalky, seal it; if you’ve exposed paper, lock it down before it swells.
Choose a primer matched to the substrate condition. Use a drywall sealer/PVA primer on fresh compound to equalise suction. Use a stain-blocking, shellac- or oil-based primer over water marks, smoke, or crayon to prevent bleed-through. Use a bonding primer on glossy existing paint around the patch to improve adhesion. Apply one uniform coat, cut in tight, and let it cure fully before recoating.
Match Paint And Finish
Even with perfect priming, a patch will still read through if your topcoat’s colour, sheen, and film build don’t match the surrounding field. Start with color matching: take a dried chip from a hidden area or use the original can label, then have paint mixed to that formula. Match sheen exactly (flat, eggshell, satin); even a half-step difference will flash under side light.
For texture blending, replicate the wall’s micro-roller stipple. Use the same nap length as the existing work, and don’t overload the roller. Cut in only where needed, then roll beyond the repair in a “W” pattern to feather wet edges. Apply two thin coats, allow full dry, and inspect from multiple angles before calling it done.
Prevent Plasterboard Impact Damage With Simple Upgrades
Because plasterboard dents and punctures under concentrated force, you can reduce future repair work by adding simple, targeted protection at the most common strike points—door swings, furniture corners, and high-traffic corridors. Fit door stops or hinge-pin stops to limit swing arcs, and add stick-on bumpers to handles. Install corner beads or PVC corner guards where vacuum heads and chairs clip edges. Use chair rails or dado rails as Decorative accents that also spread impact loads across studs. In hallways, mount low-profile wainscoting panels or a sacrificial plywood strip, then paint to match. If you’re upgrading at the same time, add Soundproofing solutions: resilient channel plus denser board resists flexing and reduces vibration-related cracking. Seal perimeters with acoustic caulk.
Frequently Asked Questions
How Long Should Plaster Compound Dry Before Sanding and Painting?
You should let plaster compound dry 12–24 hours before sanding; thicker coats need 24–48. Confirm drying time by checking hardness and uniform color. Start the sanding process only when fully dry, then paint after dust removal.
Can I Repair Plasterboard Damage Without Repainting the Whole Wall?
Yes—you can, if you feather the patch, prime, then spot-paint. Use impact repair techniques, blend edges, and focus on wall texture matching. If sheen or color shifts, you’ll need to repaint to corners.
Is It Safe to Repair Plasterboard Near Electrical Outlets and Wiring?
Yes, it’s safe if you follow Electrical safety and Wiring precautions: switch off the circuit, verify de-energized with a tester, avoid screws near cables, protect conductors, maintain box clearances, and restore power after inspection.
What’s the Typical Cost to Fix Plasterboard Impact Damage Professionally?
You’ll typically pay $150–$500 per patch, or $500–$1,500+ for multiple areas. Plasterboard repair costs vary with hole size, access, texture match, and painting. Expect higher rates for after-hours impact damage fixes.
How Do I Match Existing Wall Texture After a Plasterboard Repair?
Like camouflaging a chameleon, you’ll match texture by copying the existing pattern: test on scrap, adjust mud thickness, use the same tool, then feather edges for texture blending. Finish with primer and precise paint matching.
Conclusion
You’ve turned a jagged impact into a flat, paint-ready plane: quick diagnosis, measured patching, clean feathering. Where the wall once crumbled under a careless knock, it now resists with taped seams, firm compound, and straight corner bead. Sand dust gives way to smooth light. Primer seals the repair; paint erases the boundary. Add door stops, furniture bumpers, and corner guards, and today’s fragile gypsum becomes tomorrow’s durable surface.
About the Author