You can repair most damaged worktops without replacing them by first identifying the material (laminate, solid wood, quartz, composite) and mapping the damage under raking light. Start gently: clean with a pH-neutral cleaner, then polish light scratches with a non-abrasive compound and remove stains with spot-tested solvents. For chips or burns, square edges, fill with colour-matched epoxy or hardwax, sand P240–P800, and reseal. Swelling needs full drying, glue injection, clamping, and edge sealing. Next, you’ll see when DIY stops and pros make sense.
Key Takeaways
- Identify the worktop material and map damage type, size, and cause to choose a compatible repair method.
- Clean with pH-neutral cleaner, then use the least aggressive polish or solvent technique to restore light scratches and stains.
- Repair chips by squaring edges, degreasing, filling with colour-matched epoxy, sanding flush, and resealing exposed edges.
- Treat burns and heat marks by removing char, feather-sanding, and rebuilding with tinted hardwax or resin in thin layers.
- Address swelling or delamination by fully drying, injecting waterproof glue, clamping flat, resealing seams, and hiring a pro for deep substrate damage.
Identify Your Worktop Material and Damage Type
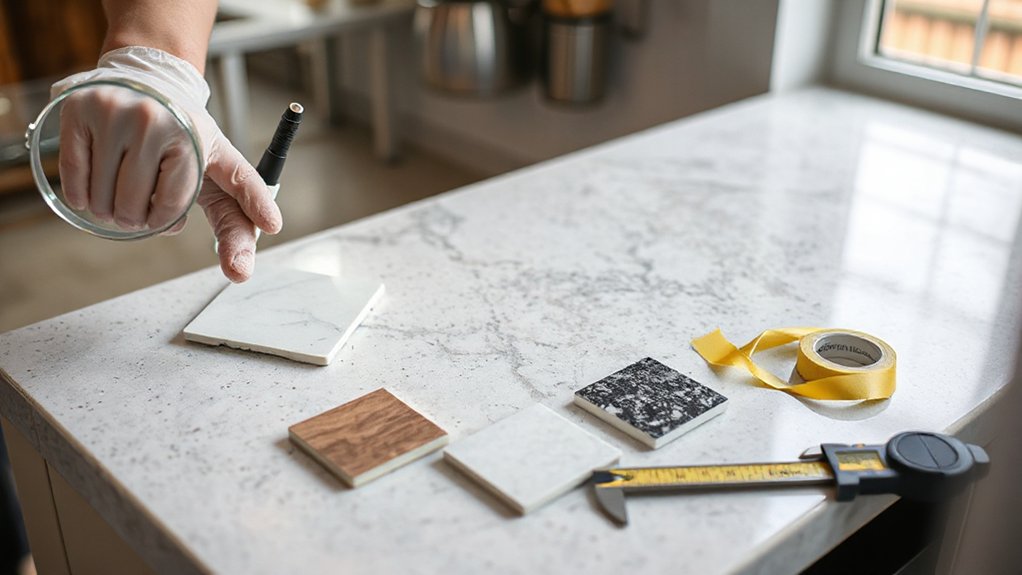
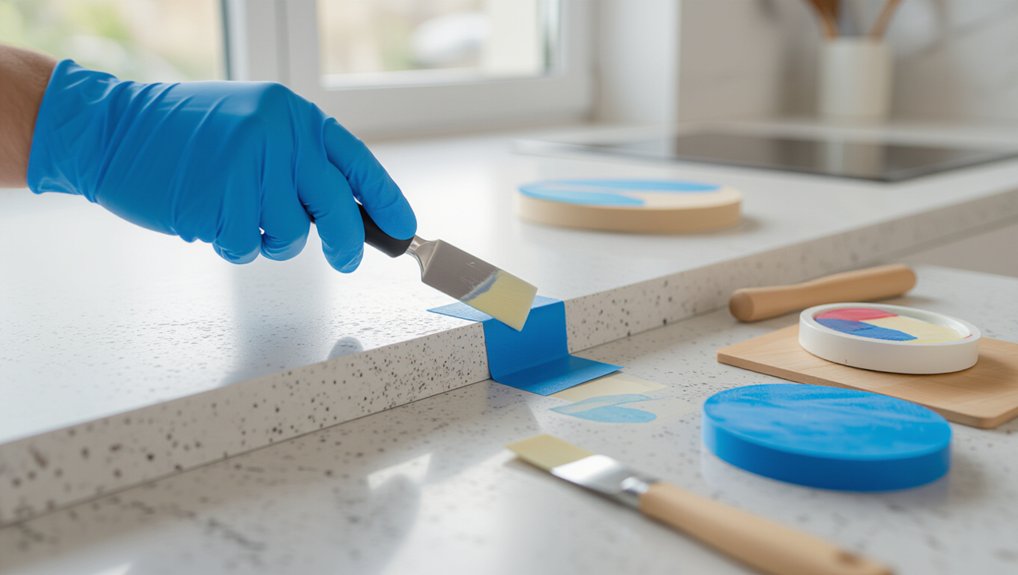
Before you pick up any filler or sandpaper, confirm what your worktop is made from and exactly what kind of damage you’re dealing with, because the correct repair method depends on both. Start with Material identification: check invoices, underside labels, and edge profiles, then test discreetly—laminate shows a thin decorative layer, solid wood reveals end grain, quartz feels uniformly dense, and composite can have visible particles. Note heat marks, swelling at joints, chipped edges, cracks, delamination, or failed sealant. Map the damage: measure length and depth, photograph under raking light, and mark boundaries with low-tack tape. Assess causes relevant to Worktop maintenance: moisture ingress, impact, heat, UV, or chemical exposure. Finally, confirm whether damage is cosmetic or structural by pressing for flex, movement, or hollow sounds.
DIY Worktop Repair: Remove Scratches, Stains, and Dullness
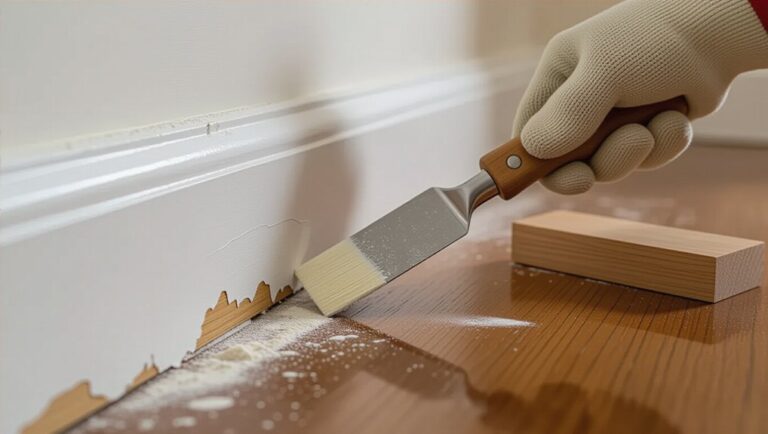
Once you’ve confirmed the material and mapped the damage, start with the least aggressive method to lift surface scratches, remove stains, and restore sheen without cutting through a finish or decorative layer. Wash with pH-neutral cleaner, rinse, and dry. For light scratches on laminate or sealed wood, use a non-abrasive polish and a microfiber cloth, working with the grain. On solid wood, step up to 320–600 grit sanding, feathering outward, then wipe with mineral spirits. Treat stains using the right solvent: baking-soda paste for tannins, isopropyl alcohol for ink, peroxide for organics; spot-test first. For dullness, apply the manufacturer’s recommended conditioner or wax, then buff evenly. Keep Color matching in mind when re-oiling, and document Finish restoration steps.
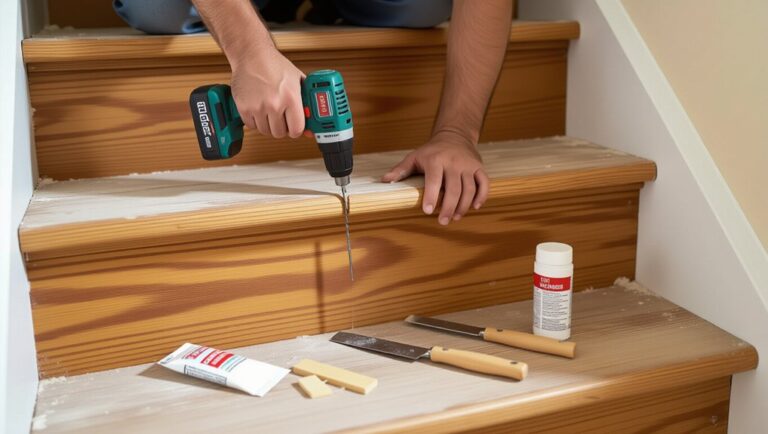
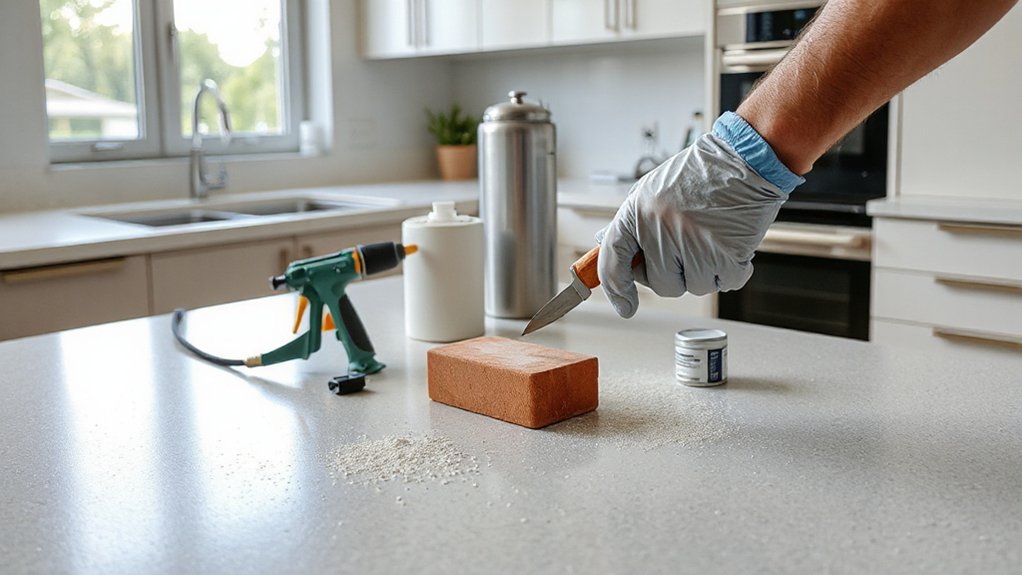
Worktop Repair for Chips, Burns, and Water Swelling
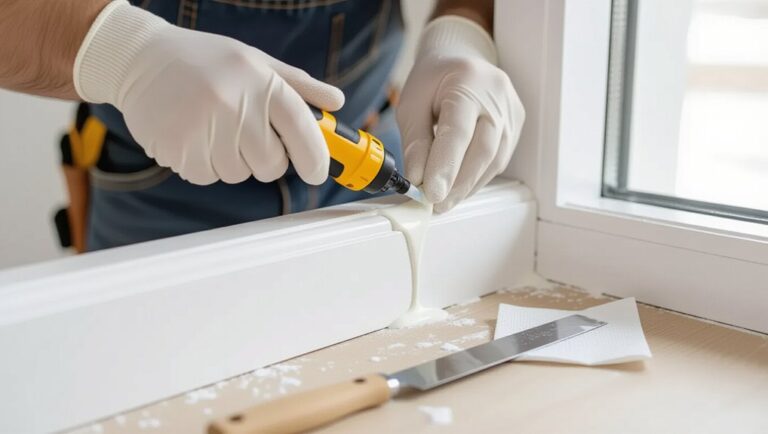
Even if the surface looks intact, chips, heat burns, and water swelling usually mean the substrate or finish has failed, so you need a targeted repair that stabilizes the area first and restores the surface second. For chips, square the edge with a sharp chisel, degrease with isopropyl alcohol, then pack colour-matched epoxy filler in thin lifts; sand flush through P240–P800 and seal if needed. For burns, stop at sound material: scrape carbon, feather-sand, then use tinted hardwax or resin, keeping layers low to avoid sink-back. For swelling, dry the area fully, inject waterproof wood glue under lifted laminate, clamp with cauls, and re-seal edges with silicone. These steps support worktop maintenance and consistent aesthetic restoration.
When to Hire a Pro for Worktop Repair or Respray
DIY fixes work well for small, stable defects, but you should hire a pro when damage reaches the substrate, covers a large area, or needs colour and sheen to match across the whole run. If you see MDF/particleboard, deep heat blisters, delamination, or persistent water swelling at seams, you’ll need controlled drying, consolidation, and sealed edges you can’t reliably achieve with consumer kits.
Bring in a respray specialist when you’ve got multiple chips, widespread scratching, or you want a uniform satin/matt gloss level for Home decor consistency. Pros can feather repairs, spray 2K coatings, and blend pigment, then cure and polish to avoid witness lines. For Budget planning, get a written scope covering prep, masking, primer, topcoat system, VOC control, and turnaround time.
Frequently Asked Questions
Can I Repair a Damaged Worktop Without Removing the Sink or Hob?
Yes, you can often repair it in place without sink removal or hob replacement. Mask edges, dry thoroughly, inject epoxy or resin filler, sand flush, then seal. You’ll need clearance and careful heat protection.
How Long Should I Avoid Using the Worktop After a Repair?
You should avoid using the worktop for 24–48 hours, depending on cure time. After surface prep, follow your repair tools’ adhesive or resin specs; keep weight, moisture, and heat off until fully hardened.
Will Repaired Areas Match the Original Colour and Finish Perfectly?
You won’t get a perfect match every time; coincidence has it you’ll notice it most under bright light. With careful colour matching, pigment blending, and clearcoat layering, you can achieve near-invisible finish consistency, though ageing and grain can differ.
Are Repaired Worktops Safe for Food Preparation and Heat Exposure?
Yes, you can prep food and handle moderate heat on repaired worktops if you use certified, food-safe materials and apply protective coatings. You’ll still use trivets; repair durability depends on curing, seam quality, and maintenance.
Does Repairing a Worktop Affect Home Insurance or Warranty Coverage?
Yes, it can: you’ll face insurance implications if repairs violate policy terms or require disclosure after a claim. For warranty considerations, manufacturer coverage may void unless you use approved materials, installers, and document work.
Conclusion
You don’t have to replace a damaged worktop if you match the repair to the material and fault. Start by identifying laminate, wood, stone, or composite, then treat surface issues with polishing, de-staining, or micro-abrasion. For deeper defects, use colour-matched filler, burn repair kits, edge rebuilds, or swelling stabilization plus sealing. If damage crosses seams, affects heat resistance, or needs uniform sheen, hire a pro—like calibrating a tool.