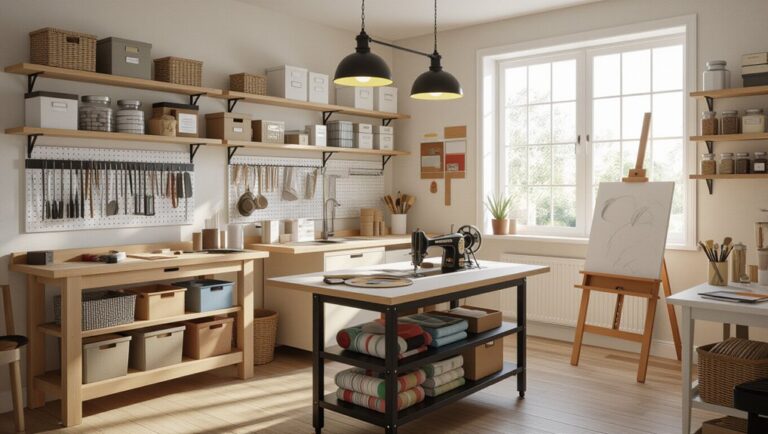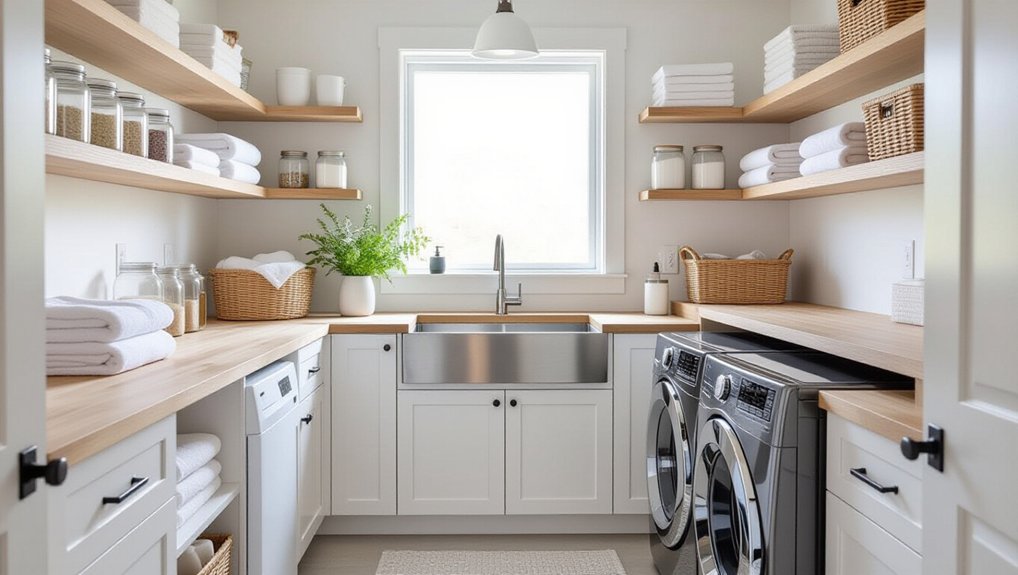
Design your utility room around what you do most: laundry, recycling, pet washing, and charging tools. You’ll work faster if you set clear zones in order—hamper by the door, then washer, dryer, a wipeable folding counter, and labeled storage within arm’s reach. Use vertical space with adjustable shelves, door racks, and hooks for cords and air-dry items. Choose sealed low-VOC cabinetry, washable paint, and bright task lighting. Keep it working with a 15-minute weekly reset, plus a few upgrades ahead.
Key Takeaways
- Plan around your routines and room constraints, measuring items and setting storage targets before choosing layouts, materials, lighting, and ventilation.
- Create clear zones—wash, dry, fold, store—arranged in a one-direction workflow to reduce backtracking and speed up laundry tasks.
- Place appliances and hampers for smooth transfer, allowing door clearances, and add nearby hanging racks, pre-treat storage, and a wipeable folding counter.
- Maximise vertical space with ceiling-height adjustable shelving, tall cabinets, and door-mounted racks to hide clutter and keep essentials within reach.
- Use labelled baskets, divided hampers, pull-out bins, and a weekly reset routine to maintain organisation and prevent the room becoming a catch-all.
Plan Your Utility Room Around Your Routine
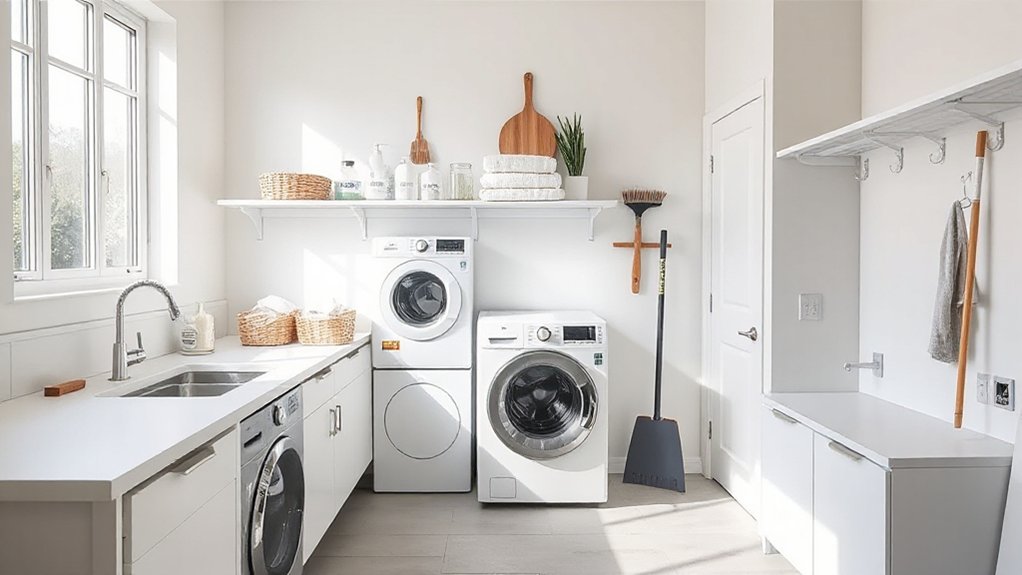
Before you sketch layouts or buy cabinets, map your utility room around what you actually do each week. List tasks (laundry loads, pet washing, recycling, tool charging) and note frequency, time, and mess level. Measure what you carry in: baskets, detergents, vacuum, mop bucket, bins. Then set capacity targets—how many loads before you restock, how many coats or shoes you drop daily.
Next, verify constraints: plumbing points, ventilation, door swings, and noise transfer. Choose Eco friendly materials where spills happen most—sealed low-VOC cabinetry, recycled-content flooring, washable paint. Plan lighting solutions by task: bright, even ceiling light for sorting; focused under-shelf light for labels and stain work; motion sensors for quick drop-ins. Document everything in a simple checklist.
Set Up Zones: Wash, Dry, Fold, Store
Set up distinct zones for wash, dry, fold, and store so every task has a dedicated spot and you don’t waste steps. Arrange them in work order—hamper and supplies at the washer, transfer space between machines, a clear folding surface nearby, and storage within arm’s reach. When you optimize the flow between zones, laundry moves in one direction and your room stays organized under real use.
Define Distinct Laundry Zones
Where do socks go to disappear—wash, dry, fold, or store? You stop the mystery by defining four clear laundry zones and assigning tools to each. In the wash zone, keep detergent, stain spray, measuring scoop, and a small bin for pre-treat items on a shelf above the machine. Use Eco friendly materials like bamboo trays or recycled-plastic caddies to corral supplies and prevent drips. For the dry zone, mount a drying rack, keep pegs in a jar, and store dryer sheets in a lidded box. Create a fold zone with a wipeable counter at standing height for ergonomic design, plus a sock sorter and lint roller. Finish with a store zone: labeled baskets for each person, plus a drawer for spares and repair kit.
Optimize Flow Between Zones
Although you’ve defined your wash, dry, fold, and store zones, you’ll save the most time when you arrange them in the same order you use them and minimize backtracking. Place hampers and stain tools at the washer, then keep detergents on a shallow shelf within arm’s reach. Position the dryer beside the washer, and add a pull-out surface between them for quick transfers.
Set your fold zone directly opposite or adjacent to the dryer with a counter at elbow height, plus a nearby hanging rail for items that can’t sit. Use Innovative storage like labeled drawers for pegs, mesh bags, and mend kits, and vertical cubbies for sorted loads. Add Lighting solutions: bright task lighting over machines and the counter so you spot stains and fold accurately.
Best Utility Room Layouts for Any Room Size
Match your utility room layout to the space you’ve got, then optimize every step from wash to storage. In a compact room, you’ll rely on stacked appliances, tight clearances, and vertical storage to keep essentials within reach. With medium and large rooms, you can sequence dedicated workflow zones and expand into full utility room plans with longer counters, deeper storage, and clear traffic paths.
Compact Layout Essentials
If you start with a clear workflow—dirty to clean—you can design a compact utility room that feels efficient instead of cramped. Place the hamper and stain sprays at the entry, then the washer/dryer, then a folding surface beside clean storage. Stack appliances to free floor area, and keep a 700–800mm walkway so doors open fully. Use wall rails and shallow shelves above machines for detergents and cloths; label zones so you don’t waste reaches. Choose a slim pull-out bin and a vertical broom cabinet.
Build durability into the tight footprint: use Eco friendly materials like FSC plywood shelving and low-VOC paint, and add Vintage decor via brass hooks or a reclaimed wood counter without adding bulk. Fit under-shelf LEDs for task lighting.
Medium Room Workflow Zones
Where do you gain the most efficiency in a medium-size utility room? You get it by zoning tasks so nothing competes for the same floor space. Set a “dirty-to-clean” line: hamper drop and stain-treat station at the entry, washer/dryer on the long wall, then a folding counter directly beside them. Place hanging space above the counter for drip-dry and ironing-ready items. Opposite, install shallow shelving for detergents, baskets, and cleaning tools, keeping frequently used supplies between waist and eye level. Add Smart lighting with motion sensors over each zone so you don’t work in shadows. Use Ventilation strategies: an extractor near appliances, a louvred door, and a dedicated air gap behind machines to reduce damp.
Large Utility Room Plans
How do you make a large utility room feel faster, not just bigger? You do it by shrinking travel distances. Plan a U-shape or galley with clear task sequence: drop zone, sort, wash, dry, fold, store. Keep the washer and dryer side by side, with a continuous counter above. Add a deep sink and stain station within one step, not across the room. Put tall pantry storage at the ends, and open shelving for daily detergents at eye level. Use Eco friendly materials for counters and cabinets so hard-wearing surfaces don’t off-gas. Build in Smart technology: leak sensors, smart plugs, and lighting scenes that switch between sorting and folding. Include a central aisle wide enough for baskets.
Place Appliances for Smooth, One-Way Workflow
Why fight cross-traffic every time you do laundry? Plan appliance placement so clothes move in one direction: drop, wash, dry, fold, exit. Put hampers or a sorting station at the door, then locate the washer first, dryer next, and a clear folding surface immediately after. If you hang-dry, place a rail or drying rack beside the washer, not across the room. Keep clearances tight but functional: allow door swings, lid lift space, and a straight path for baskets. Group heat and moisture sources on an exterior wall to simplify venting and reduce condensation. For workflow efficiency, align heights where possible and leave a landing spot for detergent and stain treatments next to the washer.
Choose Cabinetry That Hides Laundry and Clutter
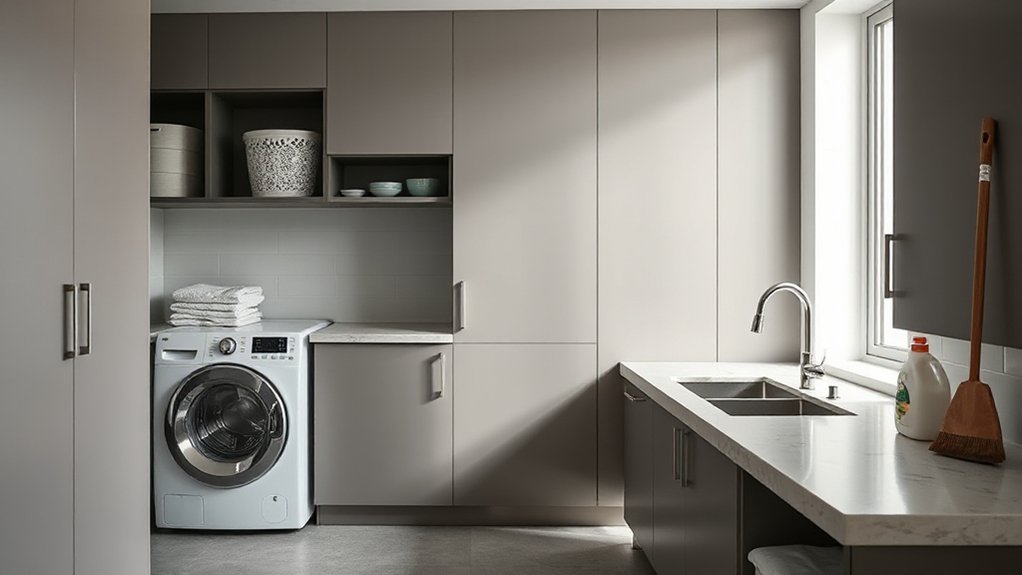
Instead of letting baskets, detergent, and small gear live out in the open, choose cabinetry that gives every laundry item a defined “home” behind doors. Plan zones: cleaning supplies, wash-day tools, and backstock. Use adjustable shelves for tall bottles, plus shallow pull-out trays for stain sticks and brushes so you don’t lose small items. Add a dedicated hamper cabinet or tilt-out bin to keep sorting contained. Include a drawer with dividers for pegs, mesh bags, and sewing fixes. Fit a door-mounted rack for spray bottles, gloves, and cloths. This Hidden storage reduces visual noise and speeds routines because you can grab items by category. For reliable Clutter concealment, label shelves and set a “one in, one out” rule for duplicates.
Use Tall Storage to the Ceiling (No Dead Space)
Run your storage all the way to the ceiling so you don’t waste the upper wall area as dead space. Specify floor-to-ceiling cabinetry for enclosed items and add ceiling-height shelving systems where you need fast access to detergents, bins, and cleaning tools. Plan the top zones for infrequent-use supplies and keep daily essentials at eye level so your layout stays efficient.
Floor-To-Ceiling Cabinetry
Where does all that utility-room clutter go when base cabinets and a few shelves still leave piles on the floor? You solve it with floor-to-ceiling cabinetry that captures vertical space and hides mess fast. Specify tall units with full-height doors so you can store mops, brooms, and an ironing board upright without snagging. Add pull-out trays for detergents and small tools so nothing disappears in the back.
Plan around plumbing fixtures by using a sink-base cabinet with a removable back panel and dedicated shutoff access, then place a narrow tall cabinet beside it for cleaning concentrates. Reserve the lowest bay for slide-out recycling bins, keeping weight low and sorting simple. Finish with soft-close hinges and wipeable interiors for durability.
Ceiling-Height Shelving Systems
How do you keep a utility room from growing clutter again after you’ve added cabinets? You extend storage upward and assign every vertical inch a job. Install ceiling height shelving above doors, machines, and tall cabinets so you don’t leave dead space. Use adjustable standards to match changing supplies, and set shelf depths to prevent overhang: 10–12 inches for detergents, 16 inches for baskets. Reserve the top tier for low-use items—bulk paper goods, seasonal cleaners, spare filters—and label bins on the front edge for quick ID. Add Elevated storage hooks under the lowest shelf for dusters, cords, and hang-dry racks. Keep a step stool on a dedicated hook so access stays safe and repeatable.
Add a Folding Counter With Storage Underneath
If you’re short on flat work surface but don’t want a permanent counter taking up floor space, add a wall-mounted folding counter and pair it with storage underneath. Choose a sturdy bracket rated for your heaviest task, and mount into studs or masonry with proper anchors. Set the height to match your washer or existing worktops so loads slide easily.
For a reliable folding surface, pick moisture-resistant plywood, laminate, or compact laminate, and seal edges. Add a small lip to stop bottles rolling. Underneath, install slim base cabinets, pull-out bins, or open cubbies as storage solutions for detergents, brushes, and stain sprays. Use labeled trays to contain leaks, and leave a clear bay for a laundry basket or step stool. Add a magnetic catch so it stays closed when not in use.
Build Indoor Drying Space: Rails, Racks, Airers
A folding counter gives you a spot to sort and pre-treat, but you’ll still need dedicated indoor drying space to keep damp items off chairs and doorframes. Plan Indoor drying in layers: wall, ceiling, and floor options that don’t block circulation.
Mount a retractable rail above the counter for shirts and delicates; keep it high enough to clear heads but reachable. Add a ceiling pulley rack if you’ve got height, so warm air rises through hanging laundry. For floor solutions, choose a slim concertina airer that folds flat. Prioritise Airer placement near extraction, a window, or a dehumidifier, and leave a 10–15 cm gap from walls for airflow. Include drip trays or a washable mat to protect flooring and reduce humidity.
Sort Laundry Fast With Divided Hampers
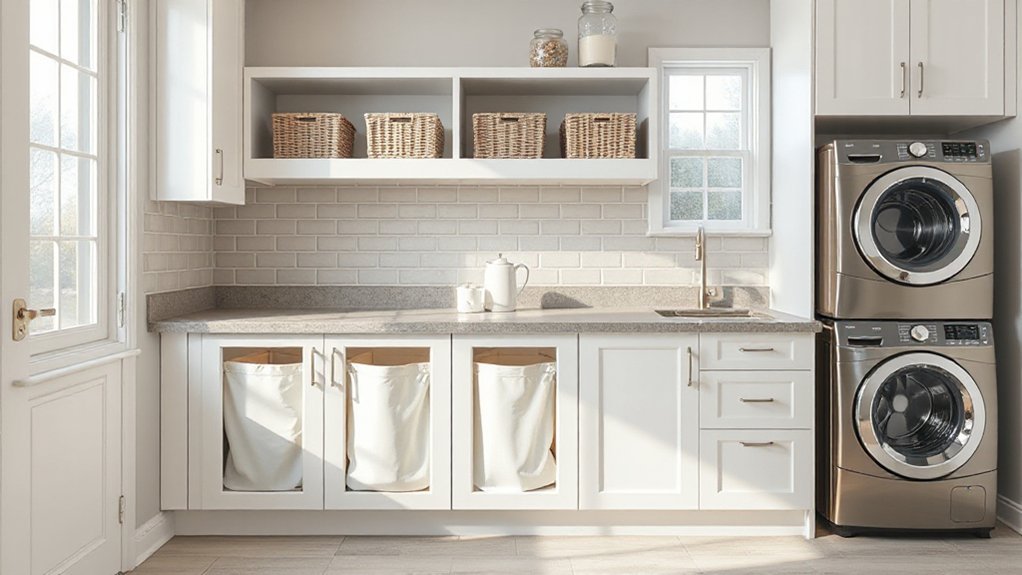
Where does laundry sorting usually break down—at the point you’re tired, in a hurry, and dumping everything into one pile. Fix that failure point by placing divided hampers where clothes naturally land: beside the door, under a counter, or next to the washer. Choose 2–4 compartments and label them by how you wash: lights, darks, towels, delicates. Make each section easy to lift out or tip into a basket so you can load the machine in one motion.
Treat the area as one of your sorting stations: add a small ledge for empty pockets, a hook for mesh bags, and a clear rule—nothing goes in unsorted. Review categories monthly and adjust to your habits.
Store Cleaning Supplies Safely (Locked and Labelled)
Even when you’re rushing through chores, you should store cleaning chemicals in a locked, clearly labelled zone so kids, pets, and distracted adults can’t grab the wrong bottle. Choose a latching cabinet or lockbox at adult height, then group products by task: disinfectants, degreasers, glass, and laundry additives. Keep originals, never decant into drink bottles, and store incompatible items apart (bleach away from ammonia and acids). Add a spill tray and keep caps tightened to reduce fumes and leaks. Label shelves with product names and hazard icons, and date anything mixed or diluted. Post poison control information inside the door. For child safety, you’ll also inventory monthly and discard expired or corroded containers to keep chemical storage reliable.
Use Walls and Doors: Hooks, Rails, Organisers
Because floor space disappears fast in a hard-working utility room, treat your walls and doors as primary storage zones. Start with wall mounted solutions: install a sturdy rail for spray bottles, a pegboard for brushes and dusters, and labelled hooks for mops, brooms, and the ironing board. Position hooks at tool height, keep wet items near ventilation, and leave a clear section for bulky handles. Add a narrow shelf above eye level for seldom-used refills or spare sponges in lidded bins.
Upgrade door storage options next: hang an over-door organiser for cloths, gloves, and stain removers, or fit inside-door pockets for lint rollers and shoe-care kits. Choose slim profiles so doors close cleanly and items don’t snag.
Stop Utility Room Clutter With Simple Weekly Systems
Once you’ve set up wall and door storage, keep it working with a simple weekly reset that stops clutter before it spreads. Pick a fixed day and set a 15-minute timer. Put every loose item back into its labelled zone: cleaning caddies, laundry supplies, pet gear, recycling. Wipe the counter, then empty the catch-all tray into proper Smart storage bins.
Next, run quick Maintenance routines: refill detergent, replace cloths, and toss empty bottles. Check hooks and rails for overflow; if one category spills out, remove duplicates or relocate backups to a high shelf. Finally, reset your “inbox” basket for returns to other rooms. End by taking one photo of the finished space so you can match it next week.
Frequently Asked Questions
How Can I Soundproof a Utility Room to Reduce Appliance Noise?
You can soundproof your utility room by sealing gaps, adding dense Soundproofing materials to walls/doors, and isolating appliances on rubber pads. Use Noise reduction techniques: acoustic panels, door sweeps, and vibration-damping mats.
What Flooring Is Best for Handling Water Spills and Heavy Appliances?
Like an umbrella for your floor, choose vinyl plank or porcelain tile: both deliver Water resistant flooring and Heavy duty flooring. Use waterproof seams, a sealed subfloor, and anti-vibration pads to protect appliances.
How Much Ventilation Do I Need to Prevent Damp and Mould?
You’ll need continuous airflow: aim for 6–10 air changes per hour, or a 60–100 CFM extractor for small rooms. Choose Ventilation options: window vents, intermittent fan, or MVHR. Prioritise moisture control.
What Lighting Works Best for Spotting Stains and Sorting Colours?
To test the theory that “brighter equals clearer,” you’ll choose high-CRI (90+) 4000–5000K LEDs; they improve Stain detection and Colour sorting. Add task lights over counters, reduce shadows, and use matte walls.
Which Plumbing and Electrical Requirements Should I Consider Before Installing Appliances?
Check Plumbing fixtures: hot/cold shutoffs, drain standpipe, venting, pressure, backflow, leak pan, and accessible cleanouts. Verify Electrical wiring: dedicated circuits, correct amperage, GFCI where required, grounded outlets, proper receptacle height, and appliance disconnects.
Conclusion
Design your utility room to match your routine, and you’ll save time every week. Build clear zones for washing, drying, folding, and storage, then place appliances in a one-way flow to prevent pile-ups. Choose closed cabinetry to hide clutter, add divided hampers to sort fast, and lock and label chemicals for safety. Use doors and walls for hooks and rails. What could you streamline with a 10-minute weekly reset?
About the Author