You can turn a utility closet into a functional mini‑laundry by verifying the right hookups first: dedicated 120V/20A for the washer, 240V/30A for the dryer, GFCI protection, hot/cold supply, a vented and trapped 2‑inch standpipe, and reachable shutoffs. Measure the tightest width, depth, height, and door swing so appliances fit with airflow and service clearance. Add a drain pan, leak alarm, moisture‑proof finishes, and proper venting, and you’ll be set up for the next steps.
Key Takeaways
- Measure the closet’s tightest width, depth, height, and door swing to confirm appliance fit, clearance, and service access.
- Verify required hookups: 120V/240V circuits, hot/cold water supply, drain/standpipe, and dryer venting or ventless placement.
- Use dedicated, code-compliant electrical: grounded outlets, GFCI protection, and properly sized circuits labeled “Laundry.”
- Prevent leaks and moisture damage with shutoff access, secure hoses, drain pan, leak alarm, sealed flooring, and mold-resistant wall finishes.
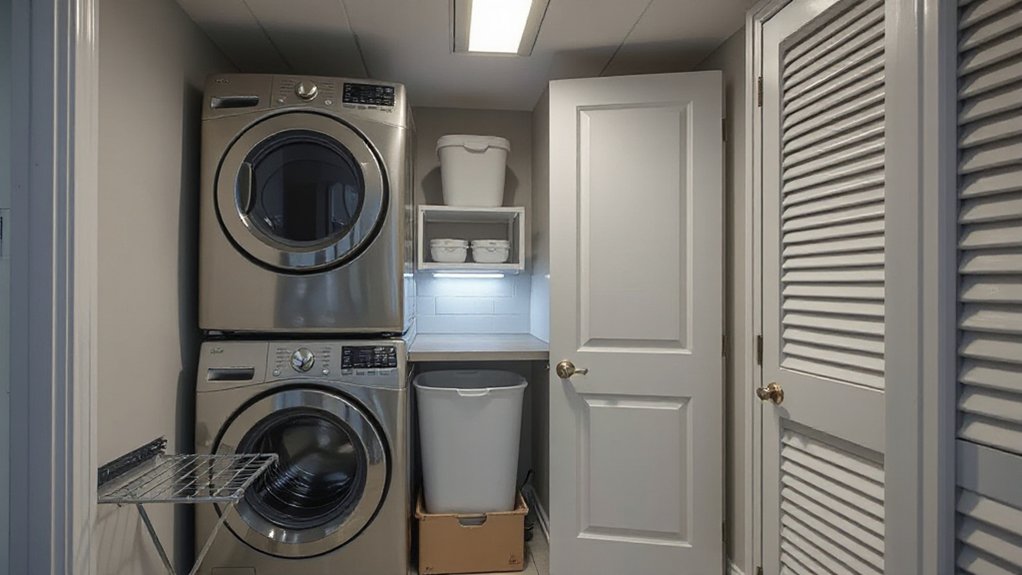
- Choose space-appropriate appliances and safe venting, then add fold-down counter and stud-mounted shelves to maximize storage and workflow.
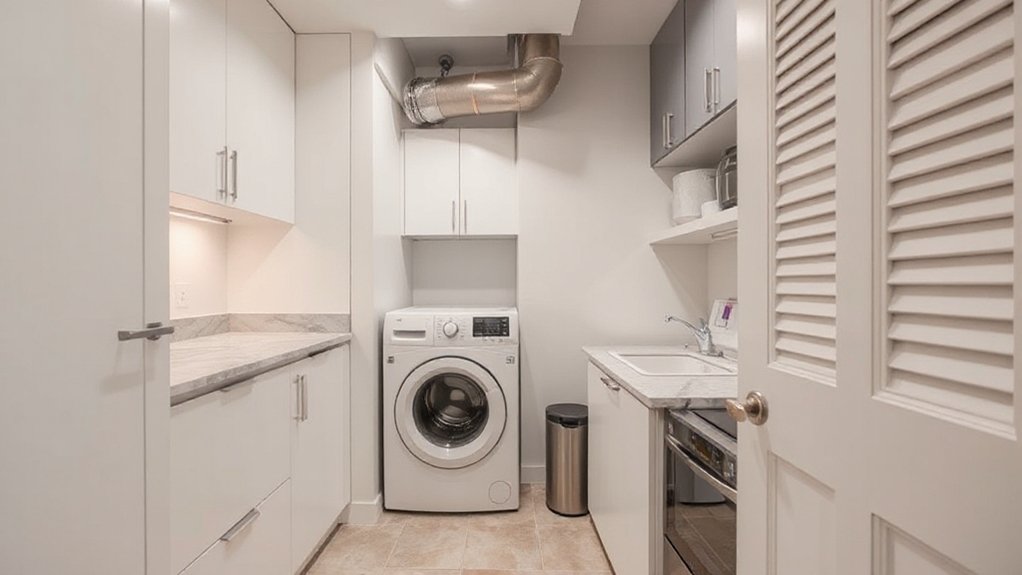
Check If Your Utility Closet Is Laundry-Ready
Before you buy a compact washer-dryer or start framing shelves, check whether your utility closet can actually support laundry: confirm you’ve got the right hookups (a 120V—and sometimes 240V—dedicated circuit, hot/cold water supply, a drain or standpipe, and dryer venting or a ventless option), enough interior clearance for the appliance’s footprint plus door swing and service access, and basic code/safety items like shutoff valves, a drip pan where required, and adequate airflow to prevent moisture buildup. Verify the circuit is GFCI/AFCI where required, and that the water lines include accessible shutoffs. Confirm the drain ties into an approved trap and vent. If you’re going ventless, plan for condensate routing. Once essentials pass, you can plan Utility closet organization and aesthetic enhancement.
Measure Closet Width, Depth, and Door Clearance
With your hookups and safety basics confirmed, lock in the physical fit by measuring the closet’s interior width, depth, and height at multiple points (walls aren’t always plumb) and comparing those numbers to the washer/dryer spec sheet—not just the “fits in” dimensions. Record the tightest Closet dimensions, then subtract required clearances for vibration pads, leveling feet, and any side vent kits.
Next, verify Door clearance: measure the door opening width, hinge-side projection, and the swing arc so you know you can roll the unit in and fully open service panels. If you’ve got bi-fold or slider doors, check track depth and header height. Leave space for airflow behind and above per the manufacturer; many codes expect appliances installed per listing. Confirm you can still remove lint screens and filters without contortions.
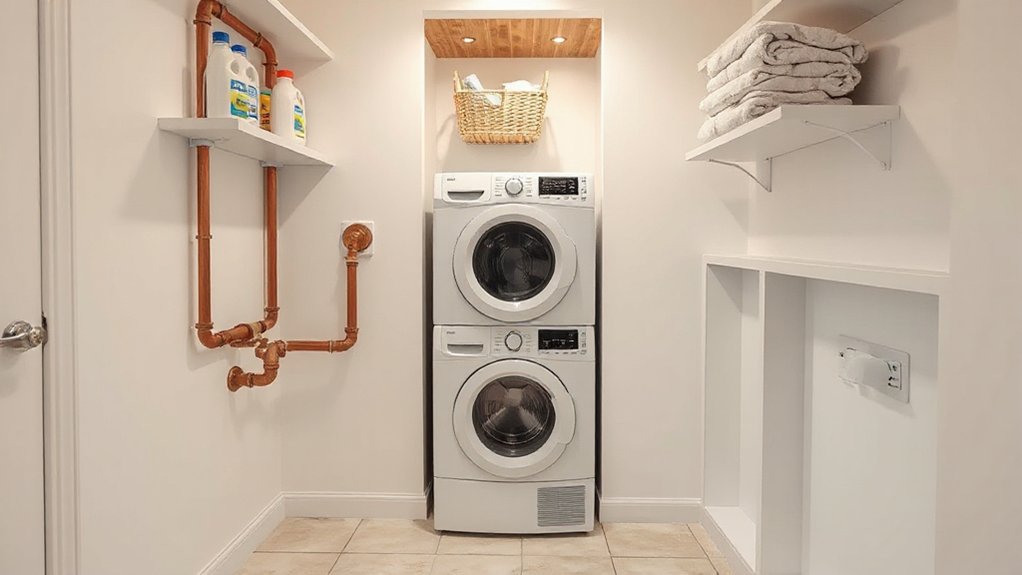
Confirm Plumbing, Drain, and Shutoff Access
Before you commit to a mini-laundry layout, confirm you’ve got hot and cold supply lines and a code-compliant drain/standpipe where the washer will sit. Check hose and trap/standpipe heights against the manufacturer’s specs and local code, and make sure the drain route won’t kink or backflow. Verify the shutoff valves are present, operable, and reachable without pulling the appliance out or blocking the closet opening.
Verify Supply And Drain Lines
Where will your washer actually connect? Start with a Supply inspection: locate hot and cold stub-outs or a laundry box, confirm 1/2-inch lines, and check for corrosion, kinks, or mismatched fittings. Verify the box sits at a practical height and that you can route braided stainless hoses without sharp bends. If you’re tying into existing plumbing, confirm material compatibility (copper/PEX/CPVC) and use approved transition fittings.
Next, do Drain verification. Confirm there’s a standpipe with a trapped receptor and an appropriate diameter (often 2 inches by code), plus a vented connection to prevent siphoning. Measure standpipe height and ensure the washer hose can hook in securely without sealing the opening. Look for past overflow stains, slow drainage, or gurgling that signals vent or blockage issues.
Ensure Shutoff Valve Access
After you’ve confirmed the supply stub-outs and standpipe will work, make sure you can actually reach the shutoffs and service points once the washer’s in place. You shouldn’t have to pull the machine out to stop a leak; that defeats shutoff valve accessibility and can violate local expectations for readily accessible valves.
Plan a clear hand path to both hot and cold valves (or the laundry box levers), plus the standpipe cleanout if present. If the closet door swings in, check it won’t block access. Leave enough side clearance to operate quarter‑turn handles without scraping knuckles. Label the Emergency shutoff location and keep it unobstructed—inside the closet on the side wall, or just outside the door. Test operation before final install.
Make the Closet Wiring Laundry-Safe
Before you slide a washer into a closet, you need wiring that’s rated for a damp, high-load appliance zone. Add GFCI protection where required (receptacle or breaker, per your local code) so a fault trips fast instead of energizing the cabinet. Then upgrade to dedicated, properly sized circuits for the washer (and any 240V dryer), with correct breaker, wire gauge, and an accessible shutoff.
Install GFCI Protection
Why risk a shock hazard in a tight utility closet when a simple upgrade can make the circuit laundry-safe? Add GFCI protection where the washer plugs in, since laundry areas often count as damp locations under modern codes. For a quick fix, use a listed GFCI receptacle or a GFCI breaker; either can trip on a 4–6 mA imbalance to protect you. During GFCI installation, shut off the breaker, verify power is dead with a tester, and connect supply to LINE—don’t mix up LOAD unless you’re protecting downstream outlets. Use a deep box if conductors are crowded, tighten terminals to spec, and label “GFCI Protected.” Press TEST/RESET after energizing to confirm electrical safety and proper operation.
Upgrade Dedicated Circuits
Even if the closet’s existing outlet “works,” you’ll get a safer, code-clean setup by putting the washer on a dedicated 120V, 20A laundry branch circuit. Run 12‑gauge cable from the electrical panel to a single receptacle, and label it “Laundry.” Don’t share this line with lights, a bathroom, or a freezer—startup current can trip a shared circuit and overheat wiring. Match the receptacle rating to the circuit, and secure the box so the cord can’t tug it loose. At the panel, install the correct circuit breaker (and AFCI where required), torque lugs to spec, and verify grounding. If you’re adding an electric dryer, plan a separate 240V circuit and clearance for its plug too.
Choose the Right Washer/Dryer for a Closet
How do you pick a washer/dryer that actually works in a closet-sized footprint without tripping breakers, shaking the walls, or blocking the door swing? Start with dimensions: measure width, depth, and height, then leave clearance for hoses, a shutoff box, and service access. Choose a 24-inch compact set or a single combo unit if the opening is tight; confirm it’ll pass through the door frame. Match electrical requirements to your upgraded circuits: most full-size dryers need 240V/30A, while many compact or heat-pump models use 120V/15–20A. Prioritize Energy efficiency with ENERGY STAR ratings to reduce heat and load time. Check Noise levels (dB), inverter motors, and anti-vibration feet, and verify the floor can handle spin loads.
Plan Venting (or Go Ventless) to Prevent Moisture
Once you’ve sized a washer/dryer that fits and matches your electrical service, tackle moisture control next—because a closet laundry can dump a lot of warm, wet air into a tiny volume. If you’re installing a vented dryer, choose rigid metal duct, keep the run short, and follow your local code for termination, clearances, and backdraft protection. Avoid plastic flex duct, minimize elbows, and don’t tie into existing bath or kitchen exhaust. Confirm you’ve got make-up air so the dryer doesn’t backdraft combustion appliances.
If exterior ducting’s hard, compare ventless solutions: heat-pump or condenser dryers. They reduce penetrations but still release some heat, so plan for louvered doors or a transfer grille, and budget for periodic filter and condenser cleaning.
Pick Moisture-Proof Floors, Walls, and Doors
Because a closet laundry lives in a tight, low-airflow box, you’ll get better durability (and fewer moldy surprises) if you treat every surface like a wet zone: install a water-resistant, continuous floor (sheet vinyl, LVP with sealed seams, or tile over a waterproofing membrane) with a pan or drain where code allows, use moisture-tolerant wall finishes (semi-gloss paint over mold-resistant drywall or cement board behind any supply/standpipe area), and choose a door that won’t swell while still providing required combustion/ventilation air—often a louvered or undercut door sized to your local code and the dryer manufacturer’s specs. Use Moisture resistant flooring with sealed junctions at the threshold and around penetrations. Add Waterproof wall treatments behind valves and the standpipe; tape, mud, and seal fasteners. Keep clearances per listing, and add leak alarms.
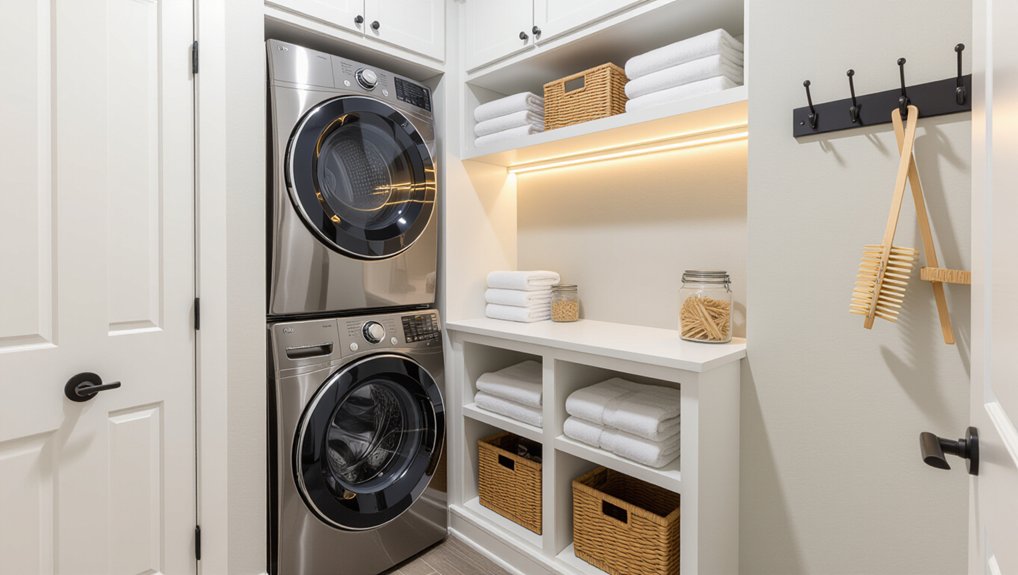
Add Shelves, Hampers, and a Fold-Down Counter
Even if you can’t add square footage, you can add function by building storage and a work surface into the vertical space around your washer and dryer. Mount adjustable shelves on studs with corrosion-resistant brackets, keeping detergent and paper goods above splash level and clear of venting. For Storage organization, use labeled bins sized to shelf depth, and leave a small gap for airflow behind containers.
Add a slim, pull-out or tilt-out hamper bank below the shelves, or place stackable hampers on a drip tray so you can sort lights, darks, and delicates without blocking access panels. For space optimization, install a wall-mounted fold-down counter with a locking hinge and a rated support cleat; keep it below any required electrical panels and away from the dryer exhaust path.
Avoid Common Utility Closet Laundry Mistakes
If you’re turning a tight utility closet into a mini-laundry, a few common missteps can create real safety and code issues. Don’t undersize clearances: keep washer hoses accessible, leave service space, and don’t block the electrical panel or shutoffs. Vent the dryer correctly—use rigid metal duct, keep runs short, seal joints with foil tape, and never vent into the closet or attic. Provide a dedicated, properly grounded receptacle (GFCI where required), and don’t overload a shared circuit. Install a drain pan and a trapped, code-approved standpipe to limit leaks and sewer gas. Build Laundry room organization around labeled valves and reachable filters. Protect Utility closet aesthetics with moisture-resistant paint and a louvered door for airflow.
Frequently Asked Questions
Do I Need HOA or Landlord Approval to Add a Closet Laundry?
Yes—you likely need HOA restrictions review and Landlord approval before adding closet laundry. Check CC&Rs, lease terms, and local plumbing/electrical codes. Get permits, verify venting and drainage, and confirm noise/leak requirements too.
How Much Will It Cost to Convert a Utility Closet Into Laundry?
You’ll usually spend $1,500–$6,000, depending on Appliance selection, plumbing/electrical runs, and Ventilation options. Add $500–$2,000 for permits, venting, and code-required clearances, drain pan, shutoffs, and GFCI/AFCI upgrades.
What Permits or Inspections Are Required for a Closet Washer/Dryer Installation?
Like threading a needle, you’ll pull building permits and schedule rough/final inspections. You must meet plumbing regulations for supply/drain/vent, and verify electrical wiring with GFCI/AFCI, dryer circuit, and proper exhaust clearances.
How Can I Reduce Noise and Vibration for Nearby Bedrooms or Living Areas?
Use vibration dampening pads, level the unit, and add anti-walk brackets. Apply soundproofing techniques: seal gaps with fire-rated acoustical caulk, add mass-loaded vinyl and resilient channel. Don’t block required dryer combustion/vent clearances.
Will a Closet Laundry Conversion Affect Home Resale Value or Insurance?
It can, like a ripple through calm water: you’ll boost Home value if you pull permits, vent properly, and meet electrical/plumbing codes; you’ll avoid Insurance impact by notifying your carrier and documenting inspections.
Conclusion
Once you’ve checked measurements, verified shutoffs and drains, upgraded wiring to code, and chosen a closet‑friendly washer/dryer with proper venting (or ventless airflow), your utility closet becomes a small workhorse. Treat it like a ship’s engine room: tight, efficient, and built for safety. Use moisture‑rated finishes, keep clearances and access panels unobstructed, and add smart storage plus a fold‑down surface. Do it right, and you’ll wash, dry, and fold without headaches.