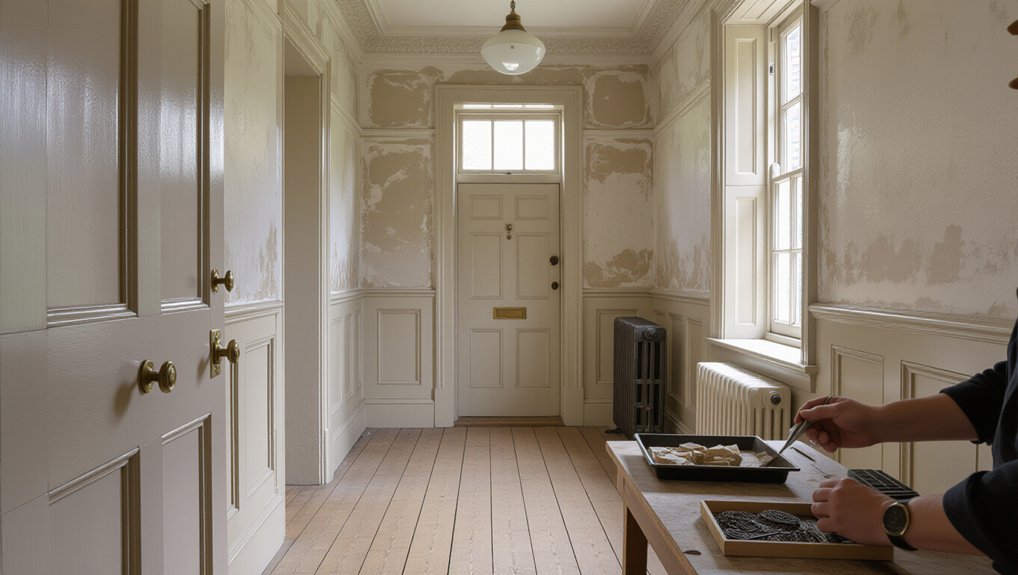
You’ll restore an Edwardian terrace convincingly by auditing each room before stripping paint: photograph locks, knobs, escutcheons, hinges, and sash fittings, bag screws, and note backsets and hole spacing. Spot originals by hand-cut screw slots, oxidised mortices, and wear in thumb plates, not uniform machine parts. For 1901–1910 doors, choose surface-mounted rim locks with sprung latch and separate deadbolt, sized to existing scars. Next, you’ll match brass, nickel, or japanned finishes correctly.
Key Takeaways
- Catalog and photograph each room’s original hardware, noting sizes, screw spacing, wear patterns, and maker marks before stripping paint or ordering replacements.
- Differentiate originals from later swaps by checking hand-cut screw slots, oxidised mortises, authentic grime-darkened recesses, and period-appropriate Edwardian styling.
- Choose Edwardian-compatible rim locks, latches, knobs, and escutcheons by matching backset, follower size, plate dimensions, and existing screw holes to avoid new damage.
- Match finishes to surviving evidence—aged brass, satin nickel, gunmetal, or japanned iron—avoiding modern high-gloss lacquers and uniform powder-coated blacks.
- Install with knife-scribed mortices and slotted countersunk wood screws, pilot-drilled for safety, and preserve patina with gentle cleaning instead of heavy polishing.
Audit Edwardian Terrace Hardware, Room by Room
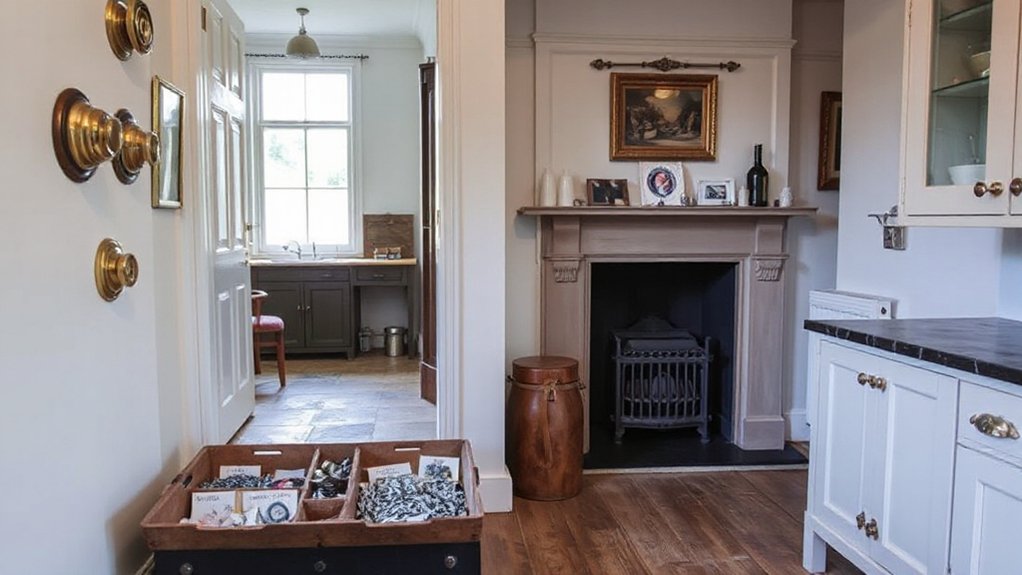
Before you strip paint or order replacements, walk the house room by room and catalogue every piece of original or early-compatible Edwardian hardware—because once it’s off the door, its proportions and fixing pattern are easy to lose. Start at the front door: note rim lock size, keep, escutcheon shape, and knob material. In the hall and reception rooms, record lever length, backplate profile, and screw spacing; photograph each face and edge-on. Upstairs, log bedroom latches, sash lifts, fasteners, and casement stays, including stamped maker marks. In kitchens and sculleries, check cupboard turns, hooks, and bell pulls, where later repainting hides detail. Bag screws per item, label locations, and sketch door thicknesses. This audit anchors Antique restoration and Hardware preservation, and it prevents costly mis-drilling later.
Tell Original Edwardian Pieces From Later Swaps
Once you’ve catalogued each lock, latch, and lift, you can start sorting what’s genuinely Edwardian from what a later owner swapped in by looking at the evidence left in metal, wood, and paint. Check screw slots: early pieces usually show hand-cut, slightly off-centre slots and irregular thread pitch; later swaps tend to use uniform machine screws. Read the door edge: a true original leaves a crisp, oxidised mortise with paint build-up feathering into the cut, not fresh timber or sharp sanding marks. Compare wear patterns—thumb plates and pull handles should polish where hands naturally land, with grime darkening recesses. Style matters too: Edwardian hardware often blends Victorian influences with restrained Art Nouveau details, while later fittings look either overly ornate or starkly modern.
Door Locks: Choose Edwardian Rim Locks and Latches
Where do you start when you need period-correct security but don’t want to butcher original joinery? Choose surface-mounted Edwardian rim locks and latches, which were commonly fitted to internal doors in terraces from about 1901–1910. You’ll keep mortice chopping to a minimum and preserve thin stiles on four-panel and half-glazed doors. For Vintage restoration, look for cast-iron or steel cases with a japanned or painted finish, and brass or nickel-plated keeps. Confirm Period styling by checking for a single large rim case, a simple sprung latch, and a separate deadbolt on privacy doors. Measure backset, follower size, and keep position before buying, then reuse existing screw holes where possible to avoid splitting old timber.
Knobs and Plates: Match Edwardian Proportions
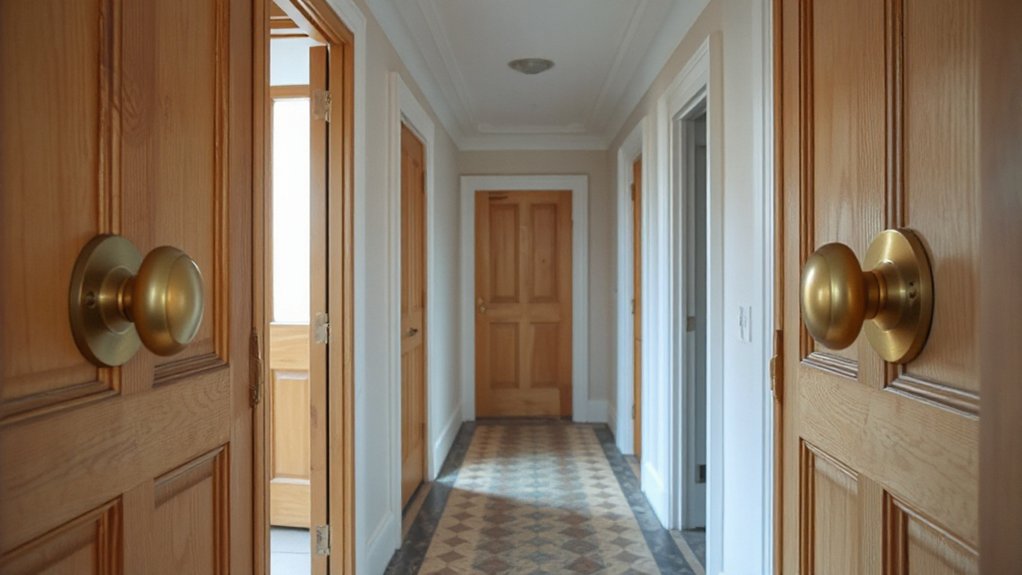
You’ll get the most convincing Edwardian look when you scale knob diameter to the door’s thickness and stile width, avoiding oversized modern furniture that reads as later. Keep the backplate proportionate too—set crisp margins around keyholes and screws, and size the plate so it sits comfortably on the stile without crowding mouldings. Choose period-credible finishes (typically brass, nickel plate, or japanned/black), and match sheen and wear patterns across the set so it doesn’t look newly mixed.
Scale Knobs To Doors
Because Edwardian joinery relies on balanced proportions rather than oversized hardware, you should scale knobs and their backplates to the door’s thickness, rail width, and panel layout. On typical 1⅜–1¾ in. internal doors, choose knobs that fill the hand without crowding stile and muntin lines; 2–2¼ in. diameters suit most four‑panel leaves, while larger diameters can look late‑Victorian. Keep the knob’s projection modest so it clears architraves yet supports door handle ergonomics. Place the spindle through the lock case center, then position the knob so it sits visually centered on the mid‑rail, not drifting into panel fields. Use hardware installation techniques that preserve crisp arrises: mark with a knife, drill from both faces, and seat escutcheons tight.
Plate Dimensions And Margins
Knob size sets the hand feel, but the plate’s height, width, and clear margin to surrounding mouldings determine whether the fitting reads Edwardian rather than late‑Victorian. Aim for taller, slimmer backplates typical of c.1901–1914, often around 150–175 mm high and 40–50 mm wide on internal doors, rather than squat, ornate Victorian plates.
Keep a consistent reveal: leave 6–10 mm of timber between plate edge and any bolection, beading, or panel moulding so the plate doesn’t crowd the joinery. Centre the spindle hole on the stile, then set the keyhole or privacy turn in line with period lock cases. Measure after hardware cleaning so you don’t misread built‑up grime as original margins, preserving historical accuracy.
Period-Accurate Finish Choices
Once you’ve fixed the plate proportions and margins, the finish becomes the cue that stops otherwise correct hardware drifting into a later look. For Edwardian terraces, favour muted, hand-finished metals over mirror chrome: satin nickel, aged brass, bronzed or japanned iron, and restrained gunmetal read right against painted joinery and stained floors. If you’ve got surviving originals, match to what’s protected under the plate or inside the spindle hole; that sheltered tone is your benchmark. Avoid high-gloss lacquer and “antique” chemical darkening that pools in corners. For Antique restoration, clean mechanically, then wax or oil to keep a soft sheen. During hardware sourcing, ask for unlacquered stock and sample swatches, and check that knobs and plates share the same base metal.
Escutcheons and Keyholes: Pick the Right Patterns
While you might not notice them at first glance, escutcheons and keyhole surrounds do a lot of period-signalling in an Edwardian terrace, so it pays to match their patterns to what was actually sold and fitted from roughly 1901–1914. You’ll see Decorative escutcheon patterns in builders’ catalogues that favour restrained Art Nouveau curves, oval or shield plates, and fine beaded or reeded borders rather than heavy Gothic revival work.
Check your locks first: lever mortice locks typically want a round or oval opening, while rim locks and old warded keys need a taller, tapered slot. Keyhole design variations also track door hierarchy—plainer brass on service doors, slightly richer nickel-plate or bronzed finishes on principal rooms. Keep screw spacing and plate size consistent with existing scars.
Sash Fasteners and Lifts for Edwardian Windows
Because Edwardian terraces (c.1901–1914) typically used timber box sash windows with slender meeting rails, you’ll get the most convincing result by choosing fasteners and lifts that match the hardware shown in period joinery and ironmongery catalogues: compact brass or nickel-plated “Brighton” pattern catches, crescent fasteners, or small Fitch fasteners on the meeting rail, paired with discrete sash lifts fixed low on the bottom rail rather than bulky Victorian styles. Keep proportions tight: a small keep plate, short screws, and a catch that doesn’t overhang the rail edge. If your house shows Victorian influences, you might find heavier Fitch types, but choose the smallest size that aligns and beds flat. For Modern adaptations, use matching finishes with upgraded sprung keeps or improved tongue engagement, while retaining the original profile and screw spacing.
Edwardian Hinges: Sizes, Tips, and Proper Screws
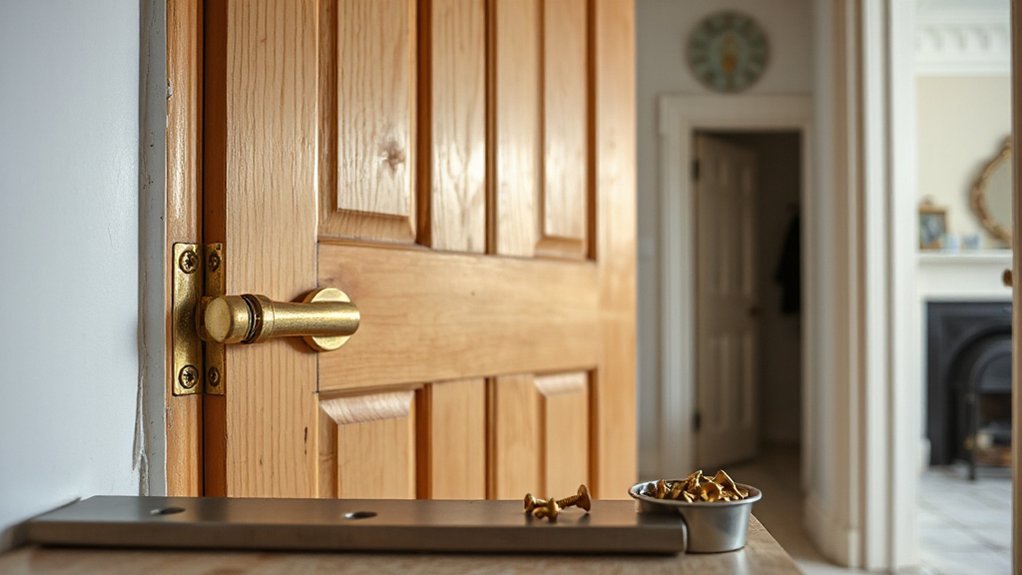
Although many Edwardian interiors reused late-Victorian joinery patterns, you’ll usually get the most authentic look by fitting slim, plain-bearing butt hinges in common period sizes—typically 3in or 3½in (76–89mm) on internal panel doors and 4in (102mm) where doors run heavy or tall—rather than the oversized Parliament or ornate cast styles that read earlier. Choose steel or brass with a tight, square knuckle, and match the finish to your Edwardian door handles. Set the hinge leaf flush in a clean, knife-scribed mortice so the door closes without binding. Use traditional slotted, countersunk wood screws (not pozi), ideally #8 or #10, in solid brass or steel to suit the hinge. Pilot-drill to prevent splits, especially under period specific paint finishes.
Picture Rails: Hooks, Cords, and Load Limits
If you want your Edwardian terrace to read “right” at eye level, a timber picture rail set just below the cornice lets you hang framed art without punching new holes through lime plaster. Use purpose-made picture hooks that grip the rail’s top edge; they were common by the 1900s and keep the moulding intact. Hang frames on braided cotton cord or thin wire; cord looks truer and grips better in traditional knots. For Picture rail decorating, run twin drops for wider frames so they don’t yaw. Follow load capacity guidelines: assume 5–7 kg per hook unless the maker states more, and never exceed the rail’s fixing strength. Find studs or plug solid masonry at 400–600 mm centres, and test with a dead weight before you trust it.
Match Period Finishes: Brass, Nickel, Japanned
You’ll get the most convincing Edwardian result when you match metal finishes to what’s documented for the period—lacquered brass on visible fittings, nickel plate where a cooler, harder sheen was specified, and japanned hardware where black enamel substituted for costly ebonised work. Check surviving plates, screw heads, and wear patterns to confirm whether you’re seeing later polishing or original plating rather than guessing from a bright surface. For japanned pieces, you’ll need to colour-match the black (often a warm, slightly brown-leaning tone) and sheen level so new touch-ups don’t read as modern powder coat.
Choosing Authentic Metal Finishes
How do you choose metal finishes that look “right” in an Edwardian terrace rather than merely old-fashioned? Start by dating the room: c.1901–1910 interiors favoured bright nickel plate for bathroom fittings and some door furniture, while warm lacquered brass persisted on knobs, sash lifts, and fireplace trim. You’ll get better results if you follow surviving evidence—ghost marks on paint, original screw holes, and protected areas under escutcheons—rather than guesswork. Compare your finds to museum catalogues and historical hardware sources, noting whether items were plated, solid, or brass-faced steel. Aim to preserve antique metal patinas: clean gently, avoid heavy polishing, and match sheen (high, satin, or aged) consistently across each room.
Japanned Hardware Color Matching
Although “black” hardware reads as timeless at a glance, Edwardian japanning had specific undertones and gloss levels that should align with neighbouring brass and nickel rather than compete with them. Start by checking surviving layers on escutcheons, latch backs, or hinge knuckles; even small protected areas preserve the truest tone. Use historic paint analysis or cross‑section microscopy from a conservator to confirm whether the “black” leans blue‑black, brown‑black, or green‑black, and whether it was stove‑enamel glossy or shellac‑soft satin. Then test against your room’s vintage color palettes: warm brass prefers a slightly brown japanned black, while cooler nickel sits better with a blue‑black. Keep sheen consistent across a door set, and avoid modern dead‑flat powder coat.
Where to Buy: Salvage vs Repro vs Bespoke
If you want an Edwardian terrace to read as coherent rather than “vaguely old,” you need to choose each element’s source as carefully as its style. Start with salvage yards and architectural reclamation for Antique hardware: you’ll get correct weight, casting marks, and patina that matches 1901–1910 joinery. Check spindle thickness, backplate screw spacing, and whether rim locks still throw cleanly.
Use reproduction suppliers when you need sets for multiple rooms; insist on patterns taken from period originals and specify unlacquered brass, bronzed, or japanned finishes so they age properly. Choose Custom fabrication for odd sizes (like oversized cupboard turns or missing escutcheons): give your maker a measured drawing, a surviving sample, and a finish schedule tied to your door furniture across the house.
Avoid Modern Lookalikes That Break the Period Feel
Before you commit to anything that’s merely “heritage style,” learn to spot the modern tells that make an Edwardian terrace feel like a set: lightweight zinc-alloy handles with crisp, machine-perfect edges; mirror-polished chrome; generic Victorian scrollwork; and laser-etched faux patina that sits on top rather than wearing in.
Instead, check weight and finish: Edwardian brass or bronze feels dense, with softened arrises from casting and hand finishing. Look for deep, even lacquered or unlacquered brass that will darken where you touch it, not a sprayed-on “antique.” Avoid Modern minimalist levers that read postwar, and avoid overbusy Victorian ornamentation that belongs to earlier decades. Match proportions to your doors: slim escutcheons, modest knobs, and period-correct screws (slotted, not Pozidriv).
Frequently Asked Questions
What Building Regulations Affect Changing Locks in an Edwardian Terrace?
You’ll mainly follow Building Regulations on fire-escape egress (Part B) and accessible egress (Part M); check listed-building consent and Historic preservation rules. Keep Modern security compliant with BS 3621; notify your insurer.
How Do I Soundproof Doors Without Replacing Period‑Correct Hardware?
You’ll improve Soundproofing doors by adding perimeter seals, a drop-down threshold, and a brush letterbox seal, keeping existing hardware. Use reversible Acoustic treatments: dense curtains, draft excluders, and added mass panels, matching Edwardian detailing.
Can I Use Smart Locks While Keeping an Edwardian Exterior Appearance?
Yes, you can, if you choose retrofit smart locks that hide smart technology indoors. Keep your rim lock, knob, and escutcheon outside, and add a concealed motor cylinder for modern security, properly aligned.
What’s the Best Way to Remove Lead Paint Around Original Ironmongery?
Like a hazmat emoji, you’ll remove lead paint removal best by wet-scraping and gentle chemical stripper, protecting ironmongery with foil. You’ll follow safety precautions: respirator, gloves, HEPA vacuum, containment sheeting, and proper waste disposal.
How Do I Insure or Value Original Edwardian Hardware for a Renovation?
You insure and value original Edwardian hardware by photographing it, documenting provenance, and hiring an accredited antiques valuer. You’ll note Historical authenticity, restoration techniques, materials, maker’s marks, condition, and replacement costs; then schedule specialist cover.
Conclusion
When you restore an Edwardian terrace, you’re tuning an instrument: every lock, knob, and hook has to play in key. You’ll get the best results by auditing room by room, keeping original rim locks and properly scaled plates where you can, and matching finishes—warm brass, nickel, or japanned—based on what survives. You’ll avoid modern “heritage” pieces with wrong proportions or machine-bright coatings, and your interior will read convincingly, door to cornice.
About the Author